

JaBr
-
Posts
292 -
Joined
-
Last visited
-
Days Won
1
Content Type
Profiles
Forums
Gallery
Events
Posts posted by JaBr
-
-
Basically a bridge rectifier. I'm no electronics expert but I do like going through things like this
")
-
8 minutes ago, SwampNut said:
Those are zener switching diodes on the board, I assume there are two on the other side also? If so they basically built a full wave bridge that has voltage control. So they could run on AC or any DC polarity. If not, I'm not sure how they could be polarity-insensitive.
There are indeed two on the other side as well. Clever design now I look at it more closely.
-
1 hour ago, superhawk996 said:
Being LED I assume they're polarity sensitive unless they have some kind of magic in them. It could be that they didn't work at first because the holders just needed to be rotated 180 degrees to change the polarity. Could it have been that and not the bending of the contacts that was keeping them from working? I haven't played with the XX holders, but have never run across the contact problem on other vehicles' instrument lights.
It's possible I guess, although they have 2 conductive tracks on each side of the part that inserts into the holder, I would expect that negates the need to turn them 180 degrees.
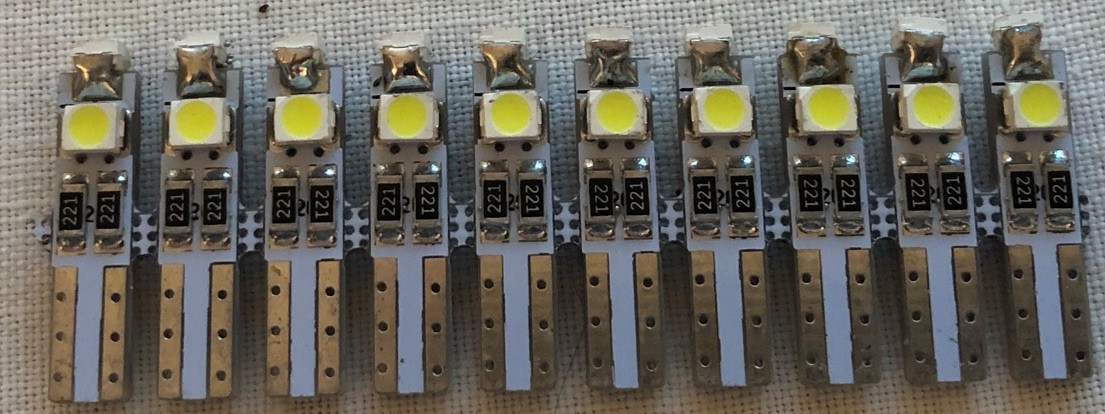
I received 10 x T5 triple LED bulbs yesterday for the heater controls in my MiTo, same concept. These new ones are pretty cool though, supplied in a strip rather than as small modules. Pretty sure they're hand assembled, the top led's at least.

-
11 minutes ago, rockmeupto125 said:
Yeah, so respect your elders, colonists or not. 😜
Always Grandpa, always 😆
-
42 minutes ago, rockmeupto125 said:
50 years ago I was dating a lovely lass who's mother was cockney.
50 years ago I was barely an embryo 😆
-
20 hours ago, rockmeupto125 said:
British humor does take a bit of time, doesn't it? 😜
It's very old british humour
Want some classics?
Radio comedy, Hancocks half hour, The navy lark, the goon show, Round the Horne
TV, Only fools and horses, Morecambe and Wise, Benny Hill
-
14 hours ago, TFT said:
I really like the looks of the dash with the blue lights.
How difficult was that to change out and do you have more info on the bulbs required?
All I used was standard white LED's T10 Canbus compatible.
The blue is basically because of the brighter white light, the filter appears green with a standard yellow lamp because of the colour mixing.
The ones I purchased are These LED's The price has nearly doubled, I paid £3.95 for 10, they seem to be £6.95 now.
They are easy to fit, get the screen off and you can access the rear of the clocks. There are 4 large bulb holders spread across the rear of the clocks with T10 capless bulbs in. Swap these out for the LEDs and make sure they all work before replacing the screen. The holders tend to need the contacts bending slightly towards the centre or they don't work.
-
 1
1
-
-
40 minutes ago, blackhawkxx said:
Good job. Did you get the clear film on the forks?
Not yet, have the film, just completely forgot to fit it, d'oh!
-
3 minutes ago, XXitanium said:
My bird started marking it's territoty?
That's never a good sign

-
33 minutes ago, blackhawkxx said:
That looks great!
Thanks man, it's in the final stages of repainting at the moment, hoping to get it back in the new year sometime, kind of tricky to get it finished when the UK is on lockdown. I'm on the Isle of Man and still have that bike and a car in the UK, depending on the situation ref Covid I may see them again by the end of the 2021.
-
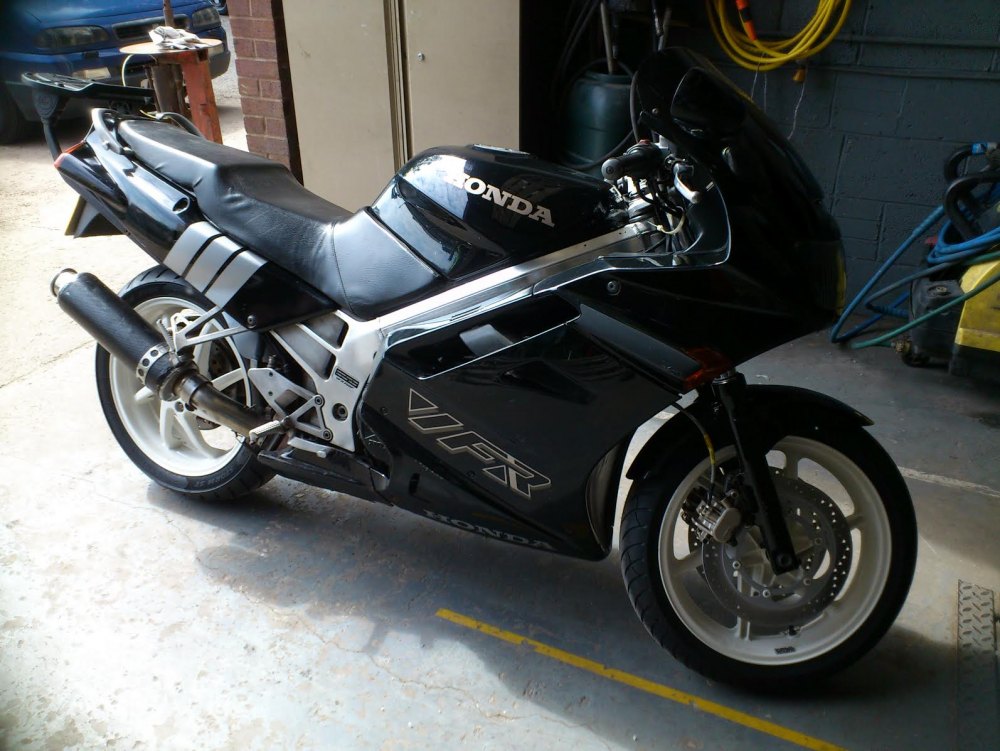
90-93 VFR was the best of the bunch, mine is a '90, first bike I bought when I passed my bike test, love it to bits, and seriously would choose to ride it over the blackbird in most instances. I will give up my VFR when they pry the key from my cold, dead, fingers
-
1
-
-
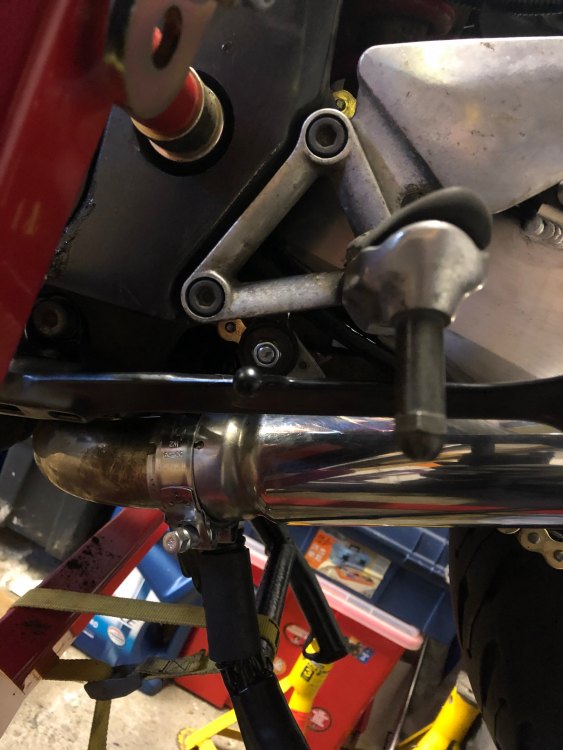
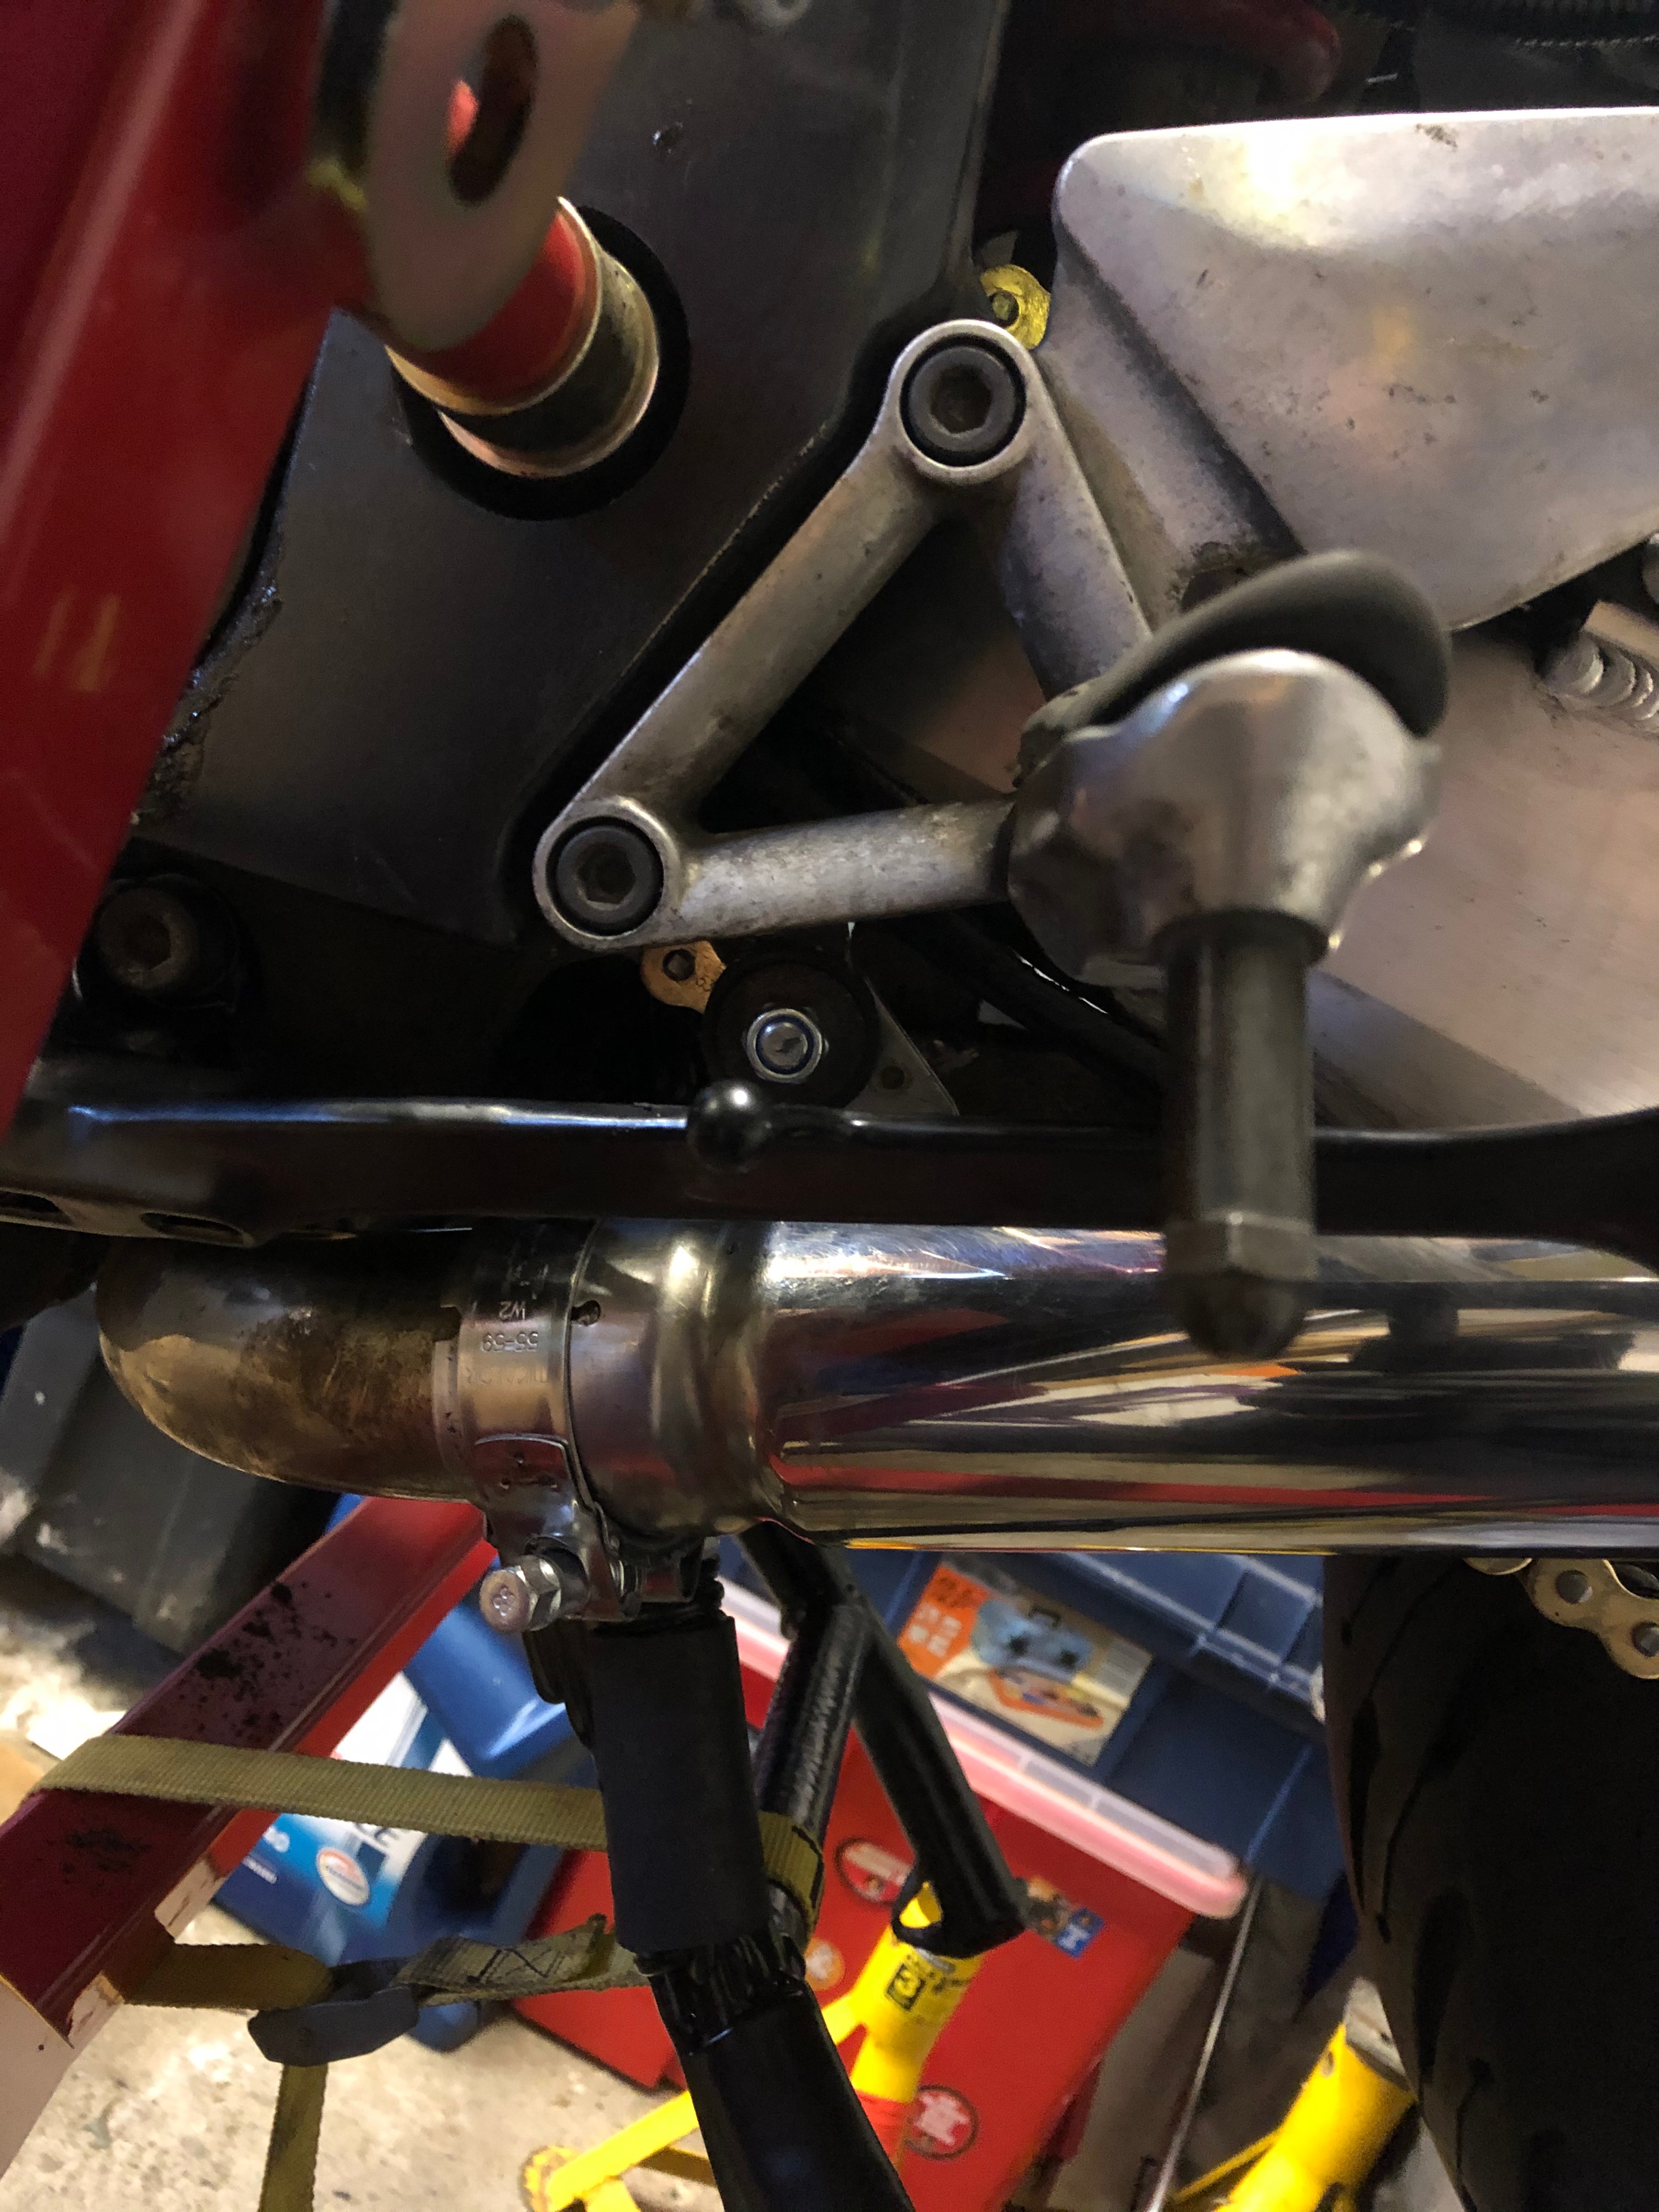
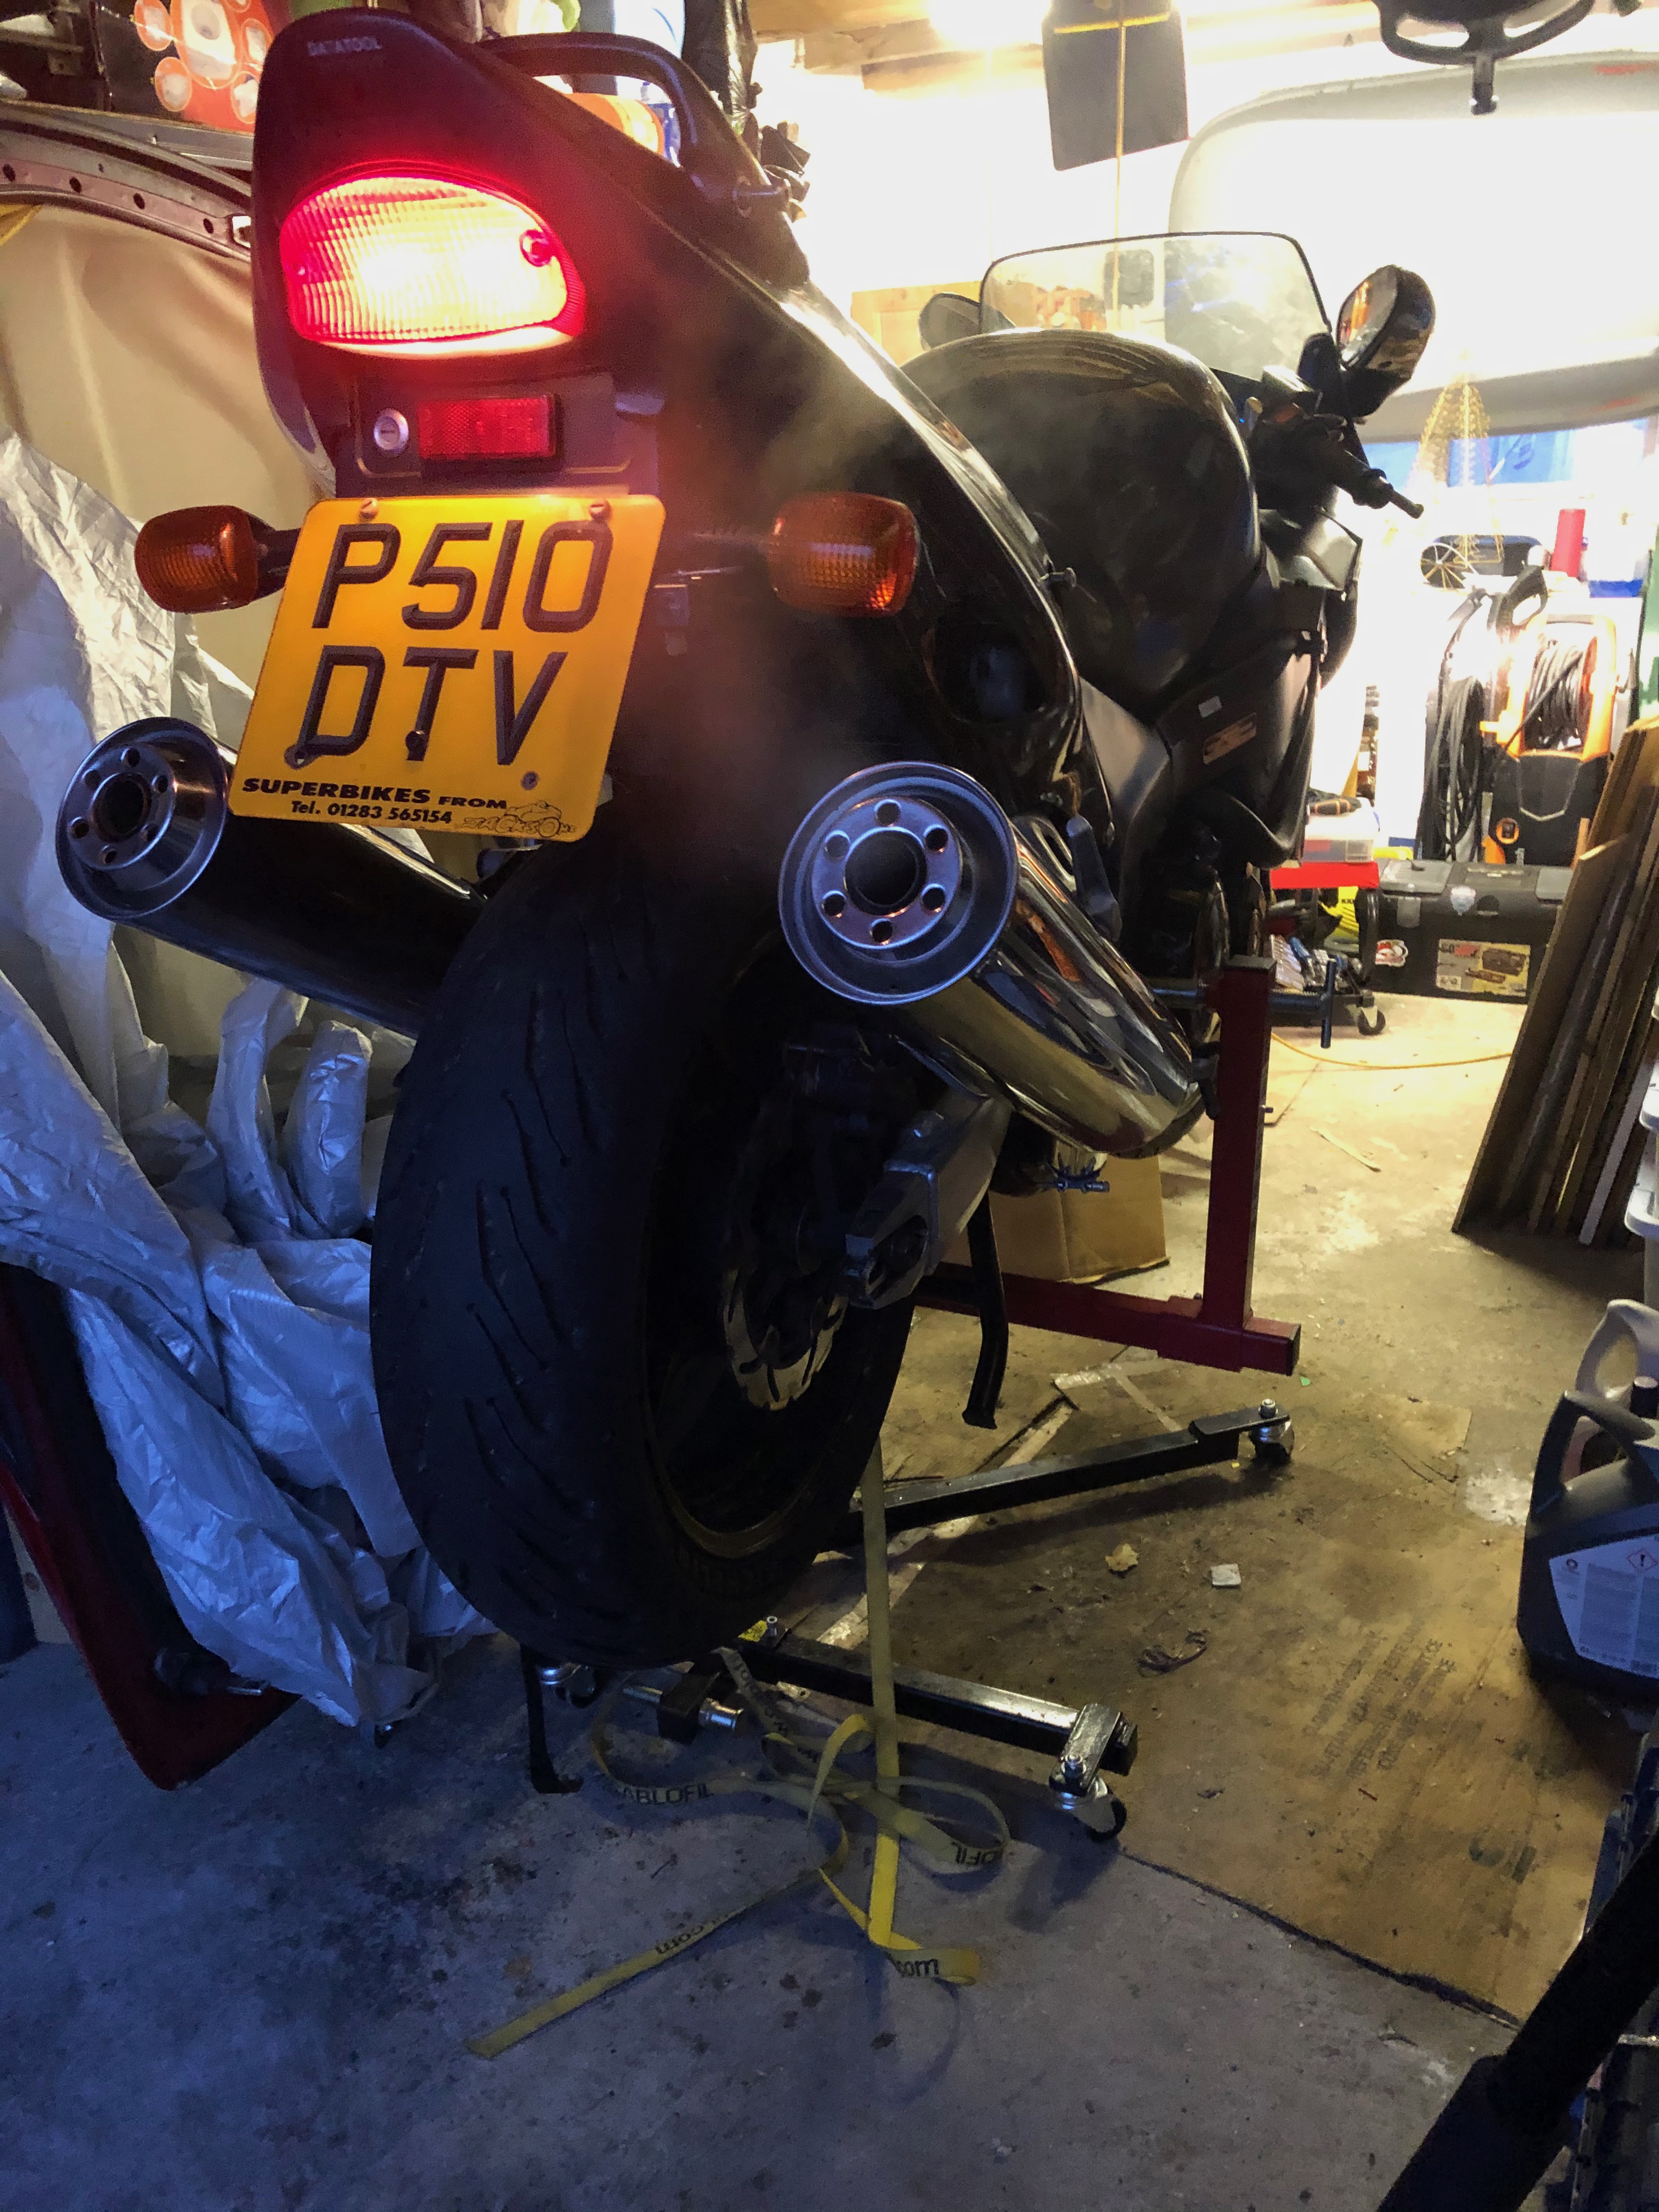
So the last few bits I've done have been to mount the cans, side and v-panels, and an oil change. The video I posted earlier was the engine warming prior to draining the old oil and swapping the filter.
The cans were a bit of a pig to get on as the joints on the can were slightly smaller than the graphite gaskets, one of the tabs on the right hand can started to crack and go the same way as the original can, luckily I managed to get the gaskets on the collector easily and gently persuaded the cans on with a leather hammer. Took a while and a lot of care but I got there in the end.
All fired up to warm the oil for the change.

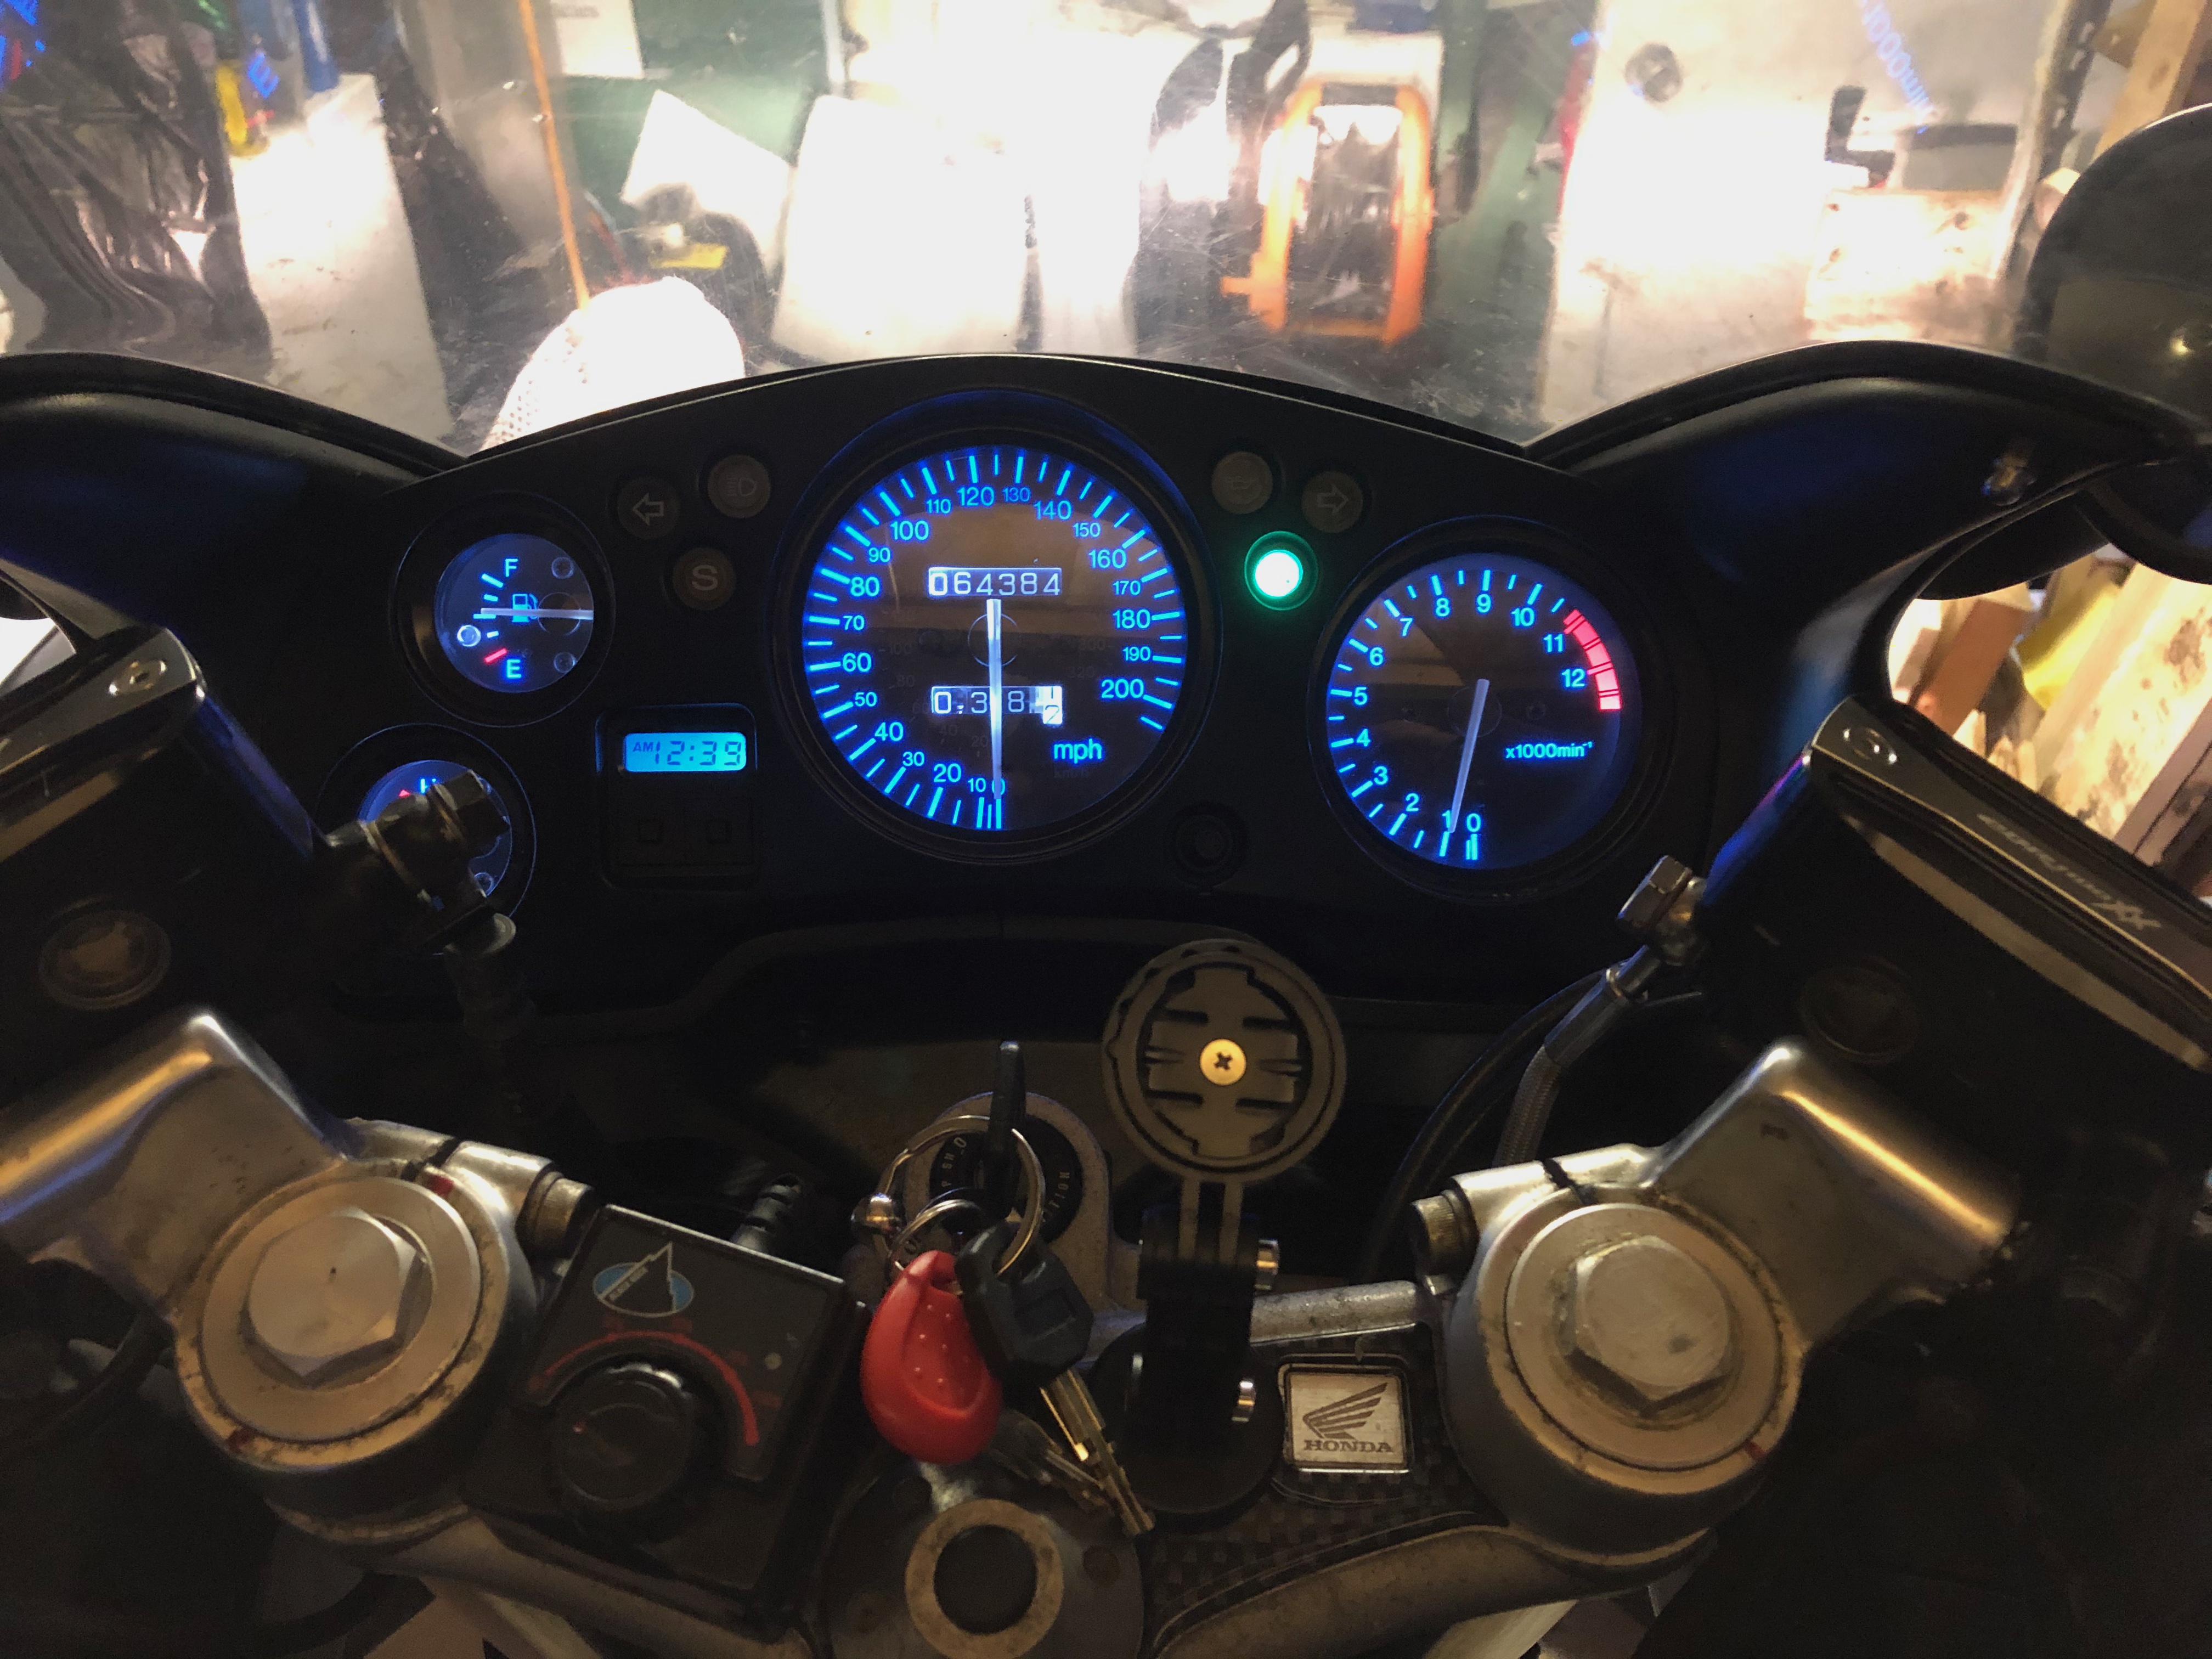
The new LED bulbs look good on the dash, cheap ones from eBay but look good.

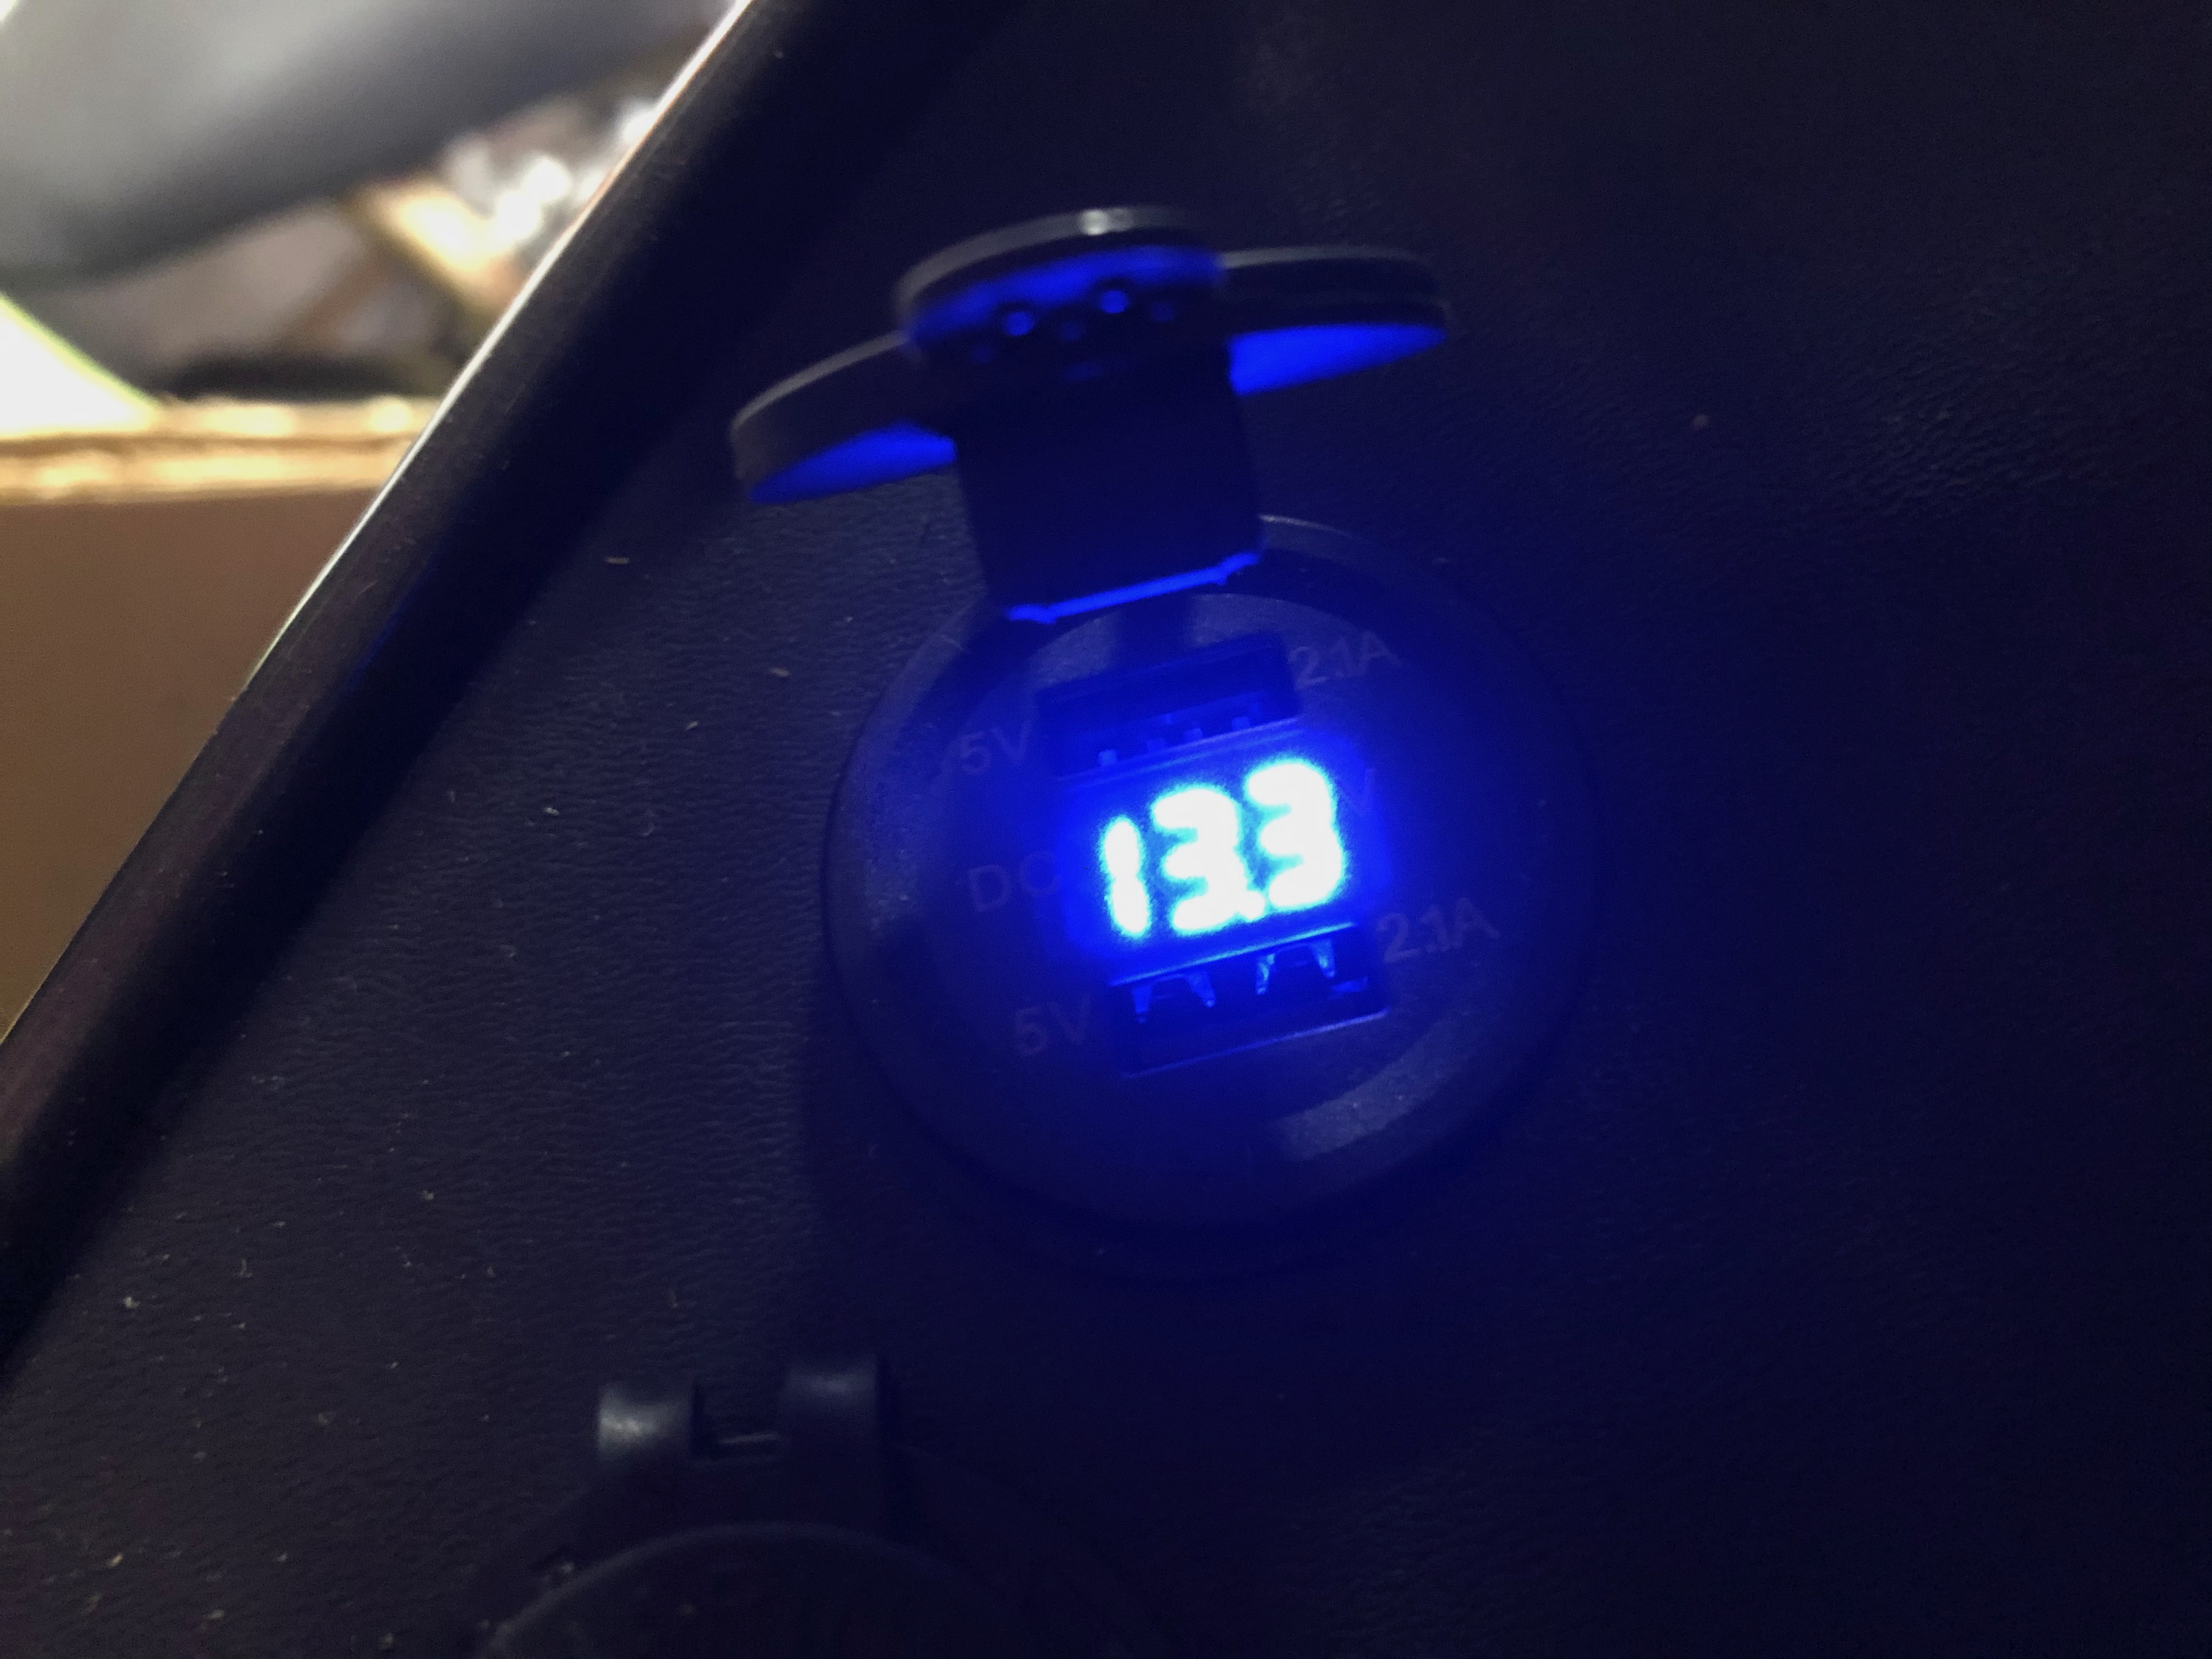
The double USB socket has a built in voltmeter as well.

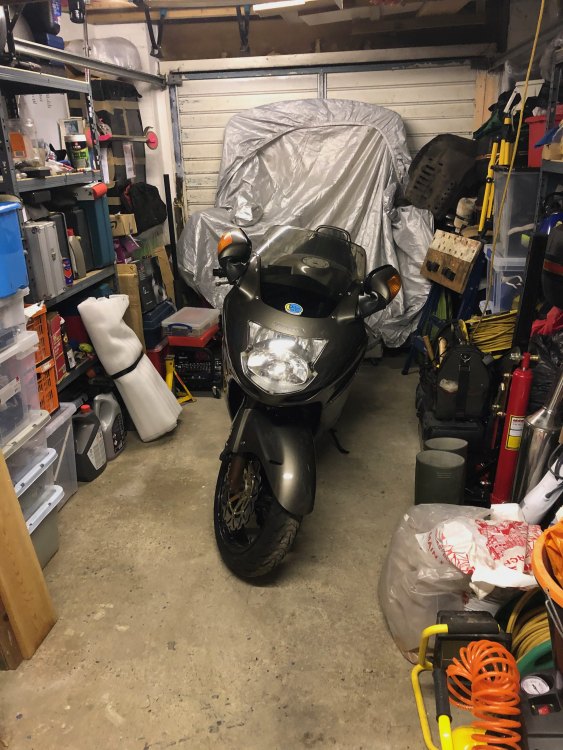
So finally the garage has some room to allow me to get to things, the bird is happily sat in the middle and on the ground where she belongs, definitely raring to go. All that's left is balance carbs and adjust the mixture. I've also ordered a full set of silicon hoses and clips to sort out the coolant leak.
So all that's left is to get it through the Manx test, should be straightforward enough, this bike's a bit like trigger's broom, most of it's been changed
(For those who don't understand the reference here's a YouTube video ") Trigger's Broom
Trigger's Broom
-
 1
1
-
-
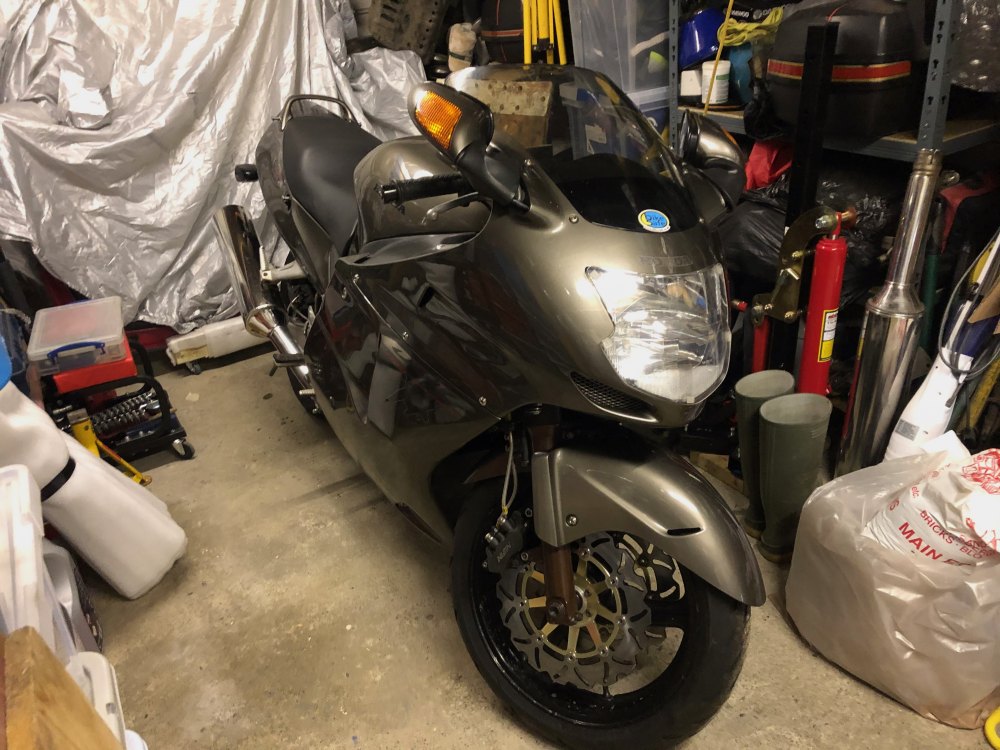
So this week I finally got to do a few more things, this is the first time she's been run since May this year, half a doze turns of the engine and away she went. Restarts have been instant since then. To say I'm happy is an understatement, there are a couple of niggles to sort out, a small water leak on the water pump hose, and a minor blow at the exhaust headers, but they are tiny compared to what has been achieved over the last 7 months or so.
Not bad for someone with little experience of working on motorbikes, and thanks, in a large part, to the generous support and knowledge of the members of this forum. So to everyone who has contributed and asked me searching questions along the way, I salute you, and offer my sincere thanks for keeping me going even when I hit some fairly major lows along the way.
-
On 12/18/2020 at 6:42 PM, blackhawkxx said:
Thanks for the effort. Now you can finish up by reporting how it works in use on the Bird. 😀
😂. Of course.
I’m not likely to get to it soon, still waiting for these exhaust cans to show up, hoping they come this week as I’m off until 4th January from Christmas Eve. We’ll see what happens I guess.
-
Sean has got back to me and says the gears are made from:
SCM415(Chrome Molybdenum)
So essentially it is an alloy of steel.
-
1
-
1
-
-
16 hours ago, blackhawkxx said:
Thanks Jabr. Are the gears steel? The reason I ask is the Pro Motion one I was looking at had aluminum gears and a lot of the reviews said the gears would strip very easy. What is the brand name of yours?
I emailed the company to be sure, this is what they sent me. As soon as they come back with confirmation I'll post it.
Hello Jason
This is a product we bring in. We don’t manufacture it.
As far as I know gears are made from a hardened steel.
What I do know is we have been selling them for many years and never had one back with damaged gears. They do seem very tough.
I’ll ask the supplier and see what they say.
Best regards
Sean Morgan
-
11 hours ago, blackhawkxx said:
Thanks Jabr. Are the gears steel? The reason I ask is the Pro Motion one I was looking at had aluminum gears and a lot of the reviews said the gears would strip very easy. What is the brand name of yours?
I'll have to get the magnet out and check later.
Brand is Morgan, the people who make the CarbTune
-
14 hours ago, jon haney said:
Where can a person get one of these from the other side-O-the pond?
https://carbtune.myshopify.com/products/90-degree-bevel-screwdriver
I chose the £55 option with the additional head and honda d-driver.
-
1
-
-
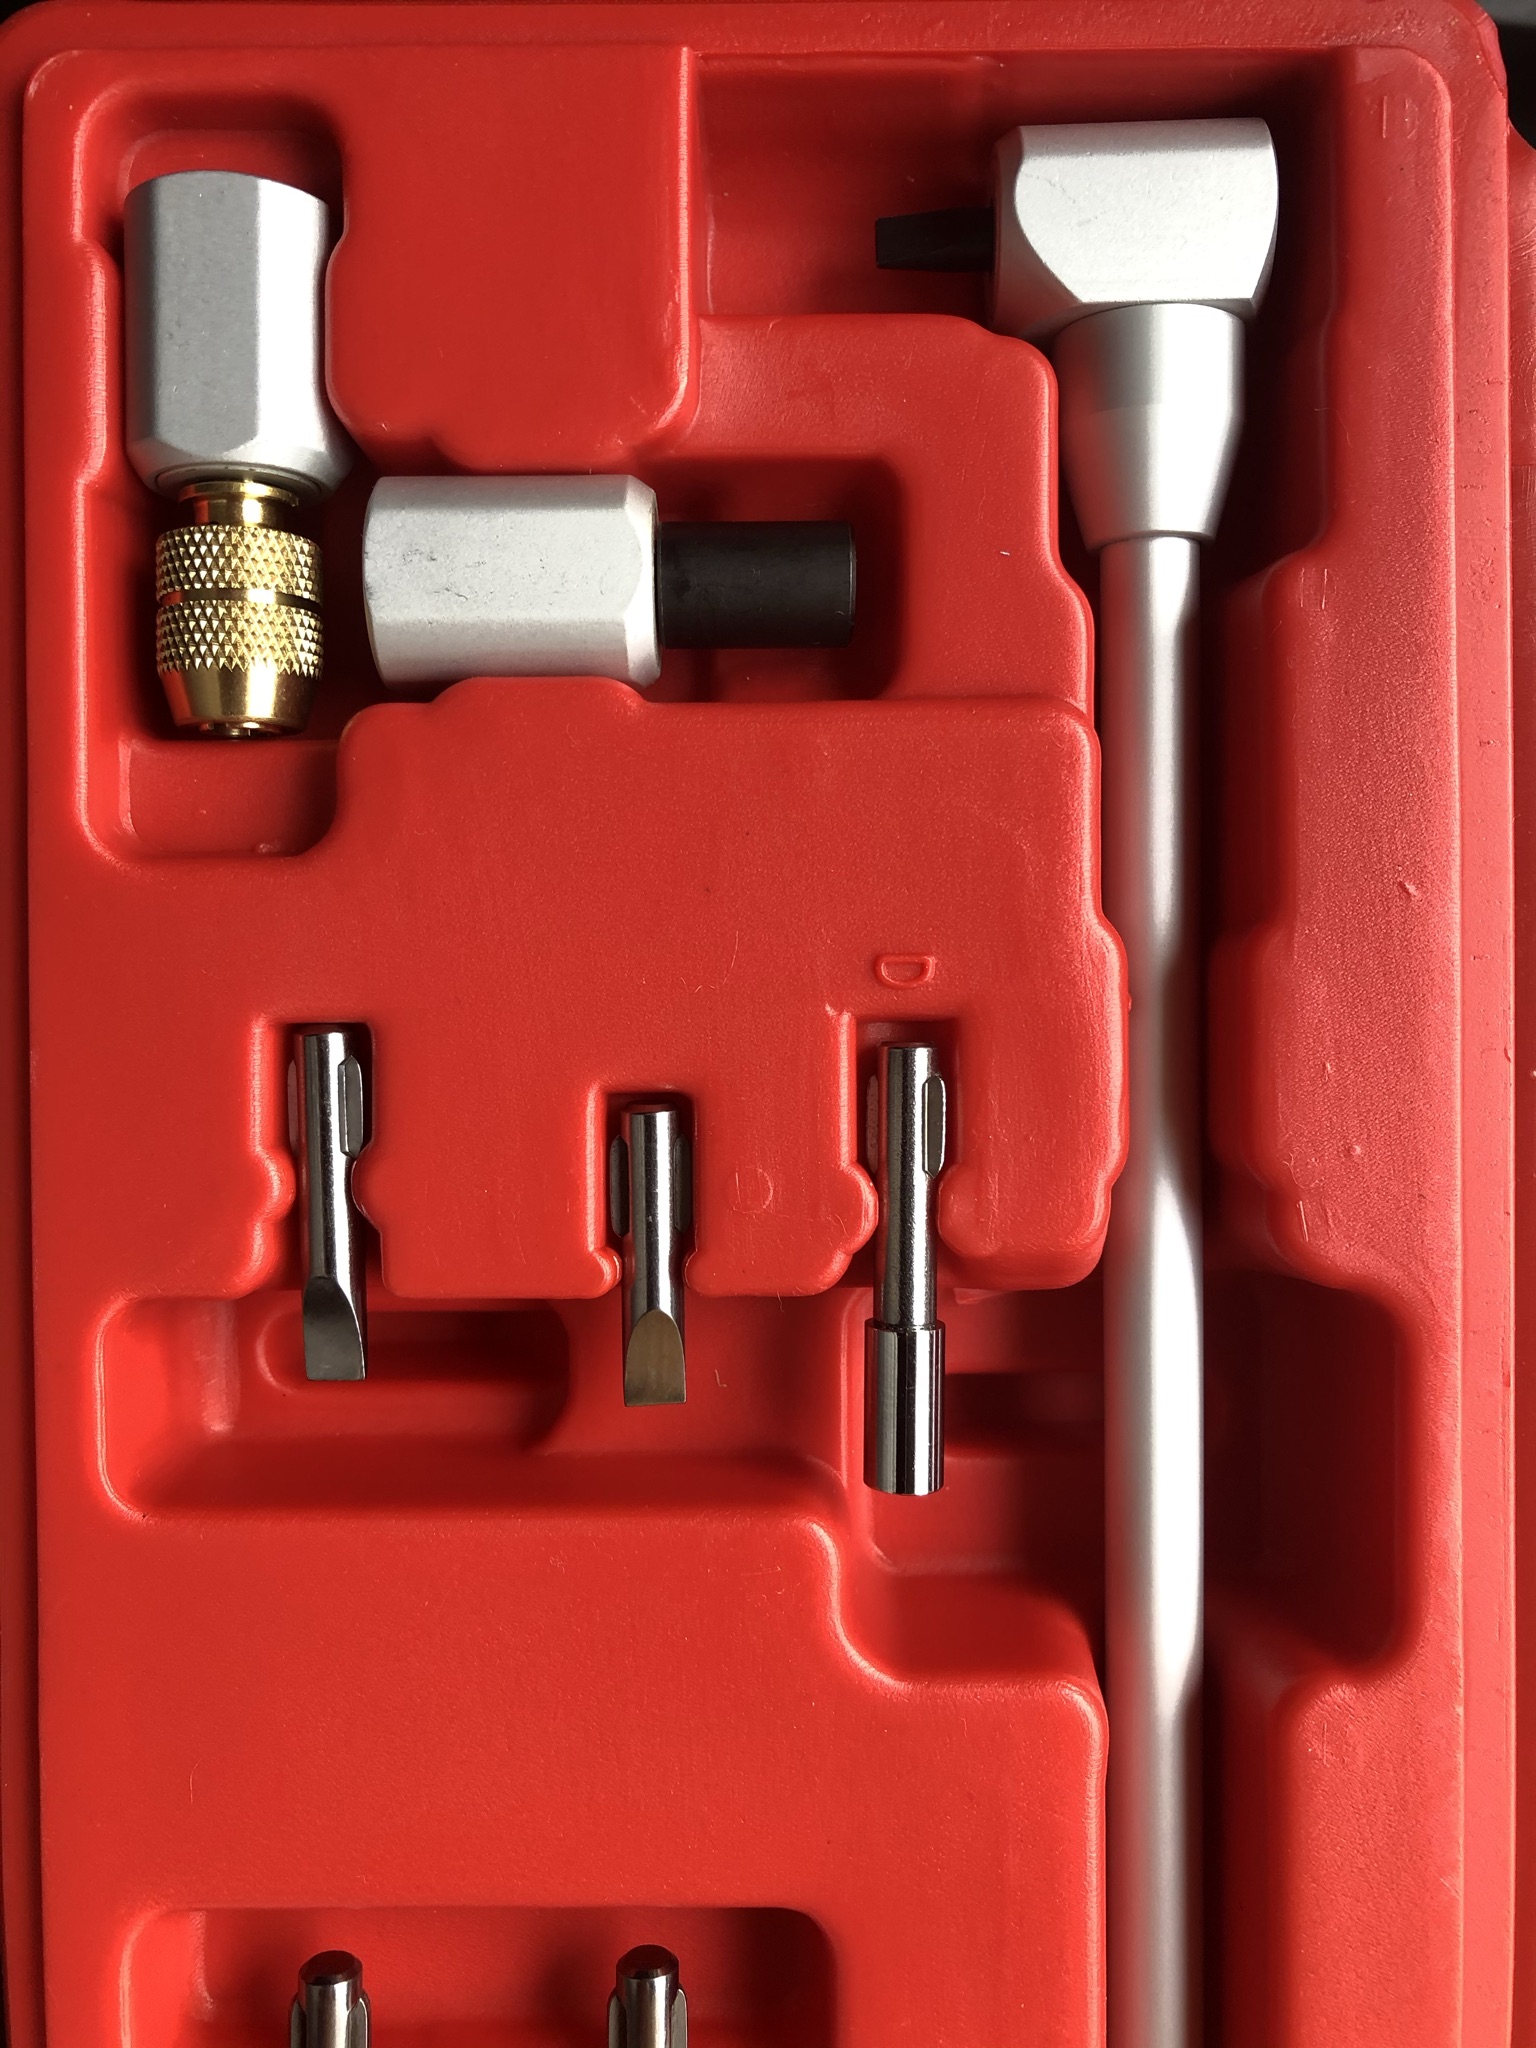
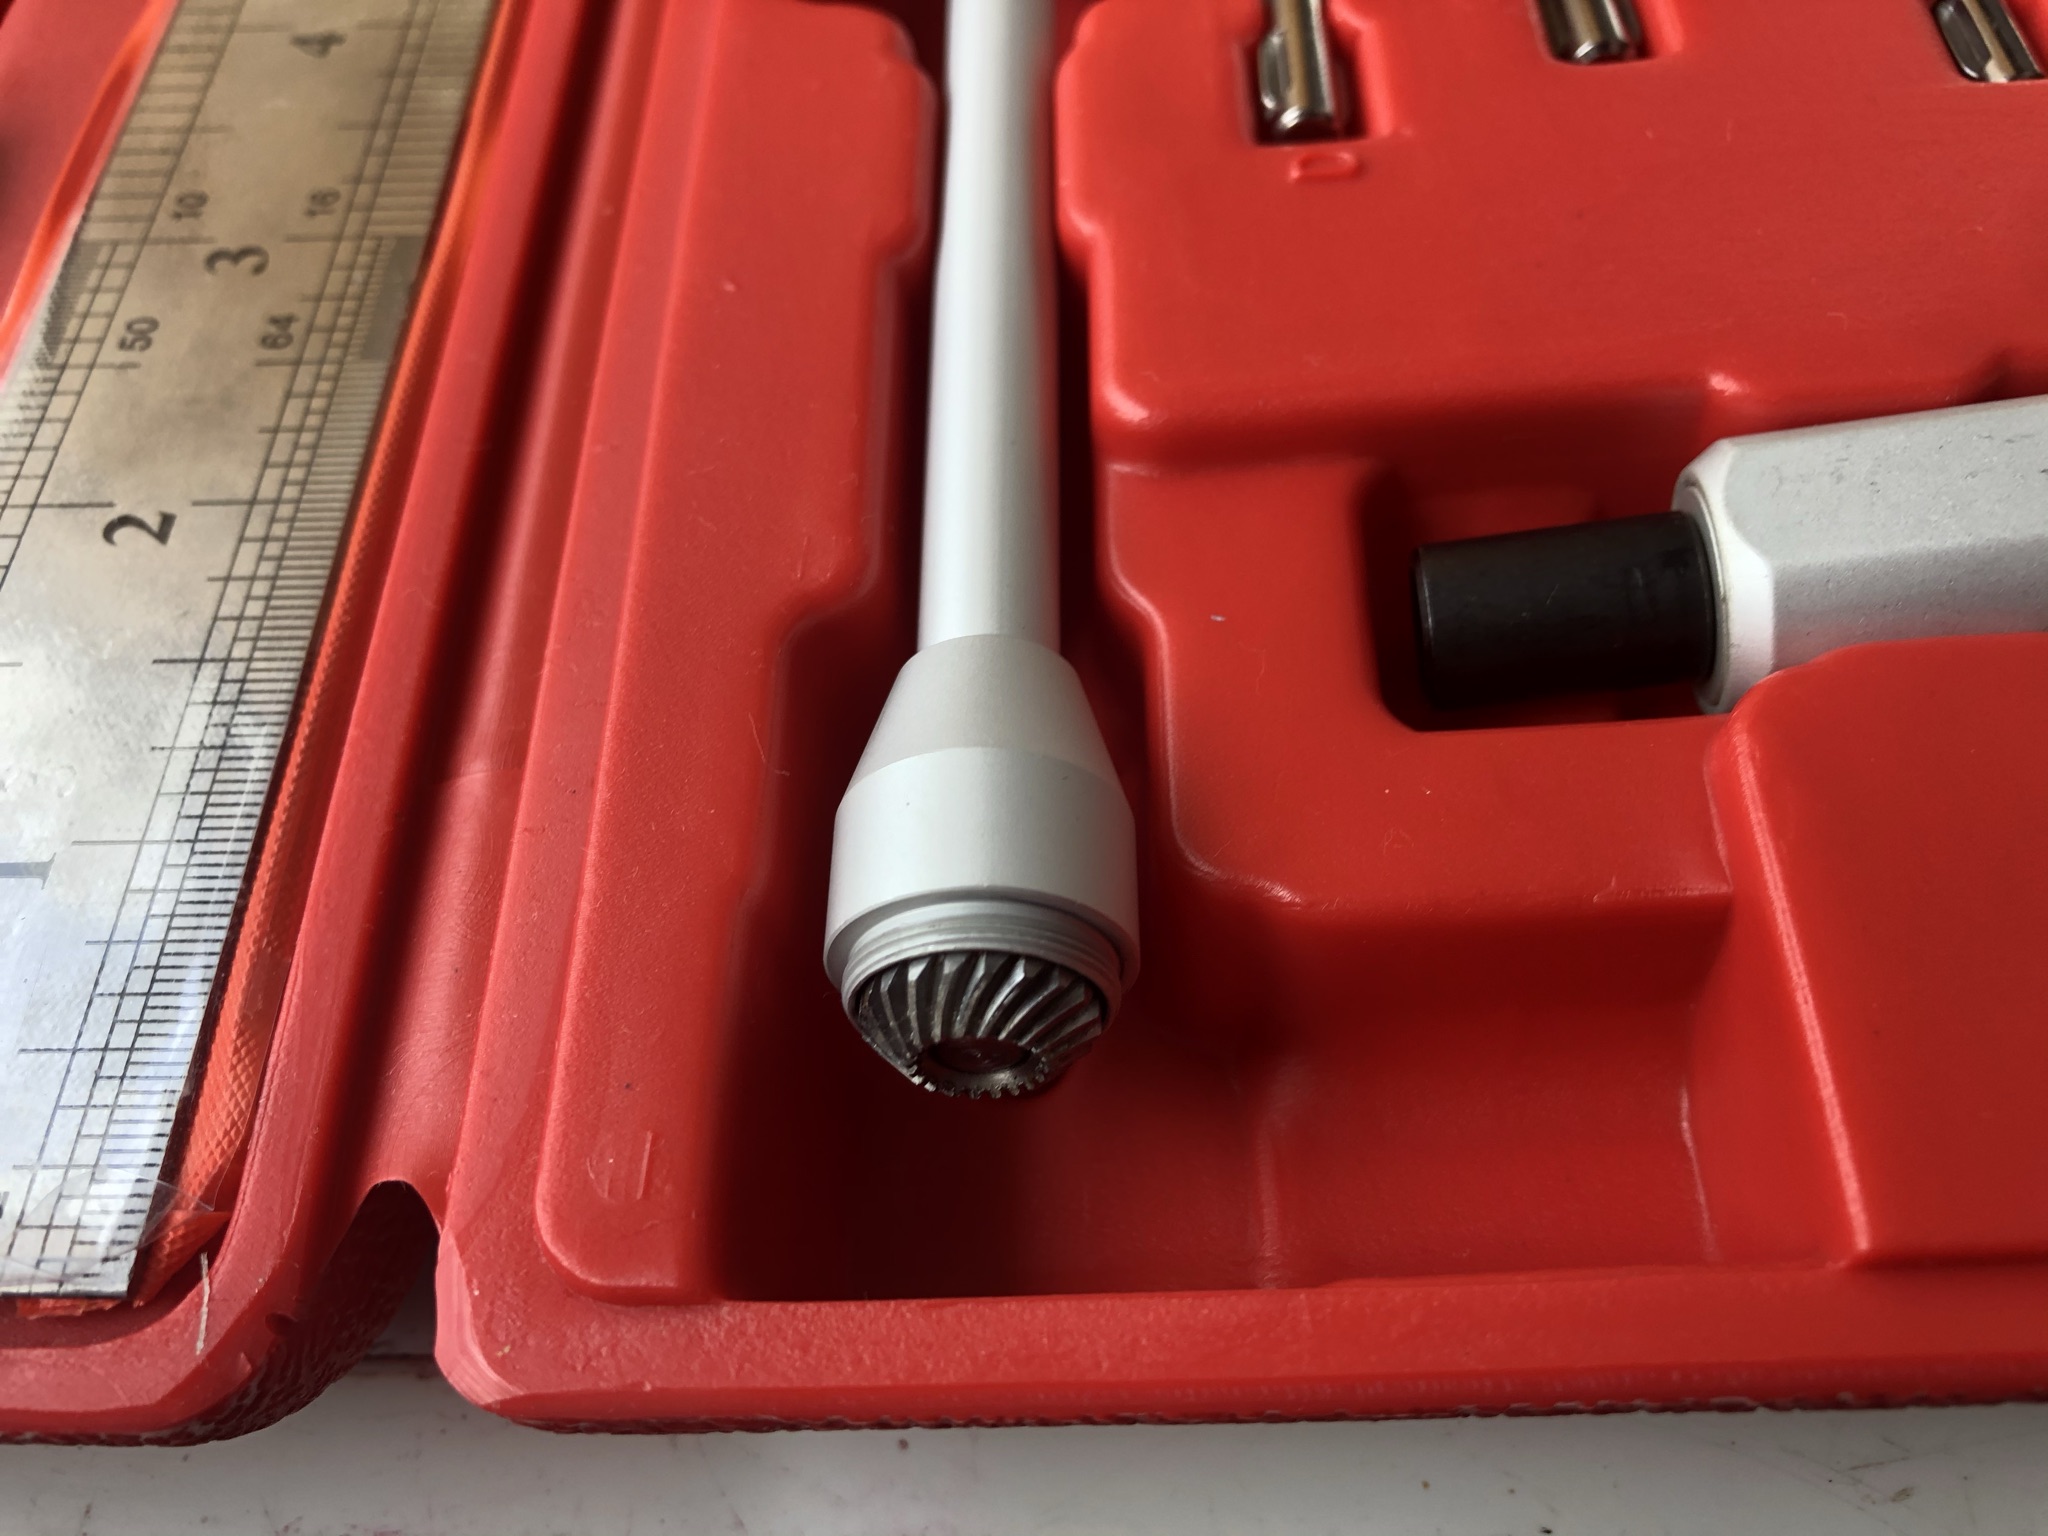
35 minutes ago, blackhawkxx said:
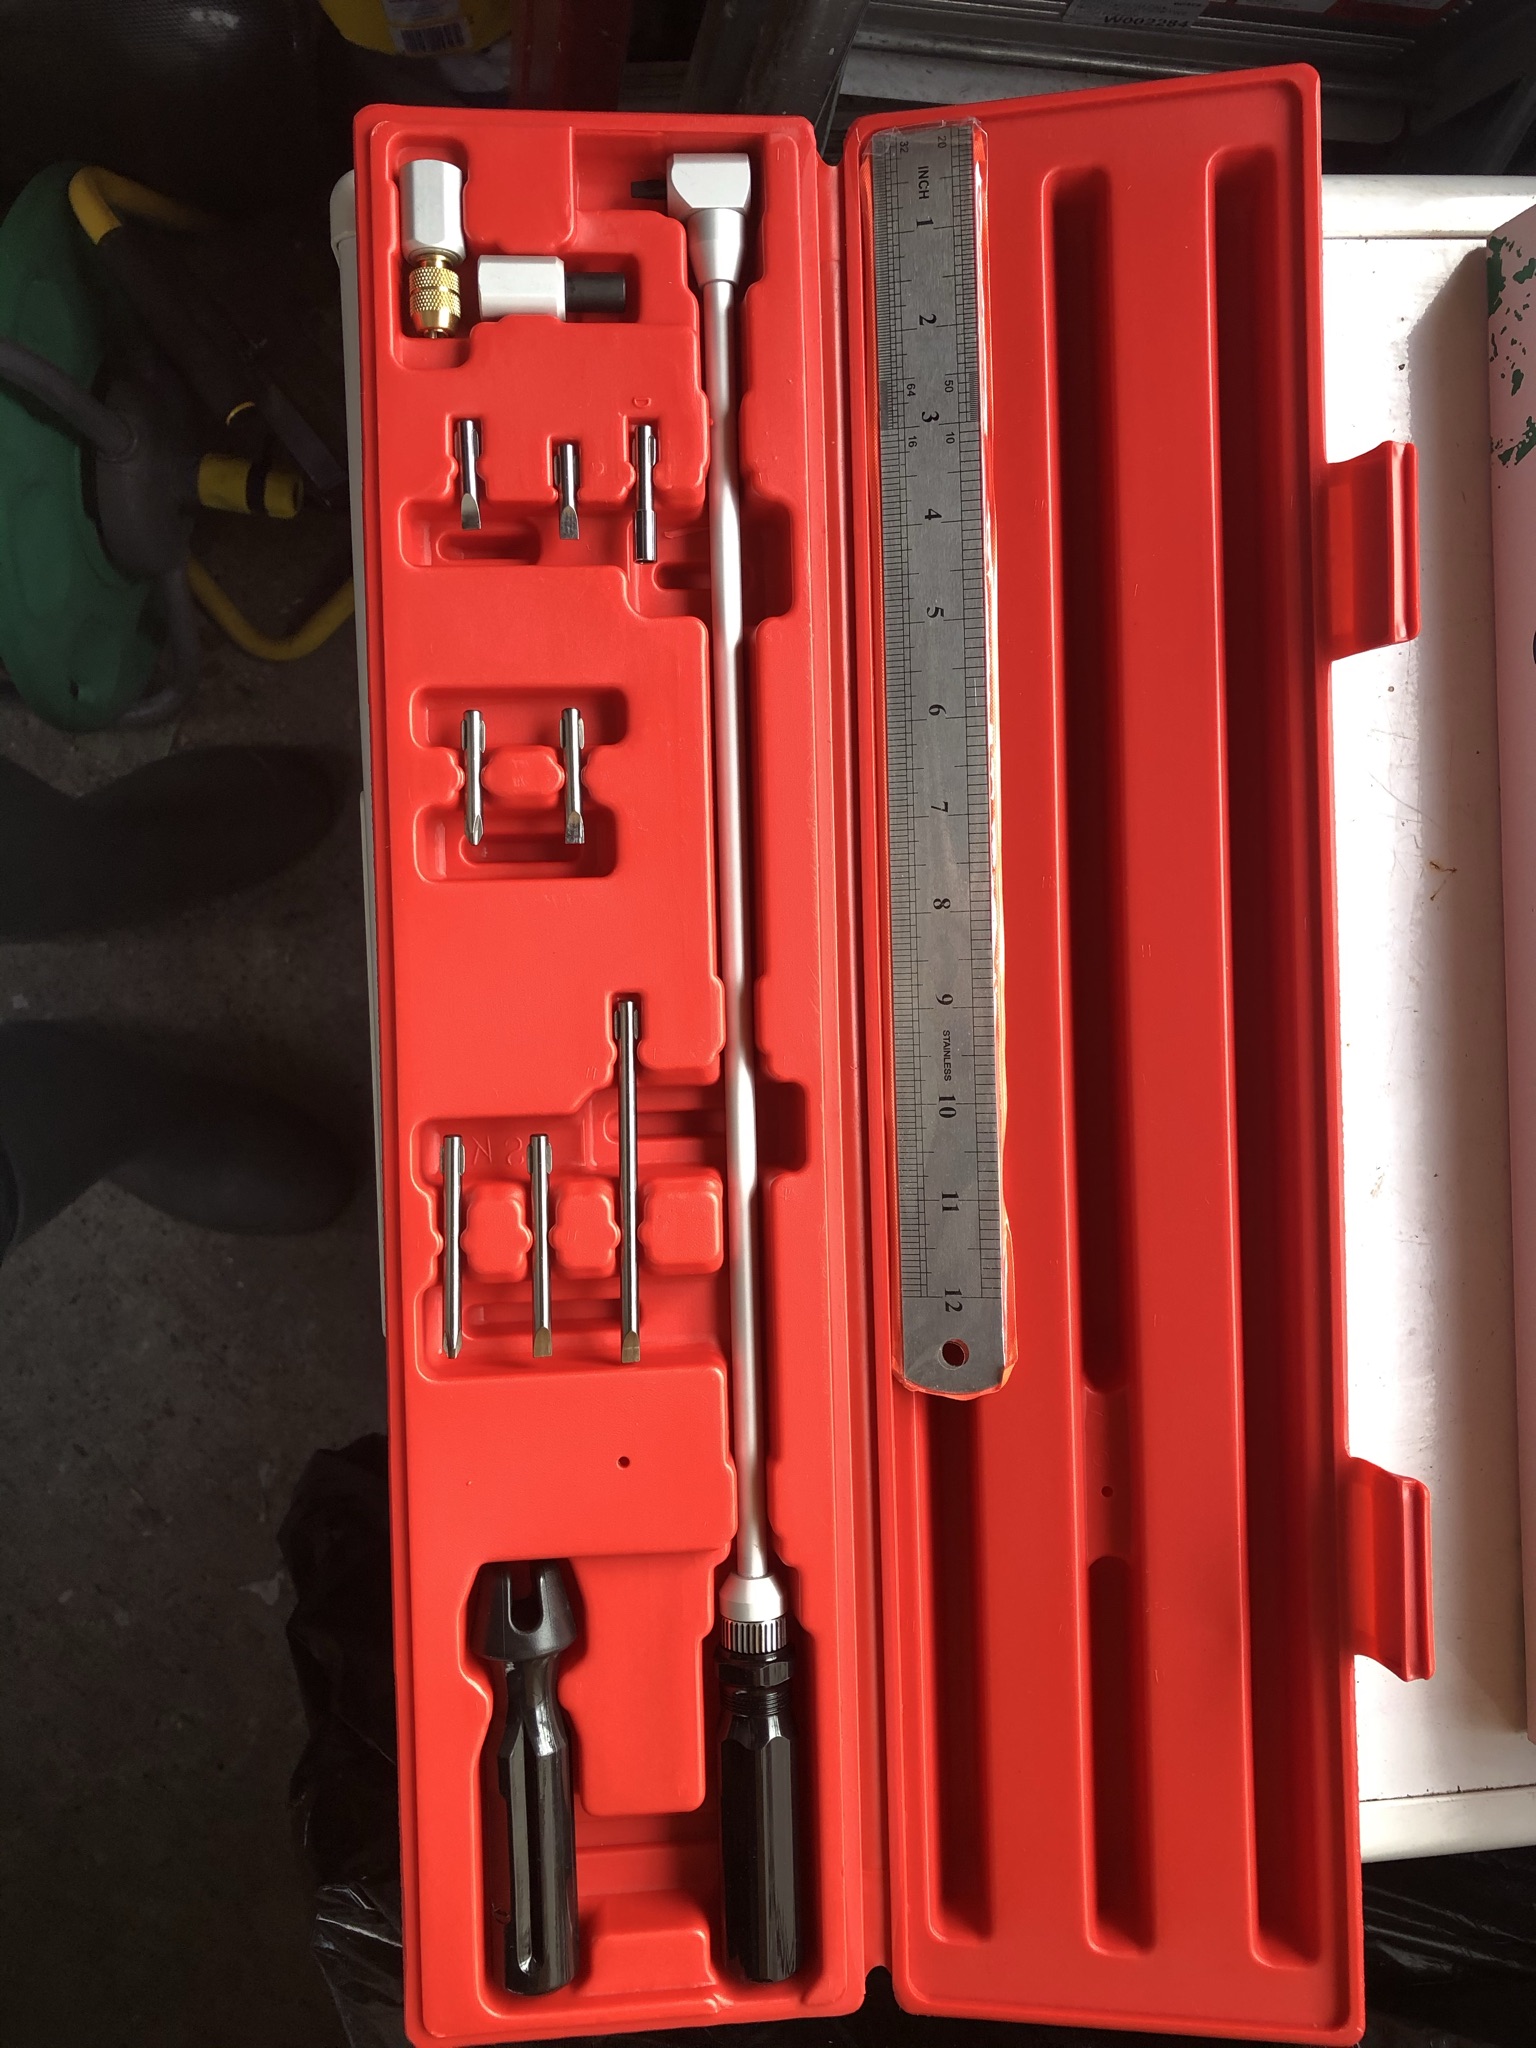
Can you show us your fancy screwdriver?
Most certainly
Overhead shot with a 12" steel rule for scale. The head already fitted is a simple flat screwdriver.

Head for attaching all those other different screwdrivers shown

Closer shots of the set. Head with the black piece was an optional extra that allows me to use standard hex bits. The bit where the case has 'D' marked on it is the honda specific bit for adjusting 'D' type carburettor screws.

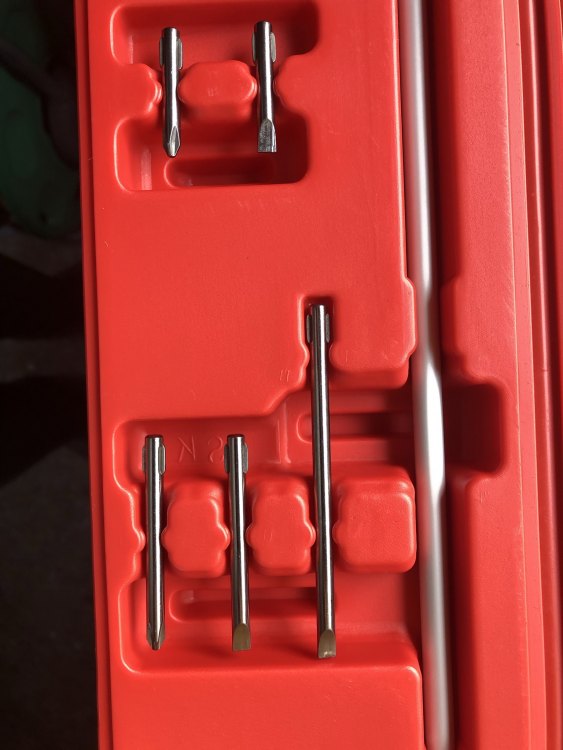
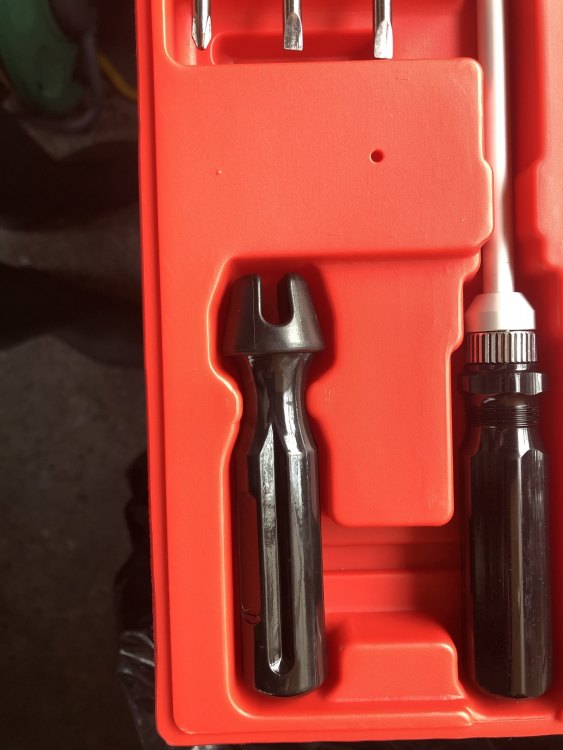
Finally the gear drive that goes into the heads

-
1
-
-
On 12/8/2020 at 3:08 PM, superhawk996 said:
Pretty sure EFI bikes are adjustable also. I don't think I've ever checked one as a maintenance item, only when doing repairs.
From what I've read on the carbtune website it's useable to balance the throttles on injection bikes as well so assuming the option is there it will likely do the job.
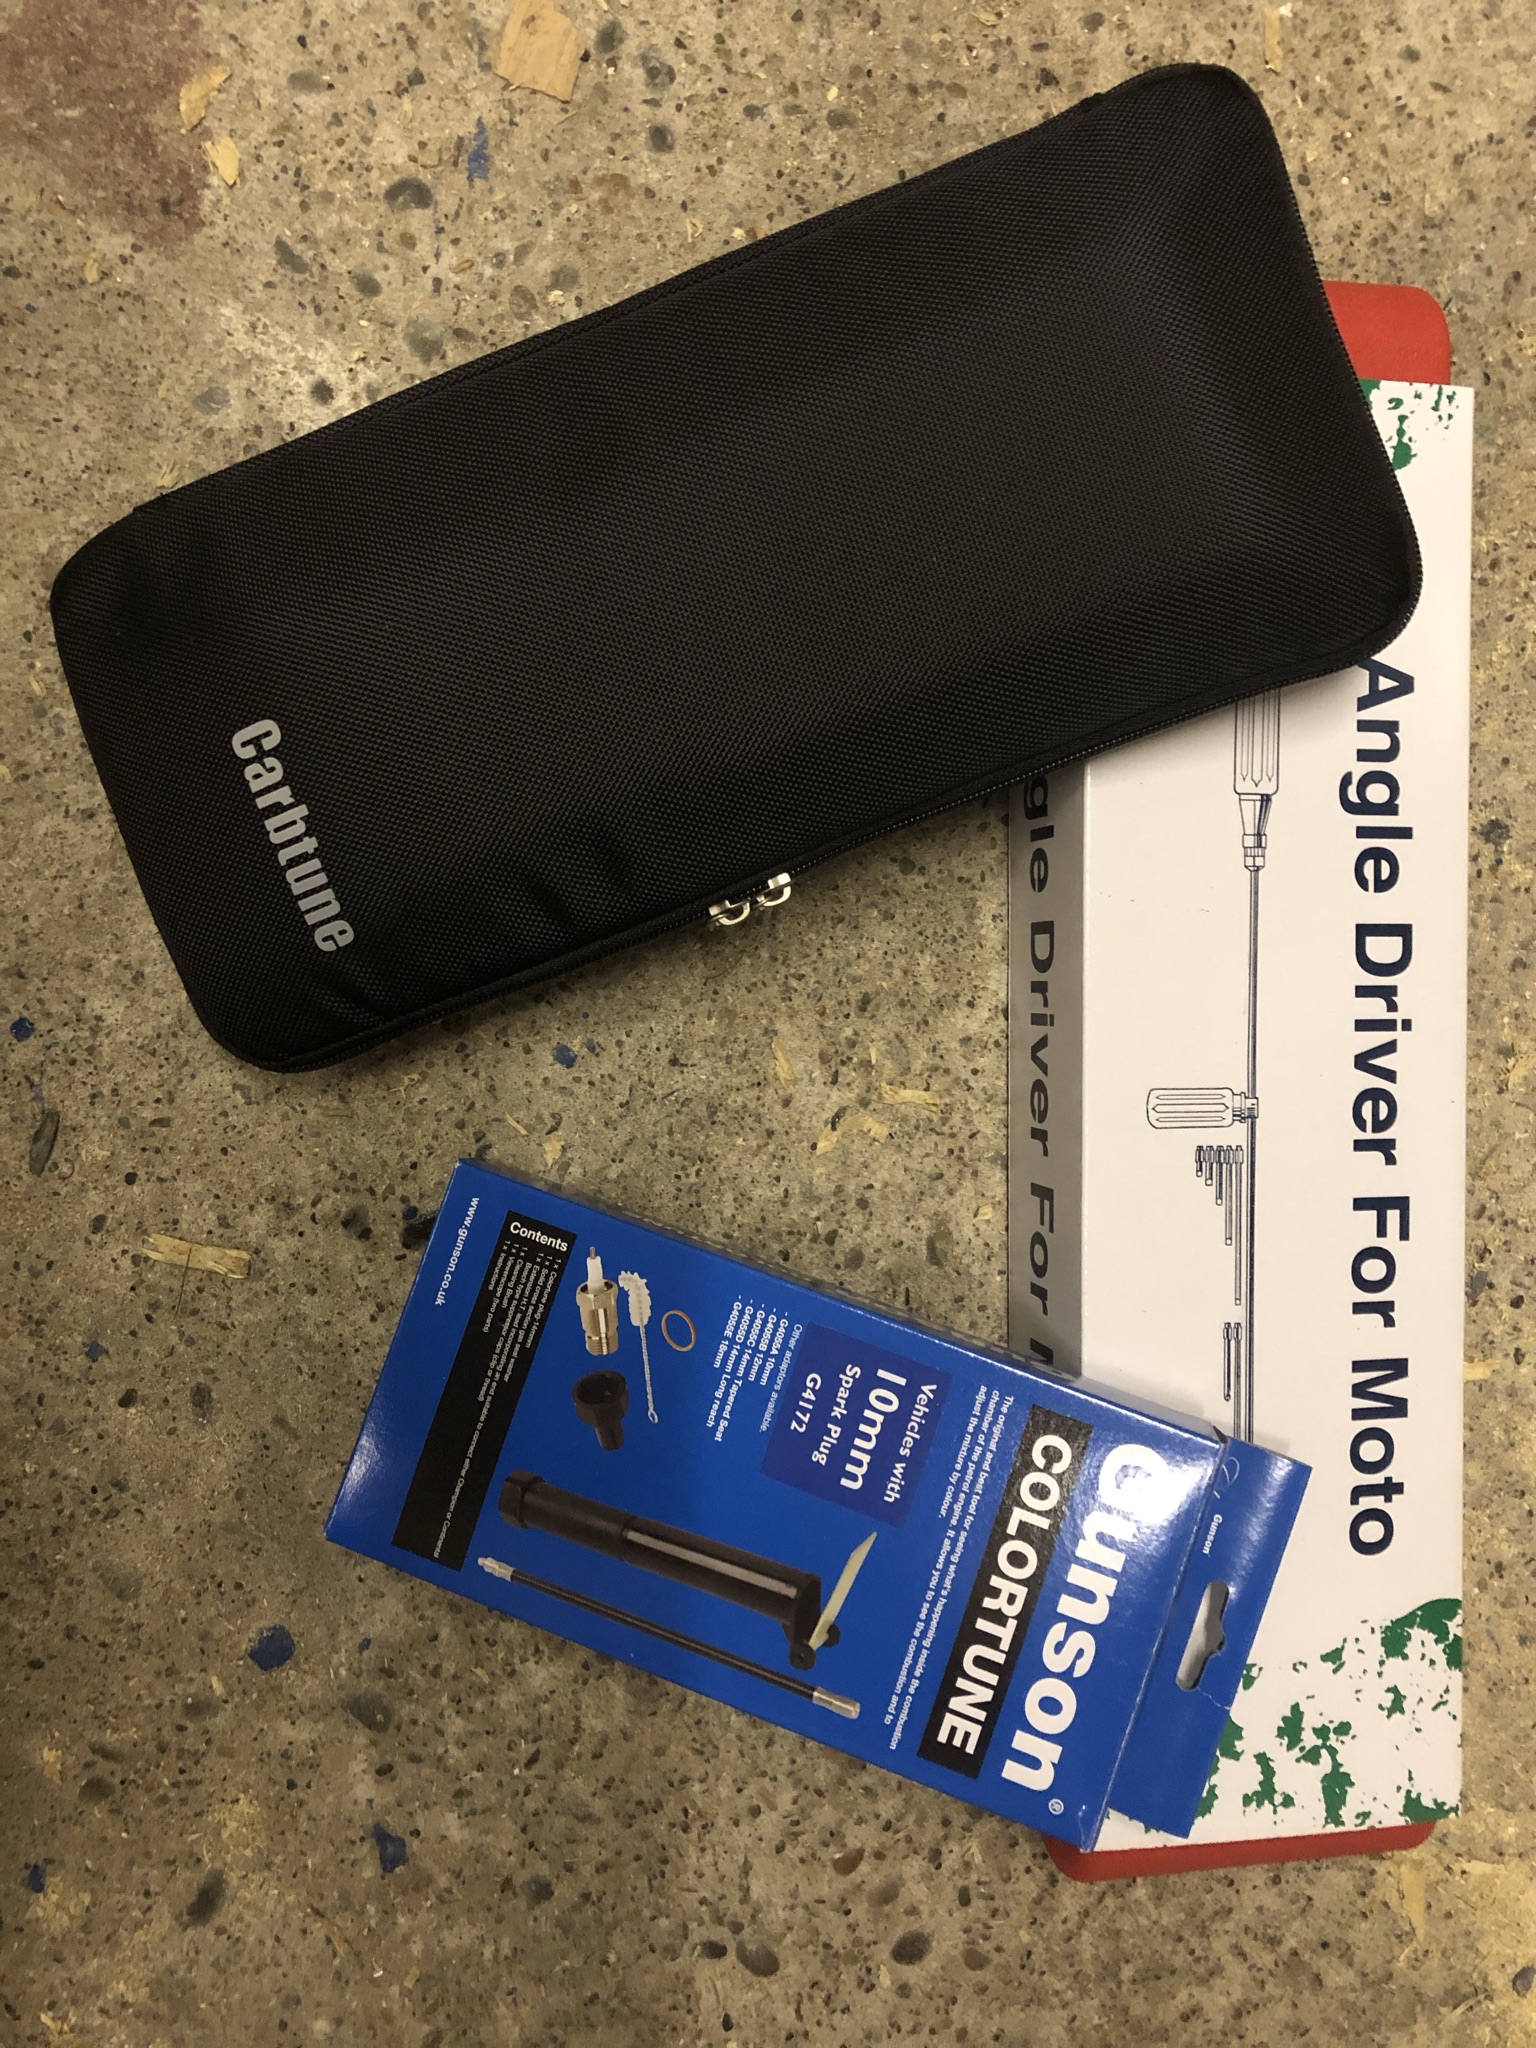
My carbtune, colortune and fancy screwdriver arrived yesterday so I just need my exhaust cans and I can get the bike finished. Test date is now 8th January.

-
1 hour ago, superhawk996 said:
The tuning 'shouldn't' change unless the carbs are dirty, but it is possible. I think the USA bikes, or at least the California bikes, have plugs over the tuning screws so they can't be messed with. No clue if your laws require that.
I agree, the exhausts were very black which indicates running rich to me, synch will be first, it may or may not need it, I won't know until I connect everything up. After that I'll do the colortune and if it all looks good, I shall leave well alone. I was getting about 45mpg when she was running, UK gallon (4.54Ltr), so she's probably not too far out, it may be that she's been tuned already but cleaning the exhausts was too much inconvenience for the previous owner.
-
On 12/2/2020 at 4:49 PM, superhawk996 said:
I don't recall reading that you synched the carbs, make sure you do that before playing with the fuel screws. And maybe doing it again afterwords if you find the fuel adjustments out of whack. Actually, I'd leave the manometer on while doing the fuel adjustments, then you'd see if any change. I'm guessing they wouldn't change unless the mixture was pretty far off.
I haven't yet, the carbtune will be in the same box as the colortune
. If my understanding is correct the balance shouldn't be affected by the tuning, the balance is simply to make sure that the 'chokes' (may be the wrong word, the big brass flaps are what I mean) all open in synch when the (actuator) bar they are mounted on moves. Over time they can gradually slip around the bar and that's why we need to balance them.
No idea what I'm going to find yet with regards to tuning, this bike had been looked after in some fairly basic ways, clean coolant for example, but not in many others, brake and clutch fluid were dark brown for example. I suspect it does need a balance and tune though, that takes a bit more effort and expense. My focus for now is to get it through the test, then registered and taxed. Tuning isn't needed for that as there are no emissions tested for the manx test.
-
5 hours ago, XXitanium said:
That be the one 😊
-
I think I'm getting silly, ordered a Morgan Carbtune, Colortune, and a fancy screwdriver today. 161 quid, ouchies. But they're shiny...


Project Blackbird
in The Garage
Posted
So on Thursday I put her in for the test, unfortunately she failed on the rear indicators. My fault, I'd been going to rewire that section and settled for a connector instead, all worked fine as I left, by the time I reached the test centre the connector had vibrated loose and they weren't working. On the plus side, that was the only failure and can be retested in a few minutes when I take it back. Have paid for the retest and now just awaiting the appointment.