

Dragonslayer
-
Posts
120 -
Joined
-
Last visited
Content Type
Profiles
Forums
Gallery
Events
Everything posted by Dragonslayer
-
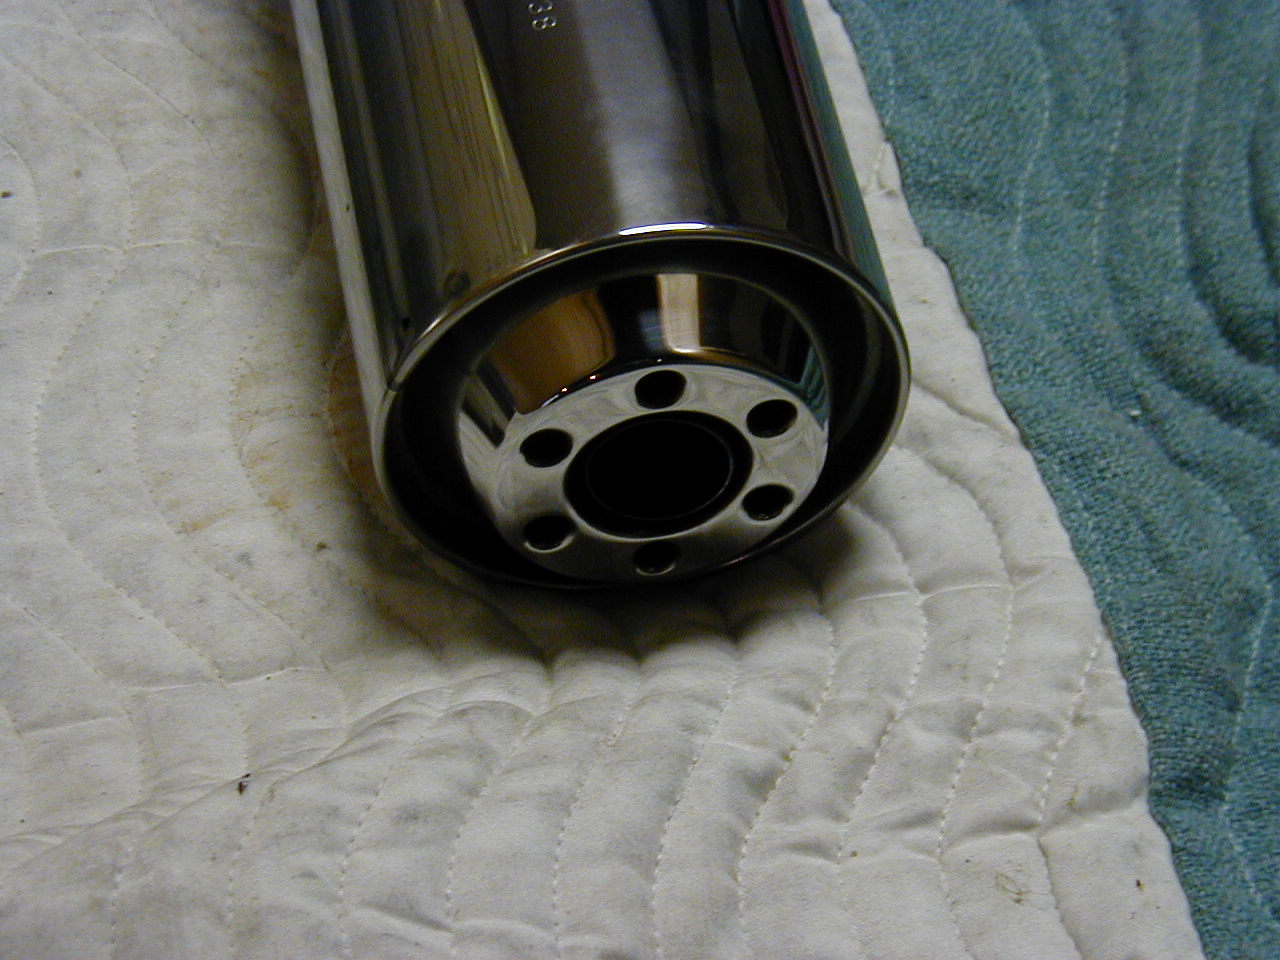
PICS ARE UP FOR ANYONE INTERESTED, SEE ABOVE POST.
-
I am looking to sell my stock mufflers. On a scale of 1-10 I would rate them at a 9. The only blem is a very small nick in the end of the exhaust can. I will post up some pictures once I get home from work. But I would like to get $200.00 for them, if not I will try to sell them on E-bay. I am sure there is someone out there that likes the looks and sound of the stockers or someone trying to put ther Bird back together. New they are roughly $365.00 per side.


-
Well after taking a few hours to chill out. I went back out and found a that the major issue with getting the shock into place revolved around the route I had the line for the remote adjuster following. Once I rerouted the line itself I was able to get the shock installed. I do still have to come up with a mount still but it is in position for now. :icon_clap: I also found that a lot of my clearanceissues with the line and the wiring harness came from the fact that I have a 6mm shim in there which placed the connection closer to the wiring harness. After rerouting I made it work. I also wasableto do all this without removing the tank. I just ran a tie down strap around a support bracket for my garage door and attached another one to therear of the tank and used that kinda like a hoist to hold the tank out of the way while I worked. All in all I am happy so far, hopefully I will get to theauto parts store today. I am thinking of using a clamp intended for an ignition coil on a car and attaching the resiviour to the bracket that supports the passenger peg as well as the muffler.
-
Okay Hopefully someone can help me with my shock installation. I have the old shock out and no matter which way I try to install the new Penske shock I run into a problem. The Remote Comprssion adjuster creates a couple of issues with the Bird. 1) Where to mount the adjuster itself since there is no real good location and the the clamps that came with the adjuster are usless unless I mount theadjuster under the seat for a stealthy look. :icon_wall: 2) Problem 2 is that no matter whether I run the the line off the shock cap to the left or the right there is something in the way. On the left you have what apears to be part of the main wirig harness and on the right you have the radiator overflow tank. Considering it apears that the exit point cannot be changed would you not think that if the shock was intended for a Blackbird that it should have had the line exit the shock cap at an angle which is the only way I can see it working. Kevin Reinhold
-
Okay, I am in the process of removing the forks to send them off and have them revalved and a heavier springut in for my FART ARSS. I have everything off the ( bars. brakes, wheel ) and I am curious if I need to remove the headlight and front nose cone to get to the lower bridge pinch bolt. I can get a box wrench onit but cannot get enough torque on it to break it loose. And then there is the question of how I will torque it back down upon reinstallation. Especially since I cannot get a ratchet wrench mush less a torque wrench up between the fairing and the lower triple tree. Kevin
-
Okay, I am planning on upgrading the suspension on my Bird this winter and need some feed back from those in the know. I will most likely be getting a Penske 8981 I believe it is out back but do not have the money to have Traxxion do my forks this winter so I am planning on just going through the forks myself and changing thefork springs out for a straight rate spring more suitedfor my weight and riding style. I figured the bike with fluids is roughly 550 lbs. ( full tank of fuel ) and myself with all gear and all would come in around 260 lbs. . The sites that I have found that have rate caculators put the spring rate in the 1.20 range. I was just curious if anyone had anything to say whether that sounds about right as well as the recommended spring supplier for the forks. I am considering by riding buddies to have a fairly aggressive riding style. In other words I do not usually ride like I am in a parade. Thanks in advance for any input.....
-
I take and put the bike up on the centerstand and then take my 3 ton floor jack and slide it onder the headertubes like the dealer does when they work on it. I then do the usual removal of the front fender and calipers to allow removal. If I am doing the front and the rear at the same time I remove the rear wheel first and then place a jack stand under the swingarm and then do the same procedure described above for the front.
-
Everything you purchase has risks as far as qualityis concerned. The ease of using the tool has a lot to do with technique I am sure more than be a muscle head. Not trying to be sarcastic, I learned a fewthings from watching Steve the owner that would make changing a tire a lot easier. I picked mine up two weeks ago and am probably going to test it on a cruiser tire first this weekend and give my impressions.
-
Well, Just about got 200 miles on my NEW Z6's ( front and rear) and have to say so far I am fairly impressed. The bike seems to turn in a lot easier at normal speeds compared to the D205's and the Avons that I have run in the past. I know some have run the M1 front and the Z6 rear, but I am pretty crazy about making sure that my front and rear are designed to work together. My first impressions are that the bike is solid even when leaned into a bend but as speed increases a little more effort is required to push the bike over. Of course this is just commuting back and forth to work. I should get an even better picture tommorrow since I will be riding with a VERY spirited rider locally here in St. Louis. Heck I might even get to try out the handling in the rain. Kevin
-
I am just about to purchase one. They are made here in St. Louis and I have demo'd the changer on a front tire. In fact the wheel on the web site is my rim when I took it to the guy when he first started making them. I will be getting the bench top model as well as the attachment that allows you to mount the changer in the reciever of your vehicle. Kevin
-

Has anyone mounted Heli Bars on top of Genmar risers?
Dragonslayer replied to ccriderXX's topic in The Garage
You could always get a set of Fork Caps from Jaws Motorcycles that he uses for his risers he sells. They actually replace the stock caps and leave the same space above the rising block as with the stock bars setup. .... -
These are not exactly cheap but I am sure that most would agree that it would pay for itself in a couple of years at $45.00 a wheel and this is what i use to mount mine since the dealer scratched the hell out of my rear wheel on the last change and only offered to take $5.00 off of the bill. In Fact the wheel shown on the changer on the opening page is mine before I purchased one of these. http://www.nomartirechanger.com/
-
Torque Specs for Fork Caps and bar clamps..
Dragonslayer replied to Dragonslayer's topic in The Garage
Thanks Mark, You have been the best with regards to my questions lately. Thanks again -
Okay everyone was so nice to provide the specs for the shock bolts for me. I now need the fork caps as well as the bar clamps ( i guess that is what they are called). I tried finding the manual on here that someone said was here but the link was dead. I did find another link for another site but it looks like I would have to wait until the end of the weekend to download that file.