
cyoungesq
-
Posts
56 -
Joined
-
Last visited
Content Type
Profiles
Forums
Gallery
Events
Everything posted by cyoungesq
-
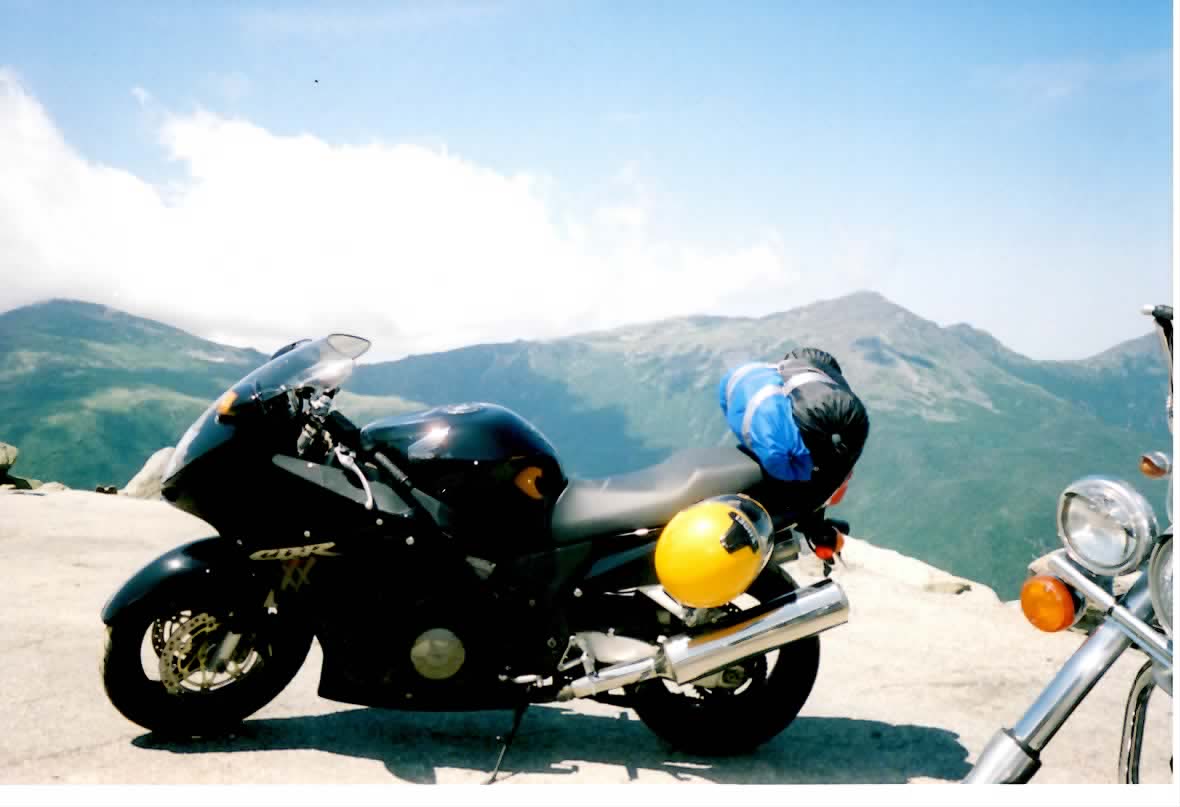
1999, Yosh RS3 with K&N & PCIII: 137 hp at 9600 81 tq at 7100
-
*Updated mystery hose identified* as I get deeper there are more??'s
cyoungesq replied to cecome's topic in The Garage
Re: those holes ... any chance someone was shooting NO2 into the intakes? Very symmetrical & can't think of any other reason to do that. Dunno about how those stacks would affect performance or that hose. Sorry. -
Do our '99's have an active limiter? I thought that didn't go into effect till 2000+
-
Windproof Waterproof warming layer
cyoungesq replied to cyoungesq's topic in Useful Product Links & Vendor Reviews
I tested it on a 1200 mile ride and it did fairly well. It is a bit like a wet-suit layer, except that it does have a fabric lining. Snug around the neck and wrists. Awesomely waterproof, and with a thin thermal layer underneath, it retained heat and did not cause sweating. Without the thin thermal layer underneath, I think that you are right ... it would not be able to wick away body moisture. It is a pretty nice wind and waterproof layer & was very comfortable in the colder fall New England. Down South, I took it off as it was 70+ F -
http://www.motobike.jp/product-list/79 ... converting yen, looks to be @ 9,400 u.s $
-
Aerocharger's reply to my inquiry .... Christian, Thanks for your interest in the Aerocharger Turbo. We do not manufacture a kit for any of the blackbird bikes. If you would like to build the kit yourself or have a performance shop build the kit you would need a 53 series with 143/300 trim. This turbo would cost $2050. If you have questions let me know. Thanks, -- Andrew Dey Design Engineer HiPerformance, LLC 913.541.0200
-
something like this? http://www.blackbird.ru/turbo/CBR%201100%2...Turbo%20Kit.htm
-
never applied anything to the pads or their brackets ... just cleaned up their new home all nice.
-
Windproof Waterproof warming layer
cyoungesq posted a topic in Useful Product Links & Vendor Reviews
Just got this in and think it's great for those long cold rides. Works as a layer over the cotton/merino wool thermal top and under a jacket/armor. U wont need anything else except maybe a T-Shirt over it if you don't want the "Iron Man" look. Waterproof, windproof and like wearing a sealskin shirt. Totally kills the chills. http://www.coloradokayak.com/NRS-Mystery-S...Mens-Longsleeve -
shelf is not big enough for the two. inside the side fairing works perfectly.
-
H7 I got the 5000 55w and it is a brilliant, unnatural white that really lights up the night. be sure to get two and be sure to specify 55w for each. on my '99, it was plug and play - no extra sealing needed. a little dielectric grease for the connections maybe.
-
Not so much a sacrifice in power as in smoothness. A little plateau in HP, but it seems its more that the AF "wobbles" quite a bit more than stock with them out causing a noticable "mushiness" (not lag) in acceleration. AF goes rich then lean from 2500 to 3700 before leveling out again. I hear that's one reason they put them in ... to smooth out the lower end.
-
There was a PC V, headers, and a really good tuner. The tuner had done a number of zx14s & showed us a few before-and-after maps (butterflies in then out) with the same increase up top. Some very minor sacrifice down low in the 2500 - 3500 rpms.
-
just back from dyno today ... me on my 99 bird & buddy on his 09 zx14. Removing the butterflies gave him a 14 hp increase to 174 and 4 lbs torque to 103. pretty impressive. Looks like they might help smooth out some "mushiness" between 2500 & 3500 rpms where the AF wavers.
-
Great prices on slim ballast HID
cyoungesq replied to Dion's topic in Useful Product Links & Vendor Reviews
I just put in the dual 55w w/ 5300 light and can't believe i didn't do it long ago. awesome light & easy install. i'm in the camp that believes in doing whatever we need to do to be seen - accordingly the superbright "unnatural" spectrum i think greatly increases day & night visibility to others. reflections off reflective street signs are almost glaring w/ high beam on. I just installed a volt-monitor from twisted throttle - indicates that when running both high/low lights at idle w/ brake lights on, charging is under 11.5. maybe the 2 yr old battery. -
Apparently the guys at the Kawi factory used real soft screws and gobs of locktite to hold the butterflies in. You gotta heat up your #2 phillips screwdriver till its red-hot, hold it on the screw for 30 to 40 seconds to melt the locktite & then back em out real careful. Its almost like they knew people were gonna try it
-
for me, turns out it was a warped front brake disc/rotor. Just put on new ones and the vibration is gone. Must've been just slightly warped ... no brake pulsing at all. First did balancing, then new tire/rim with new bearings. Helped, but did not resolve. New rotors did the trick .... now no vibration at all.
-
im gonna have an hid bulb (replacement for an H7) to go with each of the two 35w ballasts too. got two new sets that just came in today, but im only swapping the ballasts for the brighter 55w & they come with the new hid bulbs. the 35w ballasts will have about 1 hr on them & bulbs will be NIB
-
I'm about to have two extra ballasts from these guys (35w ballasts): https://www.ddmtuning.com/index.php?pcsid=n...ent=61&pg=1 lemme know if you want em / think they would work for you. [i bought the double set but failed to specify 55w instead of 35w ... ordered a new set w/ 55w & will have the 35w left over]
-
New Aluminum Frame Plugs
cyoungesq replied to John01XX's topic in The Sales Floor -- For Sale/Wanted
these shrooms are awesome, fit perfectly & match the OEM bolts exactly. just the right finishing touch. Thanks!!!! -
new wheel, tire, bearings, & big improvement ... BUT, still a pulsing slight vibration from about 90 to 115. Pulsing as in 1 second of vibration, 1 second of smooth, etc... Starting to think maybe a warped rotor. What else could it be?
-
I have had the EXACT issue - a vibration between @ 85 & 110 that really rattles the bars, gagues and the mirrors. Turns out that it was most likely a balancing issue due to improper balancing of new front tire and banged-up front rim. Just got new tire on new wheel, balanced, new bearings & putting it on tonight & am expecting that to be the end of it. No sign that the steering/head bearings are shot.
-
Great prices on slim ballast HID
cyoungesq replied to Dion's topic in Useful Product Links & Vendor Reviews
thanks for this tip ... just ordered the dual 35/55 5000 & should get them by & have them in by this weekend. -
awesome .... thanks!!
-
A novice wrencher here ... gonna replace front and rear wheel bearings & seals with OEM. Any insights/warnings/advice on methods or tools to use? I had hoped I could just gently tap the bearings out, but am worried about scoring. Should I get a bearing puller? Thanks.