Search the Community
Showing results for tags 'aka.. the Stealth mode valve.'.
Found 1 result
-
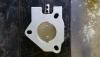
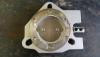
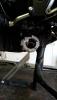
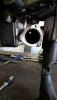
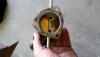
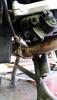
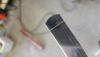
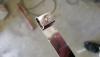
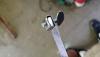
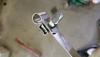
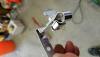
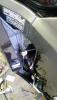
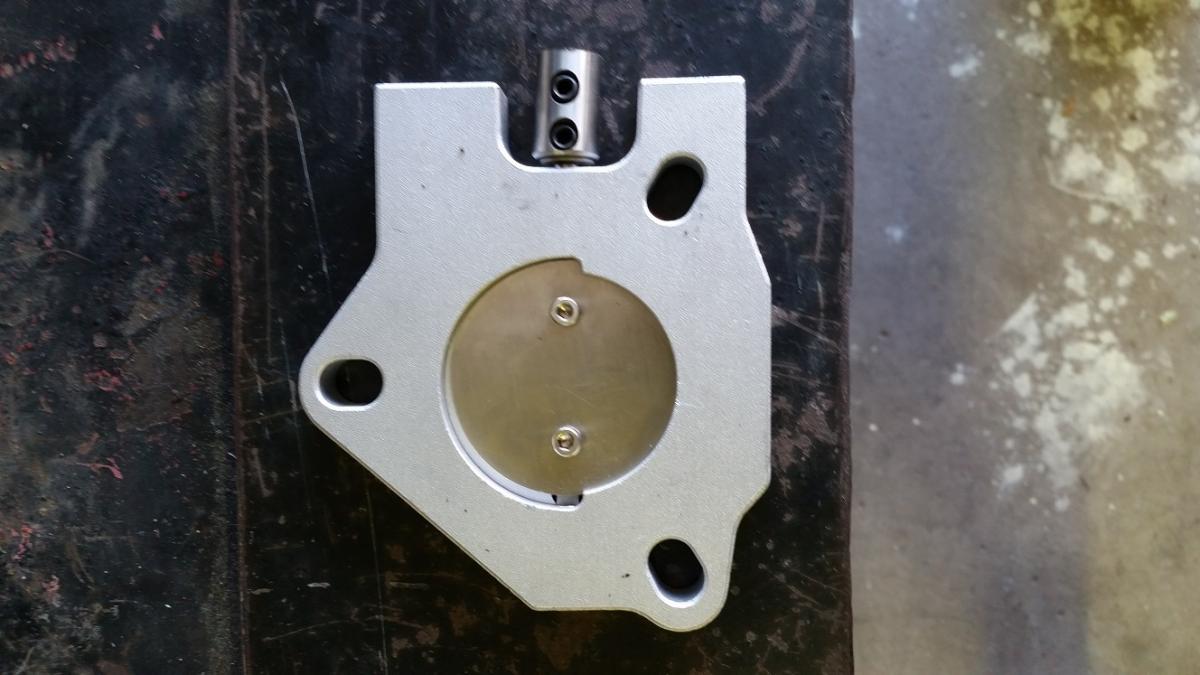
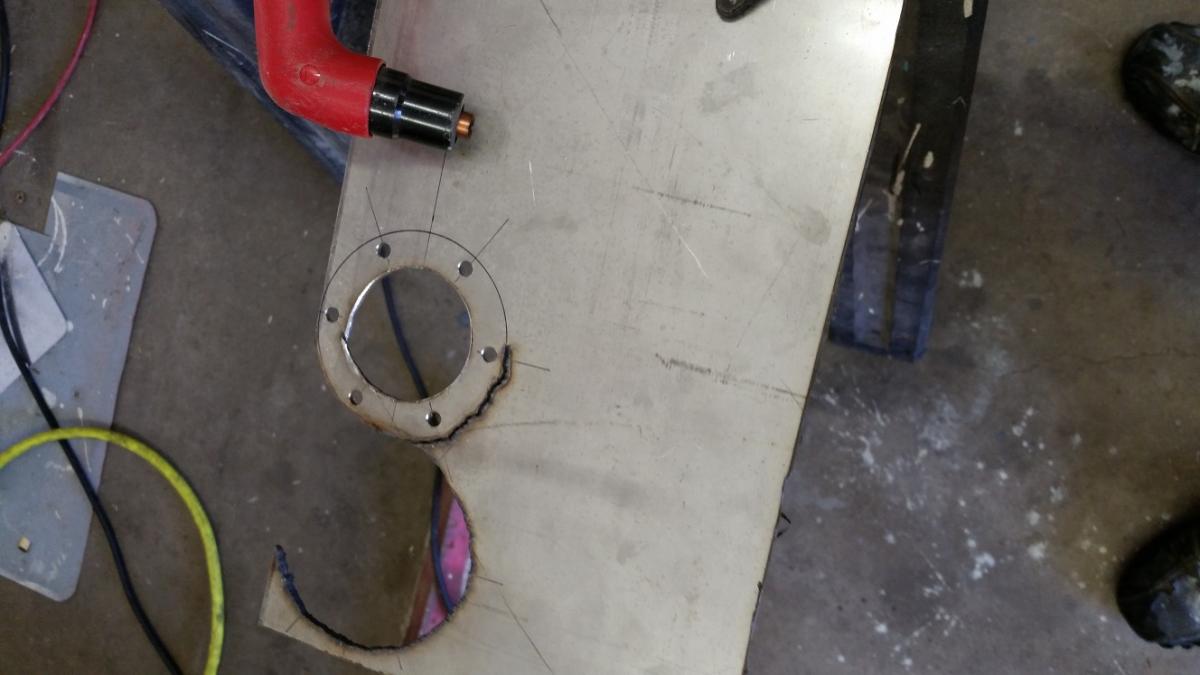
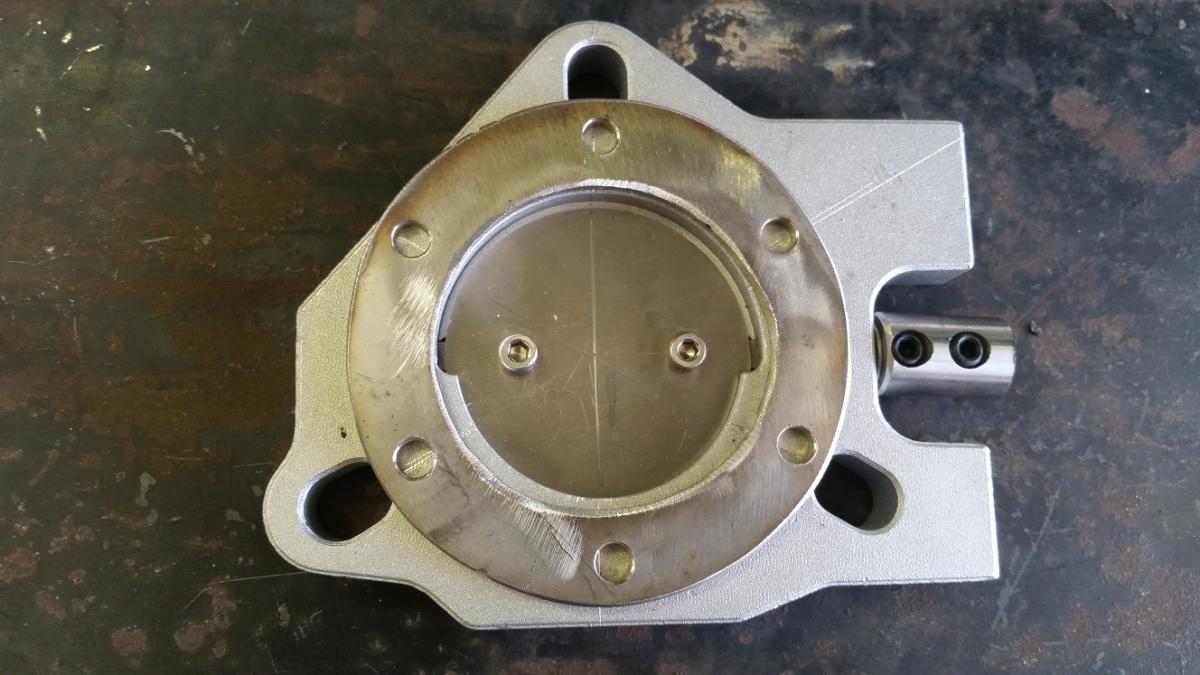
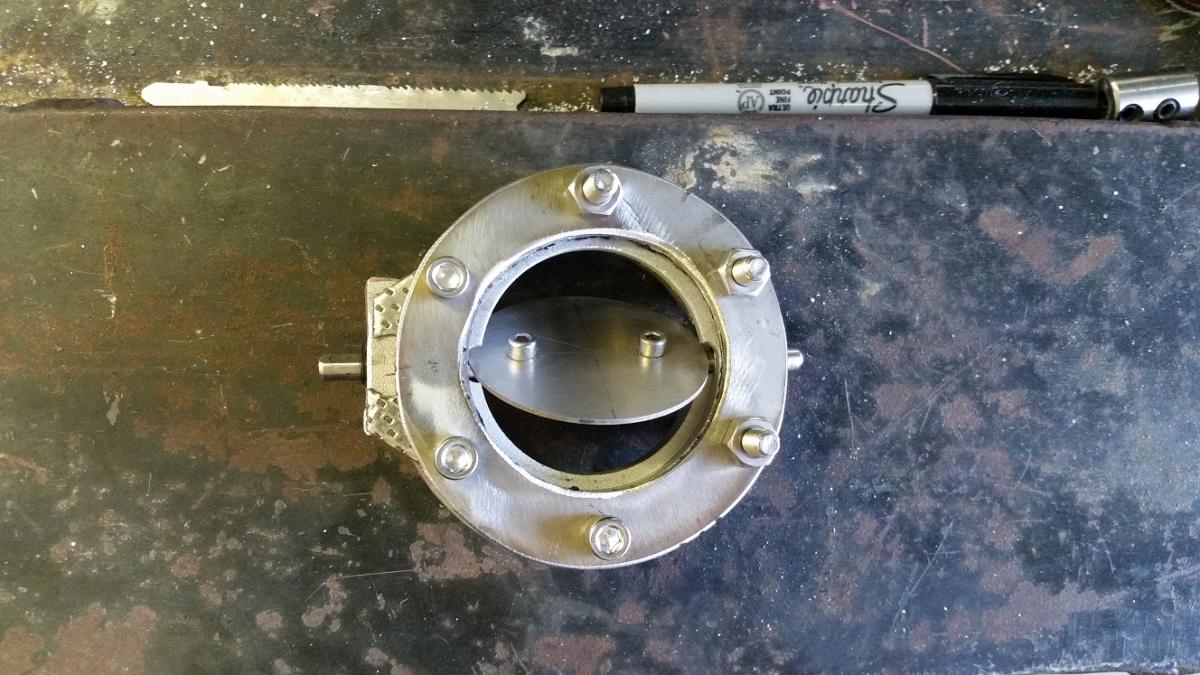
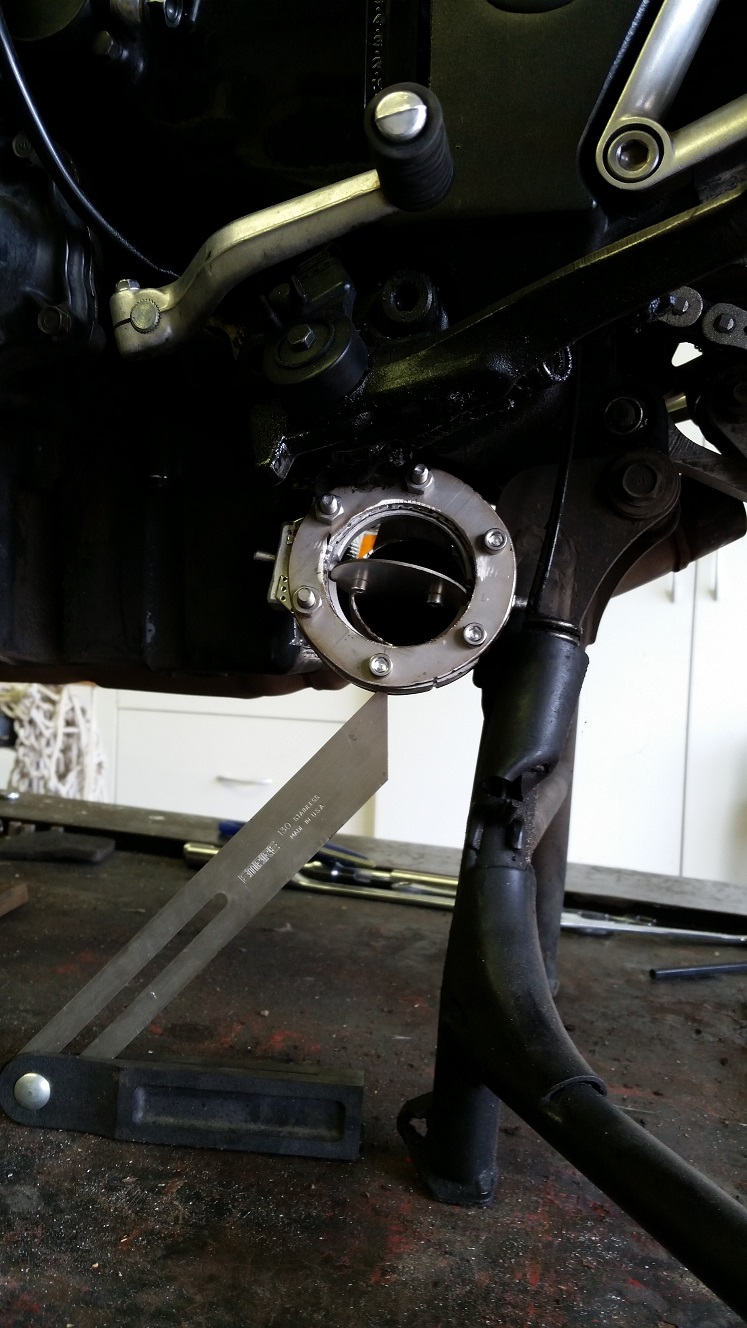
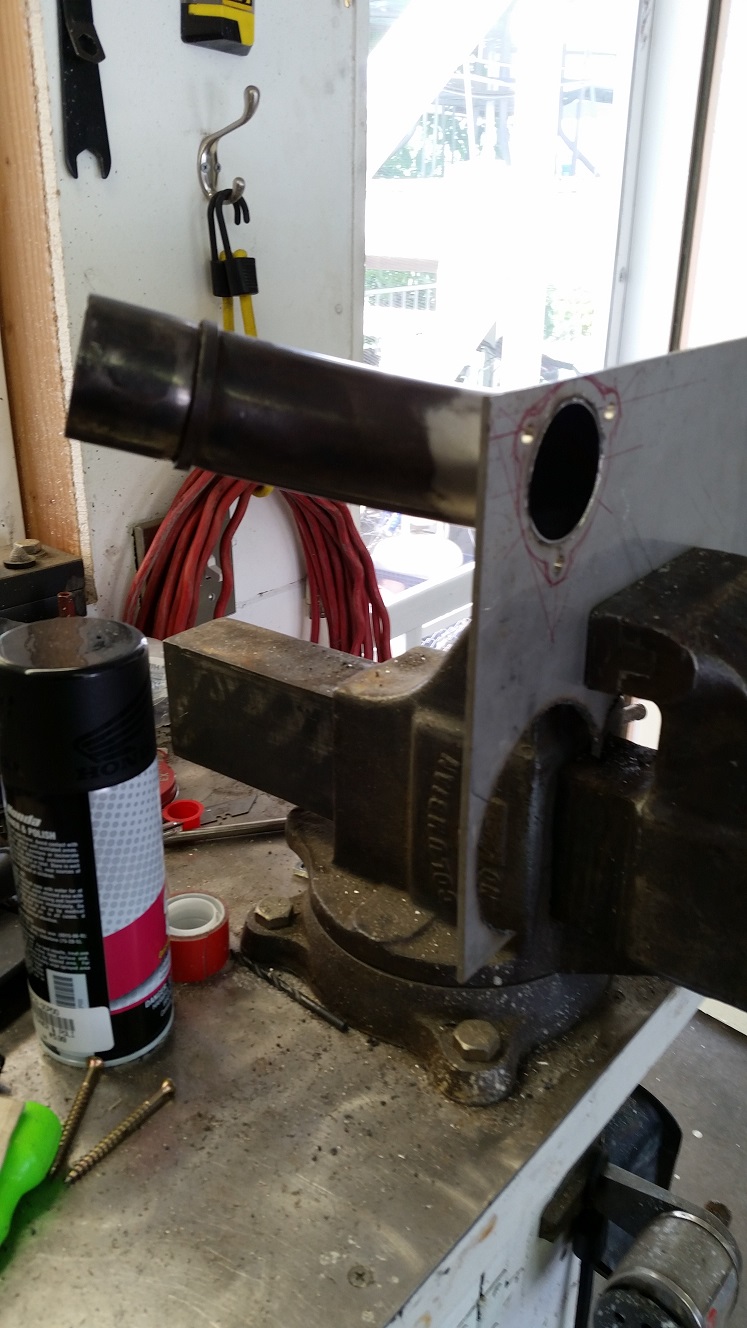
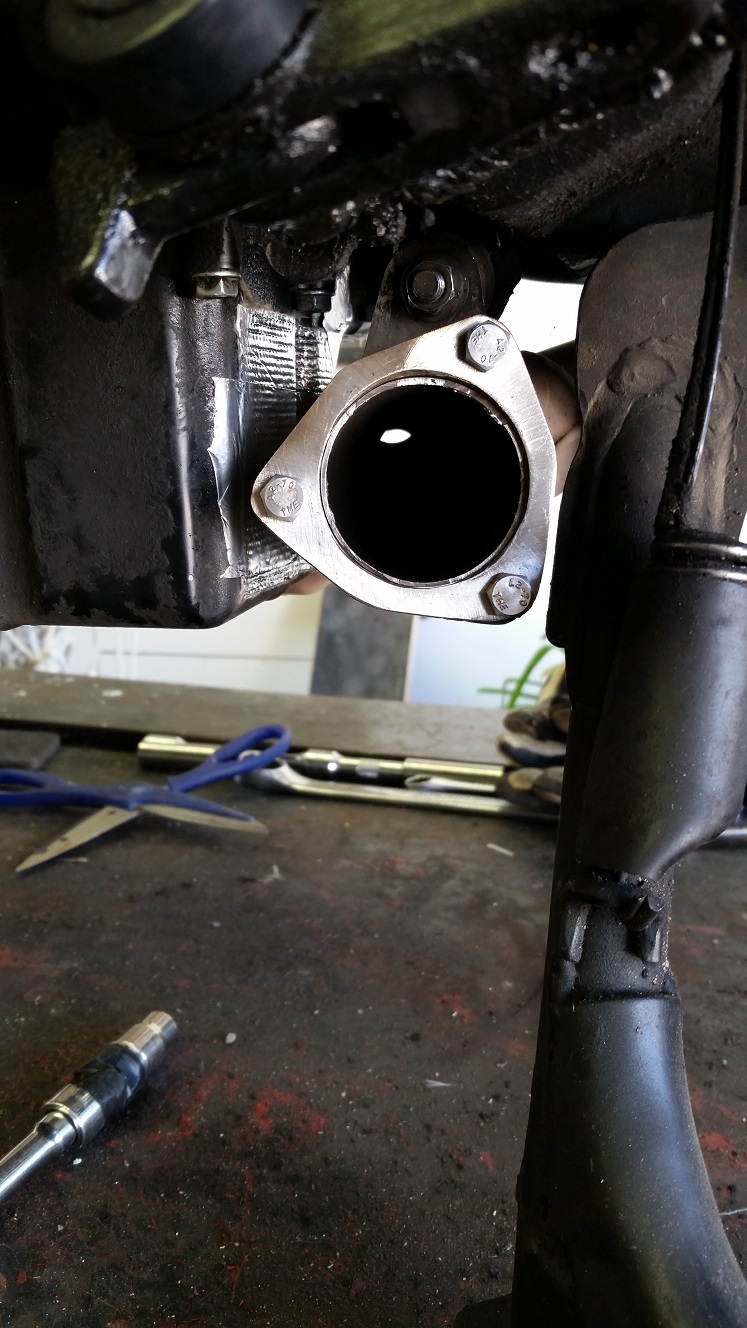
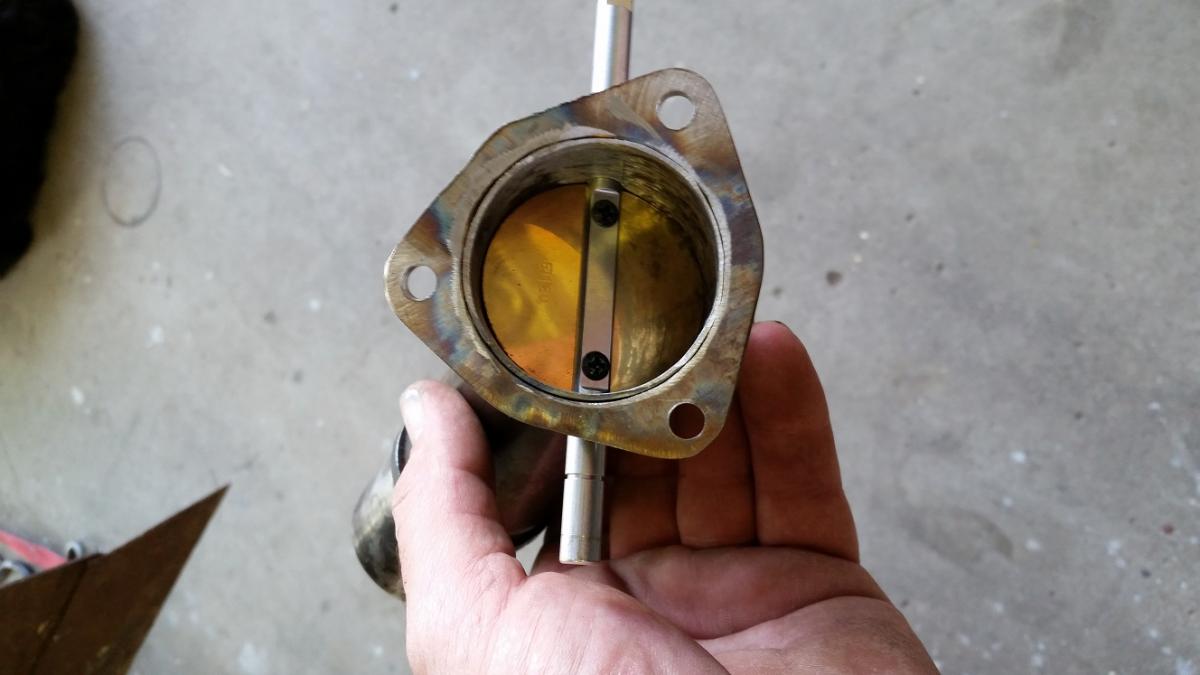
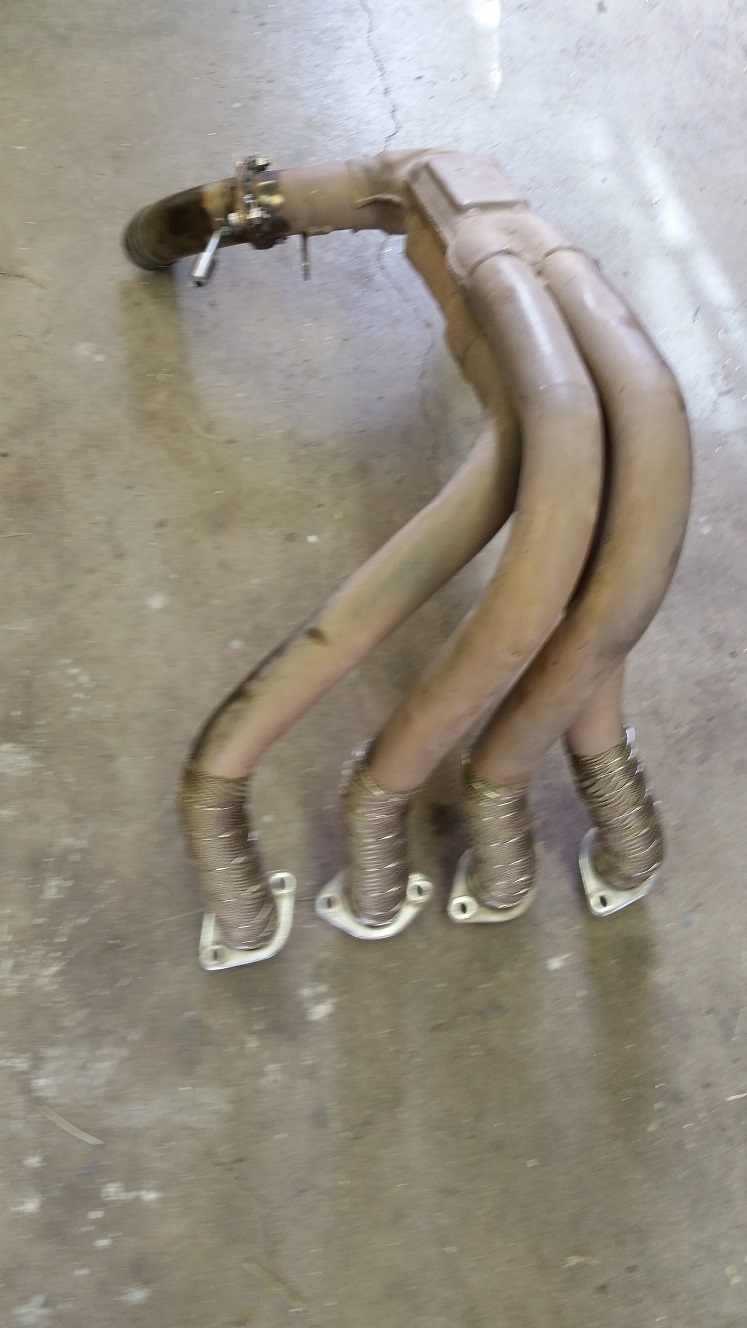
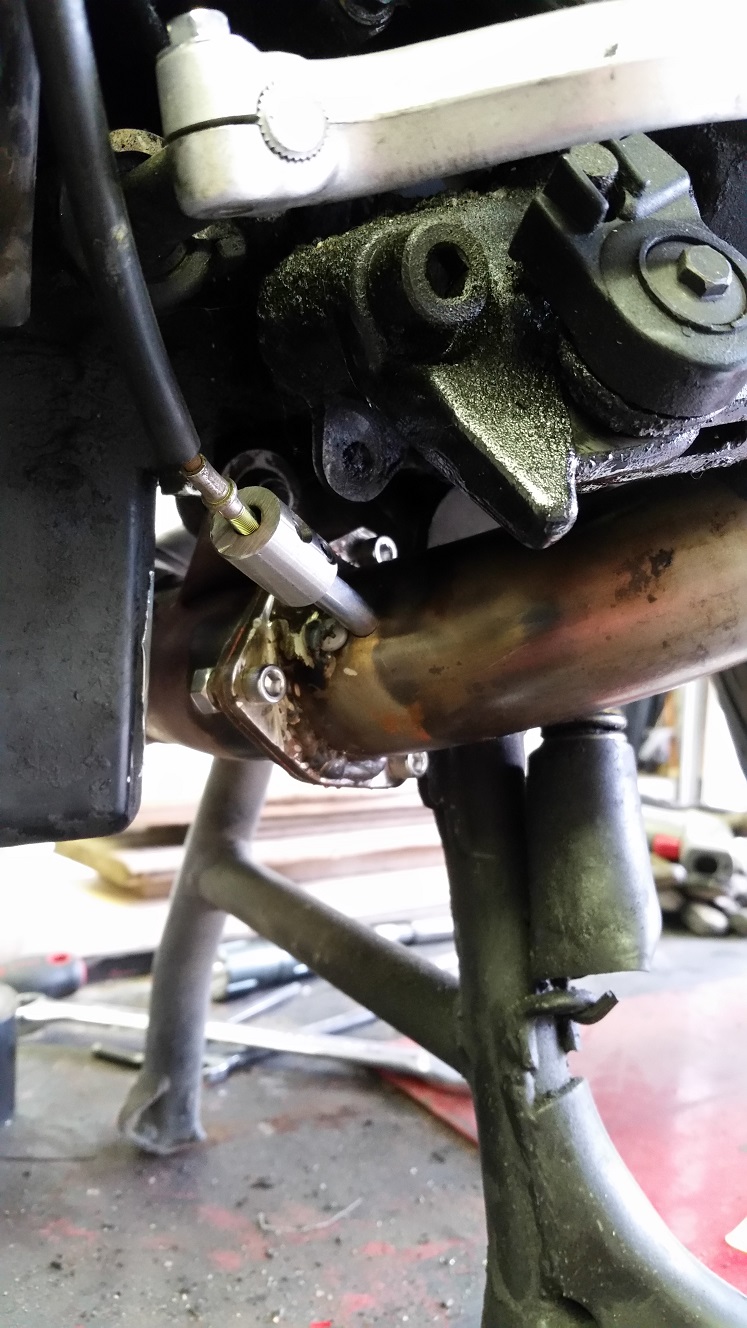
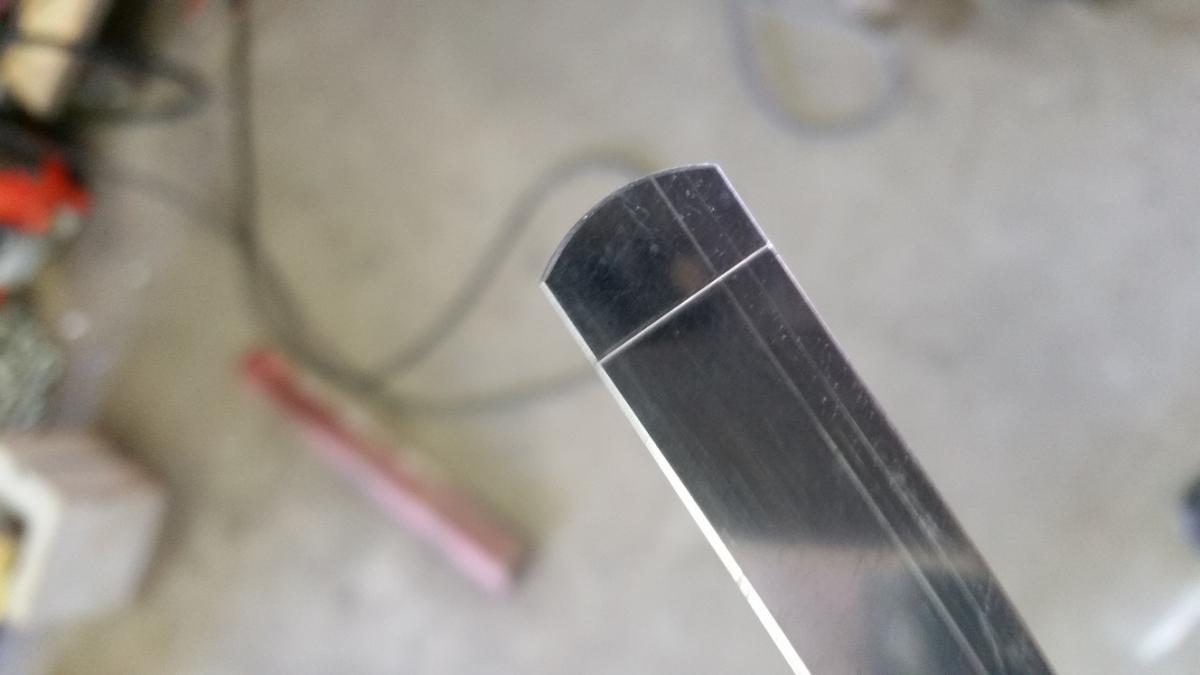
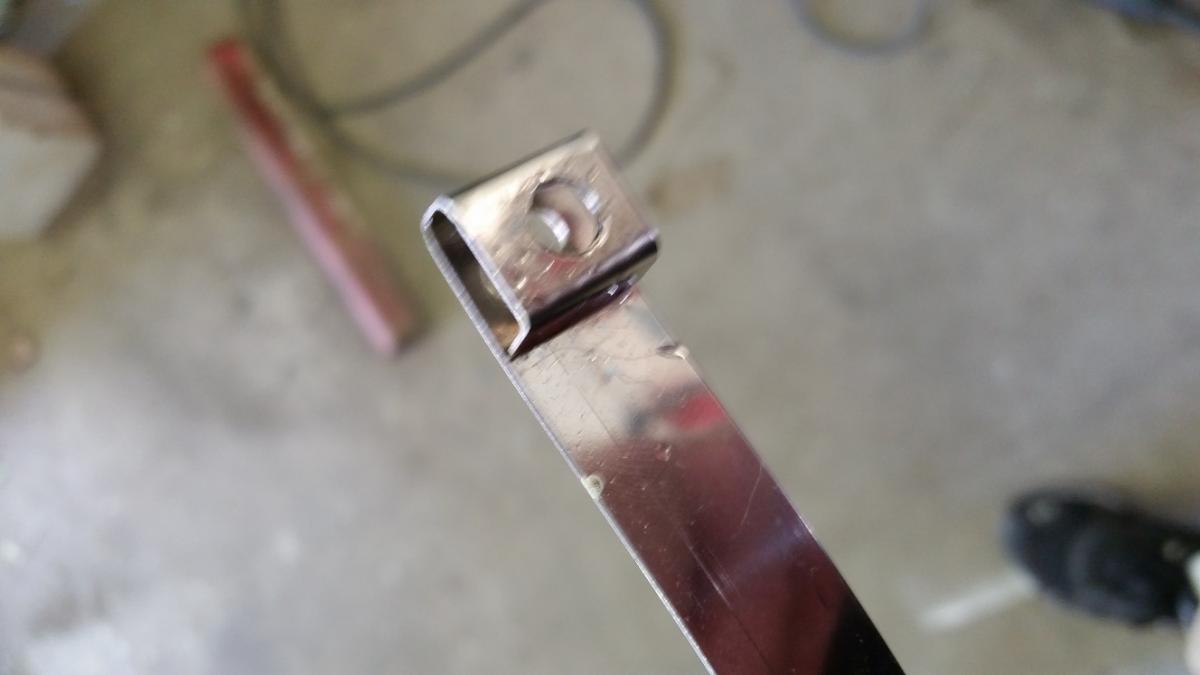
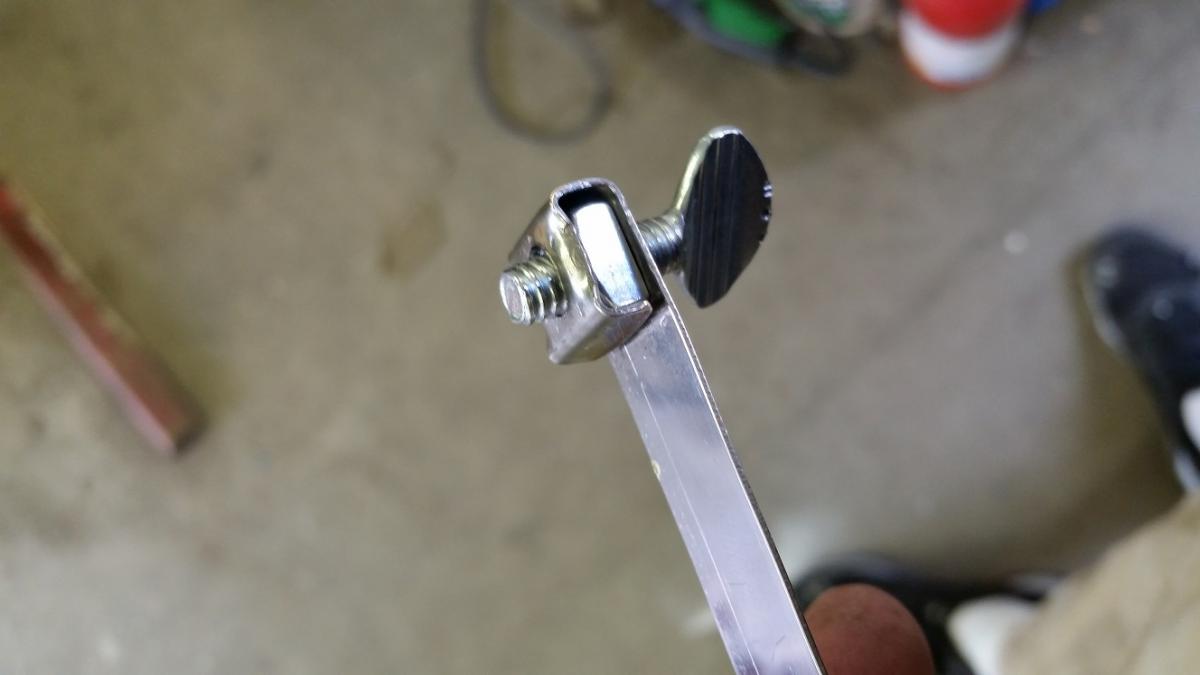
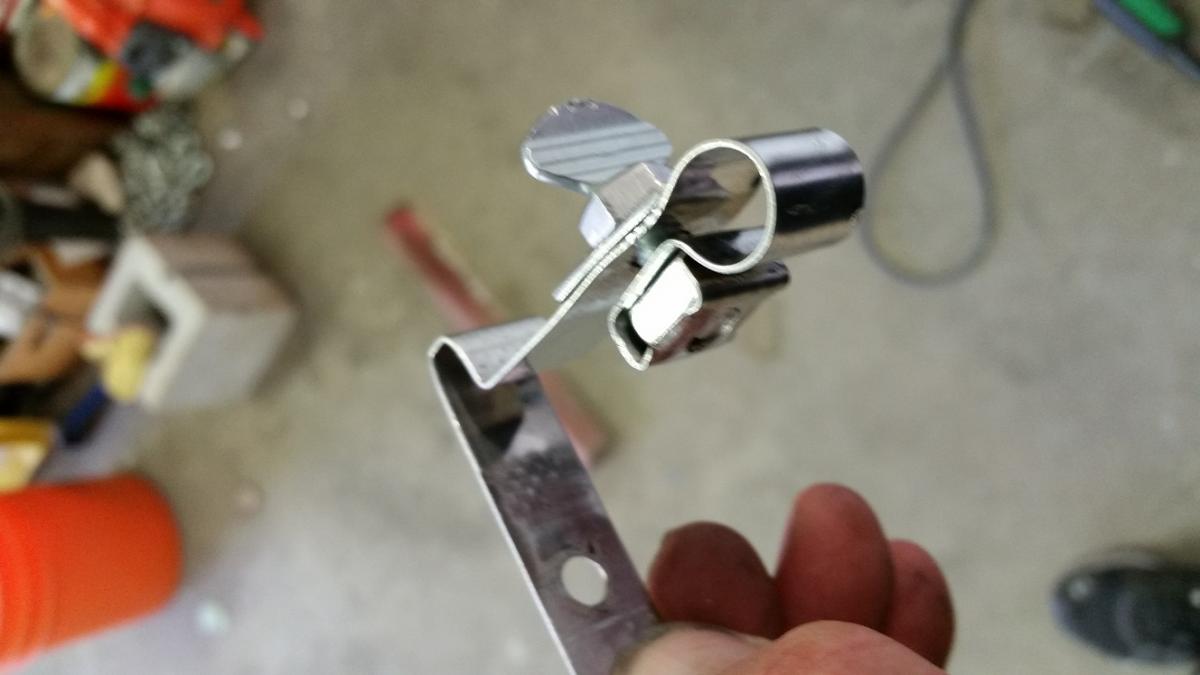
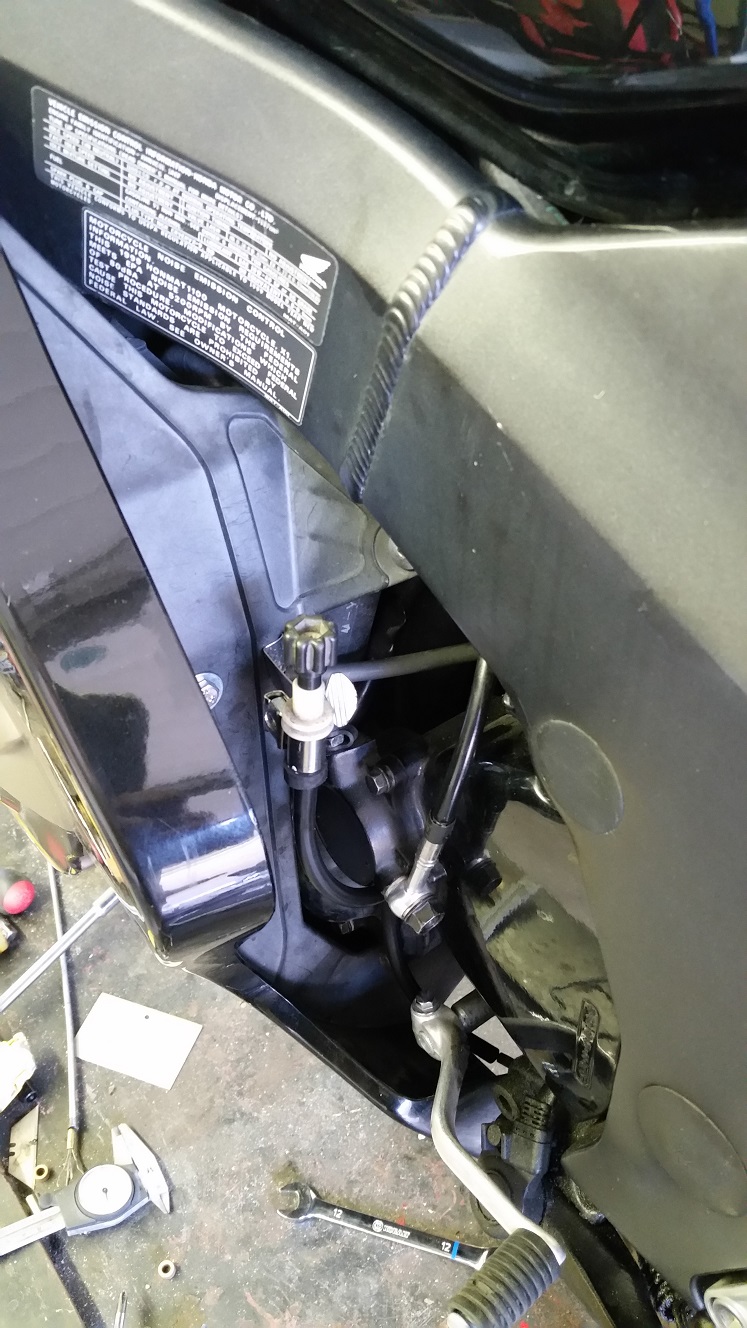
Aka: My Stealth mode valve. I had an idea... I wanted a way to be Stealthy quiet in town. Like a Cat hunting its prey, fast and sneaky… and quiet. I do NOT want to be the obnoxious asshole that runs through town waking everyone up pronouncing “Here I come!” Mainly because I leave for work at a time when most everyone else is just getting out of bed, and secondly because I live in a city with 3 different law enforcement facilities, City, County, and State Patrol stations, that I have to pass by on my commute. Yes all of them. However, once out of town... I wanted to have the benefits of having a free flowing exhaust, More HP, less engine braking, less exhaust heat, etc., and well once out and away… who cares if I make a little noise. So, what to do... Well first off one needs to buy a Free flowing Exhaust, I did that years ago. Then after some trial and error, I finally built myself a baffle system and installed it into the Right side Exhaust canister. Amazingly enough, this muted a lot of the "noise" of the exhaust note but left the tone, so this was a huge improvement, but still not enough. It’s still loud enough that my wife can hear me at the stop sign about ¾ of a mile away, and knows I’m on my way home, or when I’ve driven by the neighborhood to go for a short ride down a windy road. I wanted stealthy quiet (like stock) but, on demand. No… let’s rephrase that… I need Stealth mode. Let’s face it, if the wife can hear me coming from a mile away….. So can the cops. So what I need is a Valve to open and close the left side open exhaust canister. That shouldn’t be too difficult, right? Initially I searched the internet for an exhaust valve of any kind, and what I finally decided on was an Electric Exhaust Cutout Valve. You can find them all day long on Ebay, and from what I can tell they must be popular somewhere, because there’s a lot of them available in different sizes. However, the smallest diameter one I could find in a butterfly configuration was a 2-1/4”. I wanted a butterfly valve and not a slide valve, because I was hoping to install the unit in line with the current exhaust. In other words, cut a section out of the current piping somewhere an install the Valve, hopefully where you can’t see it. So I order a cheap 2-1/4” electric cutout valve off of Ebay, and wait for it to arrive. Once I received the Valve I tested its opening and closing rates, and holy cow is it slow. If I was going to hook up the electric switch, I was only going to do so if it can open and close in under 1 second. So right off the bat I know I’m ditching the servo motor that came with the unit, and I’ll have to figure out some way of manually operating it in the meantime. So here’s the Valve with an additional ¼” shaft coupler on it. Picture 1 Now first off, this thing is huge, and is going to be impossible to hide anywhere on the bike in its current state, so I can see I’m going to be modifying it first. This means I’m going to have to make my own, much smaller mounting flanges. I have a scrap piece of 3/16” stainless steel sheeting that I planned on making the new pipe flanges out of. The only this that sucks is trying to cut thick stainless steel. Luckily for me I have a cheap plasma torch. It does a crude job, and leaves me with A Lot of grinding to do, but it’s the best option I have to get this part done in a day. Picture 2 After making my hands go numb from grinder vibration, I end up with this. Picture 3 Ok, I have to drill some holes and cut down the main body of the unit. Initially I had planned to do this with my woodworker band saw. However, once I looked a little closer I was reminded that I no longer had a metal cutting blade. Doah! OK, I’ll just use my trusty jig saw. Doah, one crappy blade for it as well. Well after a trip to the hardware store and some very slow cutting I end up with this. Picture 4 So after a weekend of work (Saturday and Sunday) I am ready to cut the stock header and test fit it on the bike. Now I knew this was going to be no easy task, because the valve is 2.25” and the header pipe is roughly 1.9”. This means where ever I cut the pipe I’m going to have to flare the ends of the pipe, “a bunch”, in order to clear the butterfly valve and be able to weld them to the flanges I made. So after a lot of thought I cut the stock header just behind the oil pan. That should work, and it lease me a good place to route a control cable or shaft later. Oh but wait… what about the center stand? Picture 5 Fuck, fuck, fuck fuck. This fucking sucks, an entire weekend of work and it won’t fit with the center stand. At this point I’m so mad I can’t see straight and just decide to start drinking. Well time passes, and I wake up the next morning with a few thoughts, maybe I should just make my own butterfly valve and install it onside the existing header pipe. At this point I already have the header cut, so all I would need to do is make some flanges for it and go from there. Yep, that’s what I’ll do. Now to cut down, build, or buy the new butterfly valve. Well after looking at the valve that’s in the 2-1/4” unit, it’s obvious I cannot cut it down and maintain a seal around the shaft on each side of the pipe. So, I’m either going to have to make one, or buy one. Buying one sounds easier. Well after a little searching I end up purchasing a 46 mm butterfly repair valve for a Mikuni carburetor. Let’s hope it fits. In the mean time I’ll get back to work and make the flanges to bolt the header pipe back together. Here’s a couple picture of that. Picture 6 and 7 Well with that part done, which was a big relief, because even if the valve turns out to be a complete failure those flanges will allow me to return the bike to a stock configuration. I wait for a couple days for the valve to arrive, and its game on again. The very next Saturday morning I installed the new butterfly valve in the left side header pipe that I had cut off. The only tricky part about this was, I absolutely had to have the valve perfectly centered in the pipe, which meant that I had to hand drill the holes for the shaft in just the right spots. If I was of just a little, the valve might bind on get hung up when opening or closing. So I took a piece of tape and wrapped the pipe several times in line with where I wanted the valve to be. Then I cut the tape off, found the midpoint, and used it to mark my 2 drill points. It worked perfect. The 34mm valve was a perfect fit, in fact, it’s too perfect, and it’s too tight. So I had to sand down the sides of the butterfly plate, so that if it expanded while in operation, it should still open and close. Here’s a picture of the valve installed in the pipe. Picture 8 While I’m at it and I have the Header off, I decided now would be a great time to possible help the coolant radiator out and install some header wrap. I only wanted the header wrap directly behind the radiator and nowhere else, for a couple of reasons, but I’m not going to get into that discussion right now. So here’s a picture of the Valve and the Header wrap installed. Picture 9 And here’s a picture of the valves location on the bike. Picture 10 As you can see in the last picture, I found a cable that I thought would work perfectly for the manual control part of the job. However, I still did not know how I was going to mount it, and keep tension on it, and make it easily accessible while riding down the road, etc. etc. Well after some thinking I decided to make my own adjustable cable holder mount. The pictures that follow should walk you through that process without explanation. Pictures 11 thru 15 Here’s is a picture of the final location of the control cable knob. Does it look familiar, it should, it’s a spare XX idle adjustment cable I had lying around. Picture 16 Now for the riding test results. Closed the bike starts and idles like a purring kitten. I was actually shocked and how well it idles now. It’s one of those things that you easily forget when install an open aftermarket exhaust and are blown away with the exhaust note. Since I have an Air Fuel ratio gauge installed on my bike, I was also able to notice the fuel ratio had dropped about 0.5 when the valve is closed, and the bike seems to warm up faster. Although I haven’t run any timed comparisons. Additionally the low ends torque seems to be improved compared to the open exhaust. It’s a smoother pull, I think. Now for the cool part, with the Valve closed… it’s quiet. Like sneaky quiet. Oh…. now it’s mischievously fun to ride the bike to work in the morning. Ssssshhhh don’t tell anybody… but I might be hammering the gas leaving this traffic light, or I might be traveling at a very high rate on this connection road. LOL. Oh damn this is fun. Not only that… I can hear my Sena Bluetooth helmet speakers loud and clear. Hu… imagine that, I can hear all kinds of shit over the exhaust. At any time I can reach down and twist the valve to the left, Open, and its play time. I also leave the valve open when I am running down the highway, because at those speeds the exhaust noise is minimal anyways, and due to the lack of engine braking etc, I get better gas mileage. Hmmm… I wonder what I’ll come up with next.