JaBr
-
Posts
291 -
Joined
-
Last visited
-
Days Won
1
Content Type
Profiles
Forums
Gallery
Events
Everything posted by JaBr
-
You do when you drop the bulb holders down deep in the cowl 😪
-
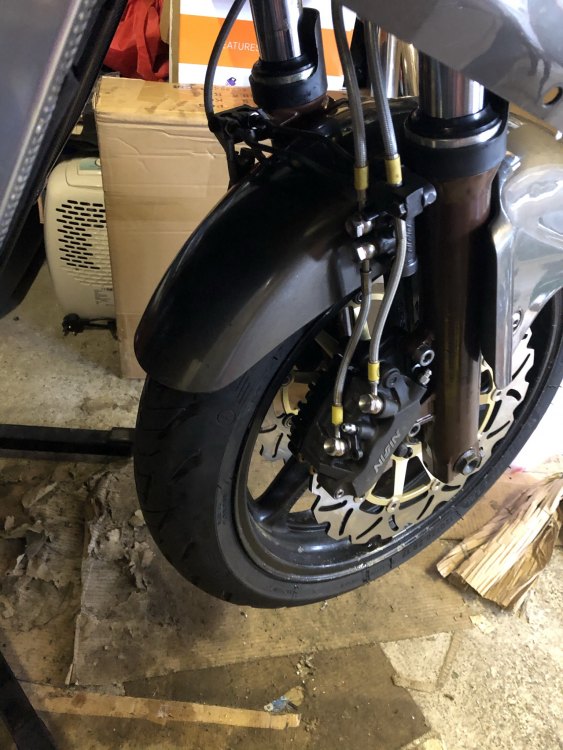
So, yesterday was fun 🙄 Got the new CCT in, very easy, out with the old And in with the new So the next job was to adjust the cameras so they picked up and recorded correctly, easy, however, as soon as I switched the bike on I noticed that only one of the four led lamps on the dash was working. So the nosecone and screen had to be removed as well as the infills as I managed to drop a lamp and holder into the gunnels 🙄 Anyway, that sorted I fitted the rear cowl, it will need replacement as there are pieces missing but that’s no biggie. I thought I’d fit the exhaust cans next, one had previously been held on with a u bolt and manipulation of the tabs to try and make room to fit the gasket ended in one of them snapping off. So not my finest hour. I believe I have found a set of used replacement cans now so I’m happy that I can get that job done. All that is outstanding now is as follows: - Fit plastic protection film to fork legs - Fit exhaust cans - Oil change - Fit side panels and V-Panel It’s certainly been a journey.

-
To be fair I hadn’t even thought about it, I think me blocking off the open vacuum point is probably going to make a difference, why they didn’t seal it when the Scottoiler was removed is beyond me. I’ve ordered a cheap set of gauges from fleabay and I’ll do it when I get those I guess.
-
Will do as soon as it’s done 👍
-
I'll probably stump up for getting the carbs balanced then at some point, I've had the VFR done but the bird is as I bought her. Both the VFR and the Bird seem to suffer from this, it's a shame because apart from a few relatively straightforward to fix known issues they're great bikes.
-
It does go away with the clutch in, 64k miles but wasn't planning on changing the clutch yet, it's barely run in 🙄
-
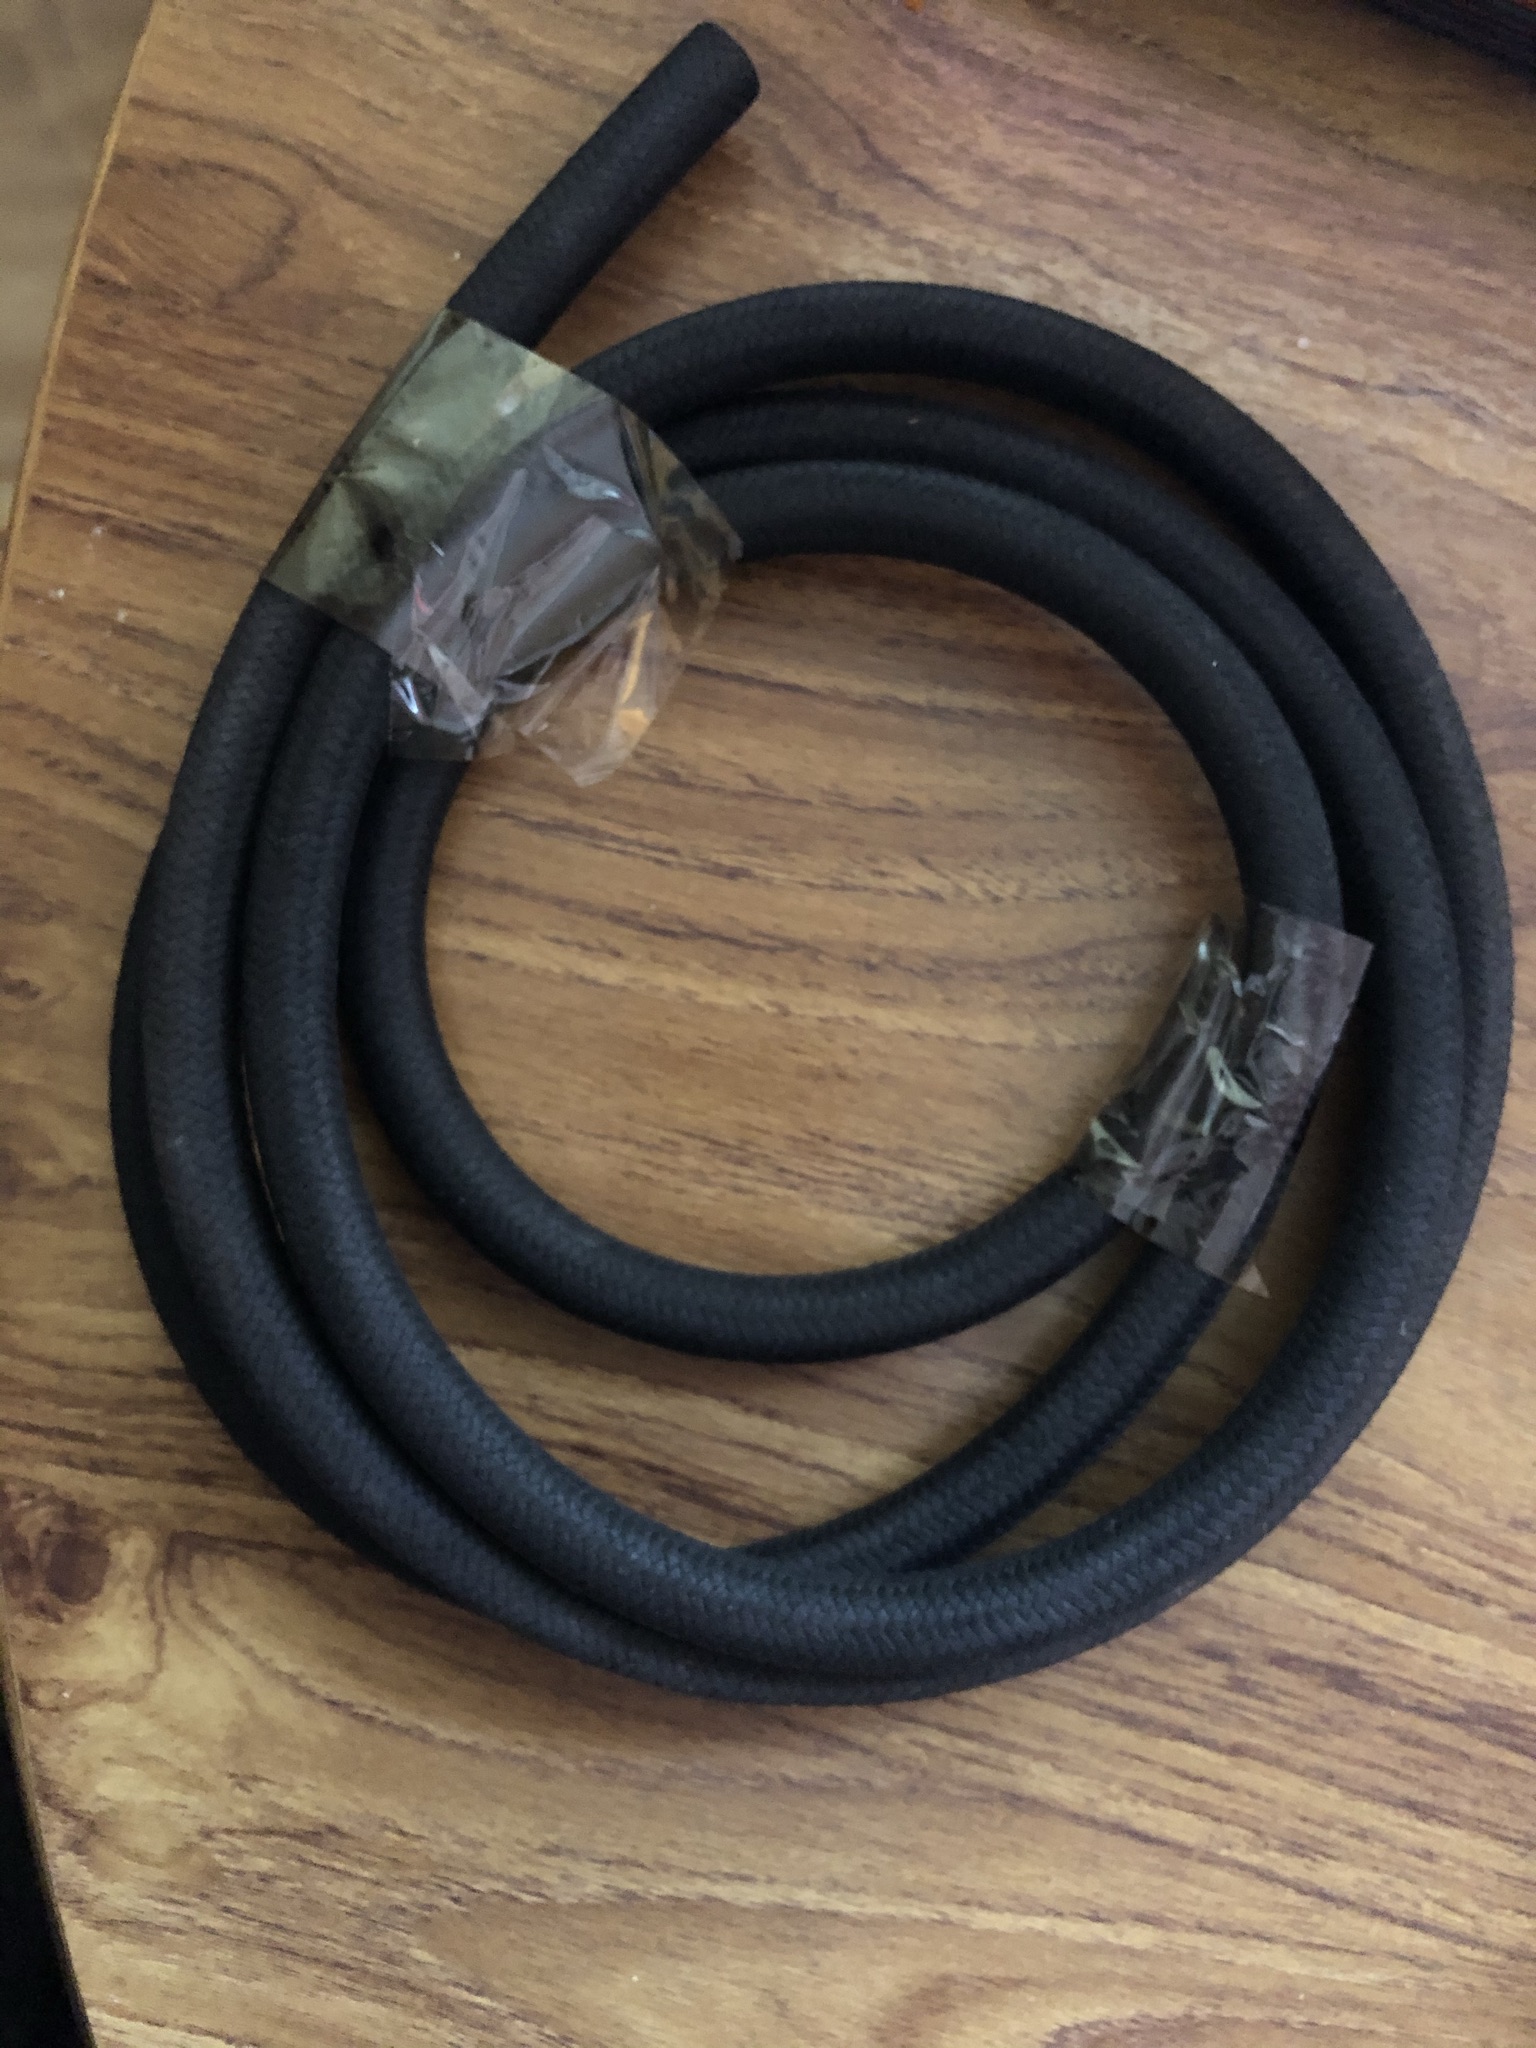
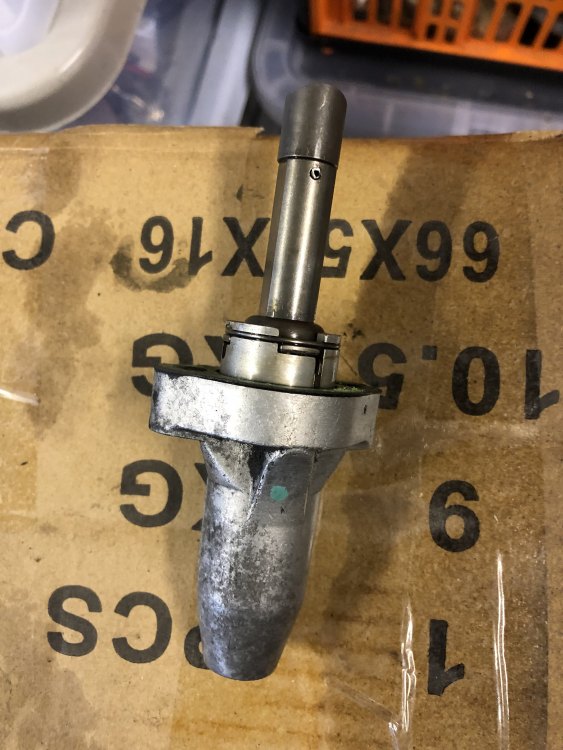
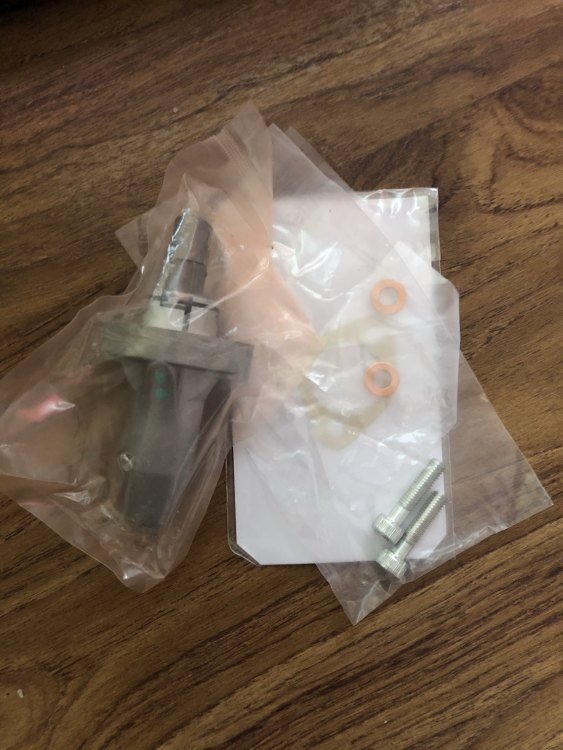
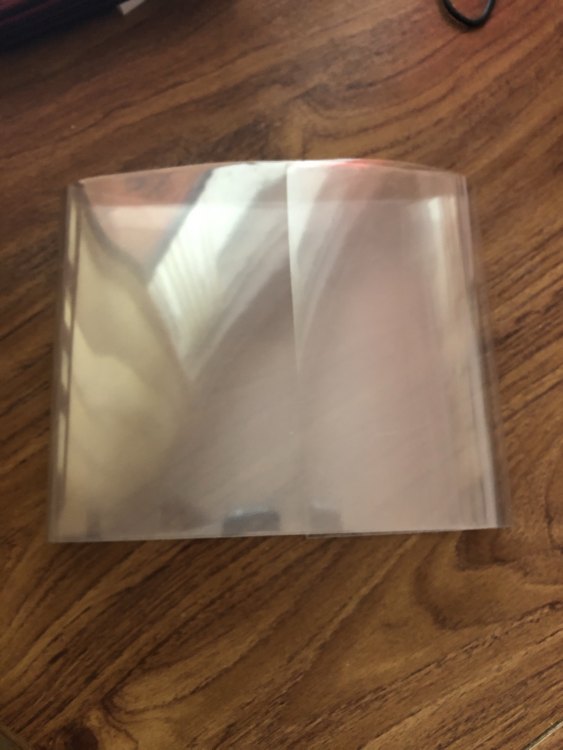
So a few more parts arrived this week, hoping to get these on tomorrow and finally get the last few bits finished. Have booked an appointment for the Manx test but may well be new year now before I can get it in. Once that is done I can register the bird here and ride it again at last. Petrol hose for the tank overflow, conspicuously absent from my bird. Rhino Hide stonechip protection film for the forks, also known as helicopter film as it was originally used for helicopter blades. Jaws upgraded Cam Chain Tensioner

-
Thank you, I have thought of getting a stethoscope in the past but like many things it was not urgent at the time so it got left. I'll see what's available in the UK as thats much cheaper postage
-
Good tip, thank you
-
I'll have to run her up to find that out, cans to fit and then she hopefully starts. Don't remember any rattle at those revs but it's been a while
-
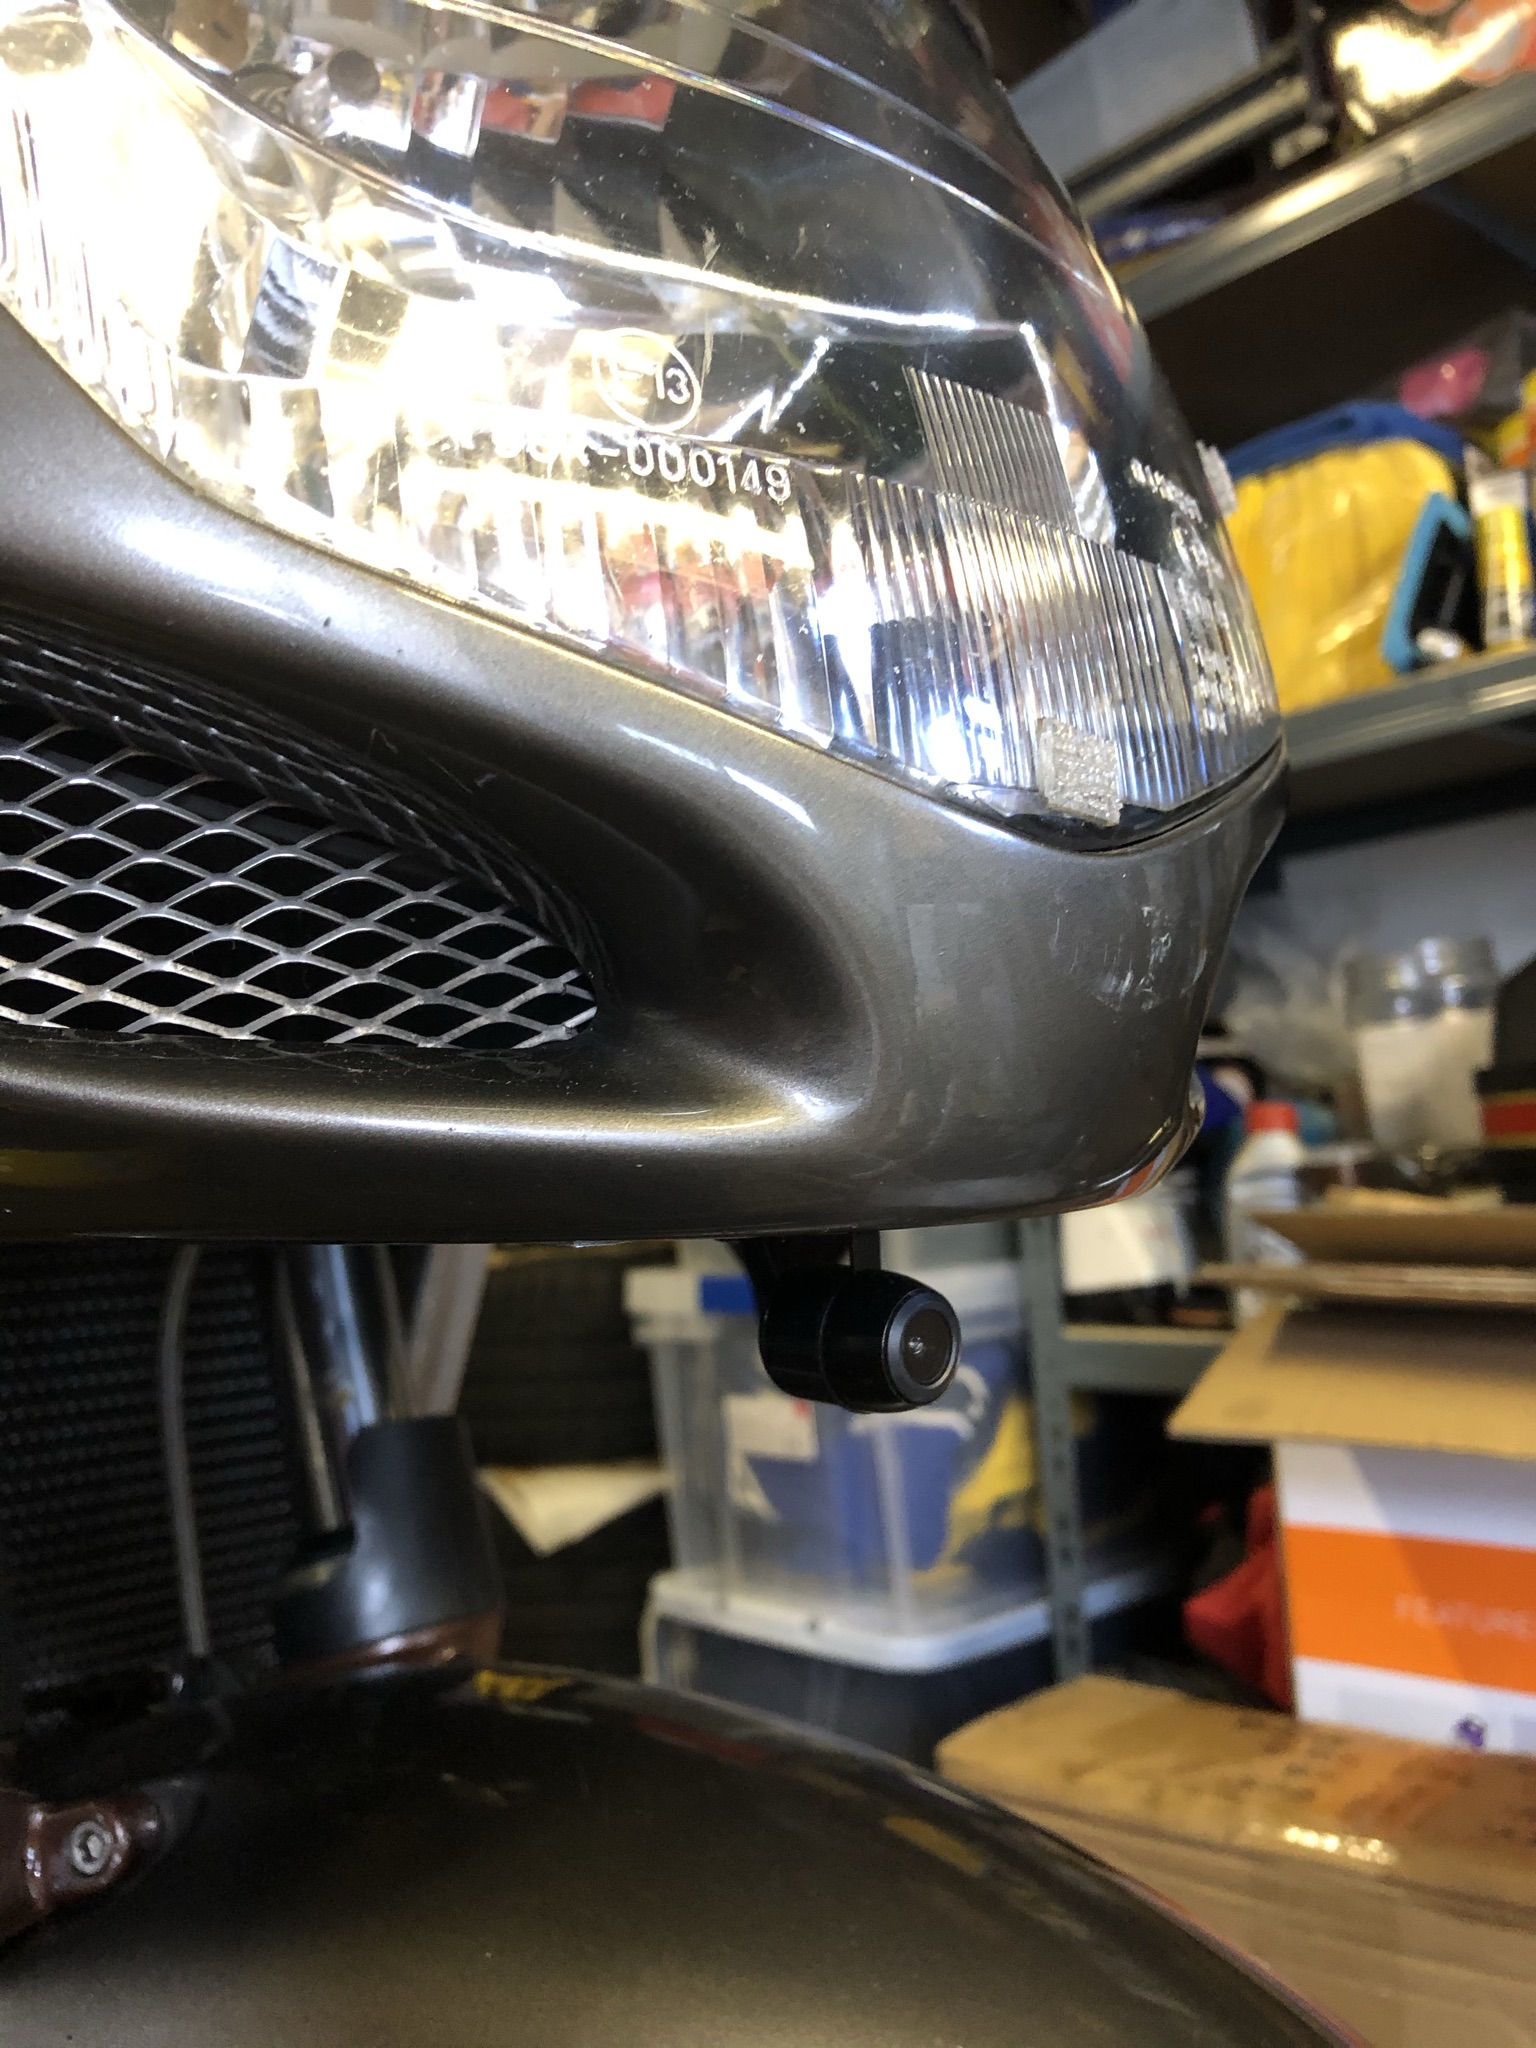
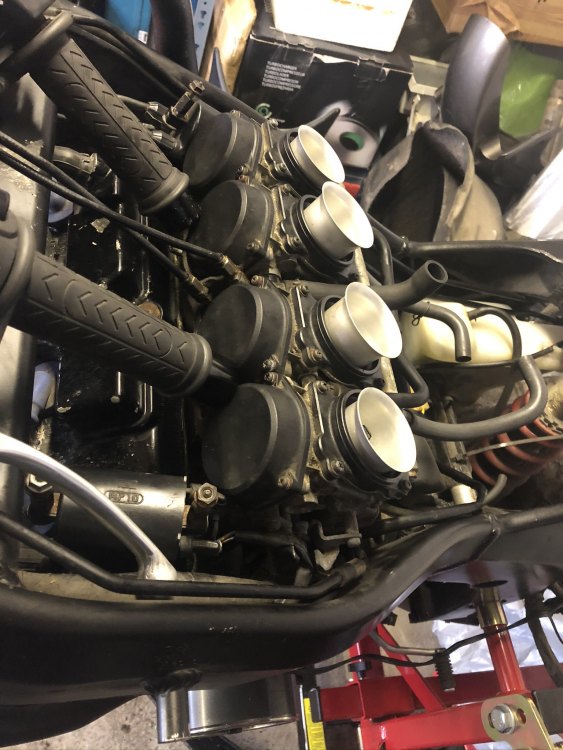
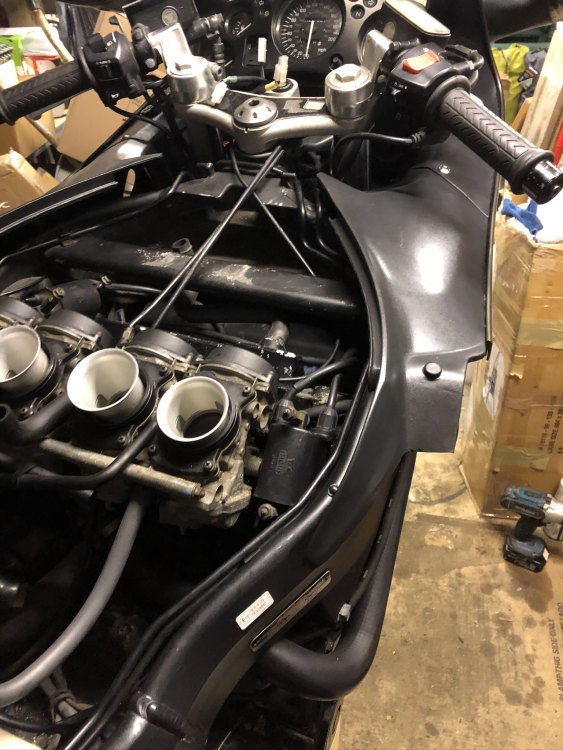
When I finally get the cans on and start it I'll put my ear by the clutch cover and have a listen. If that's not the rattle then I'll look further. Hadn't heard of a PAIR valve until you mentioned it so I looked around the net, not sure mine even has one. I would expect to see something in this image? Mine's a UK model, did they have them fitted?

-
Thanks for the tip, was already doing that and did get some air out, although not much from the brakes, clutch had a bit more in it though. I'm happy with where I've got to now, next step is fit cans, start her up, and then once warm do an oil change. I think she'll be fine on the oil as when the coolant was partially drained it looke like new. It's just the less common, or expensive at the dealers, service items that seem to have been missed by previous owners, bearings and suchlike. I've ordered a jaws CCT as well, I thought the rattle on tickover was the clutch basket like my VFR but not worth taking the chance for such a low cost item.
-
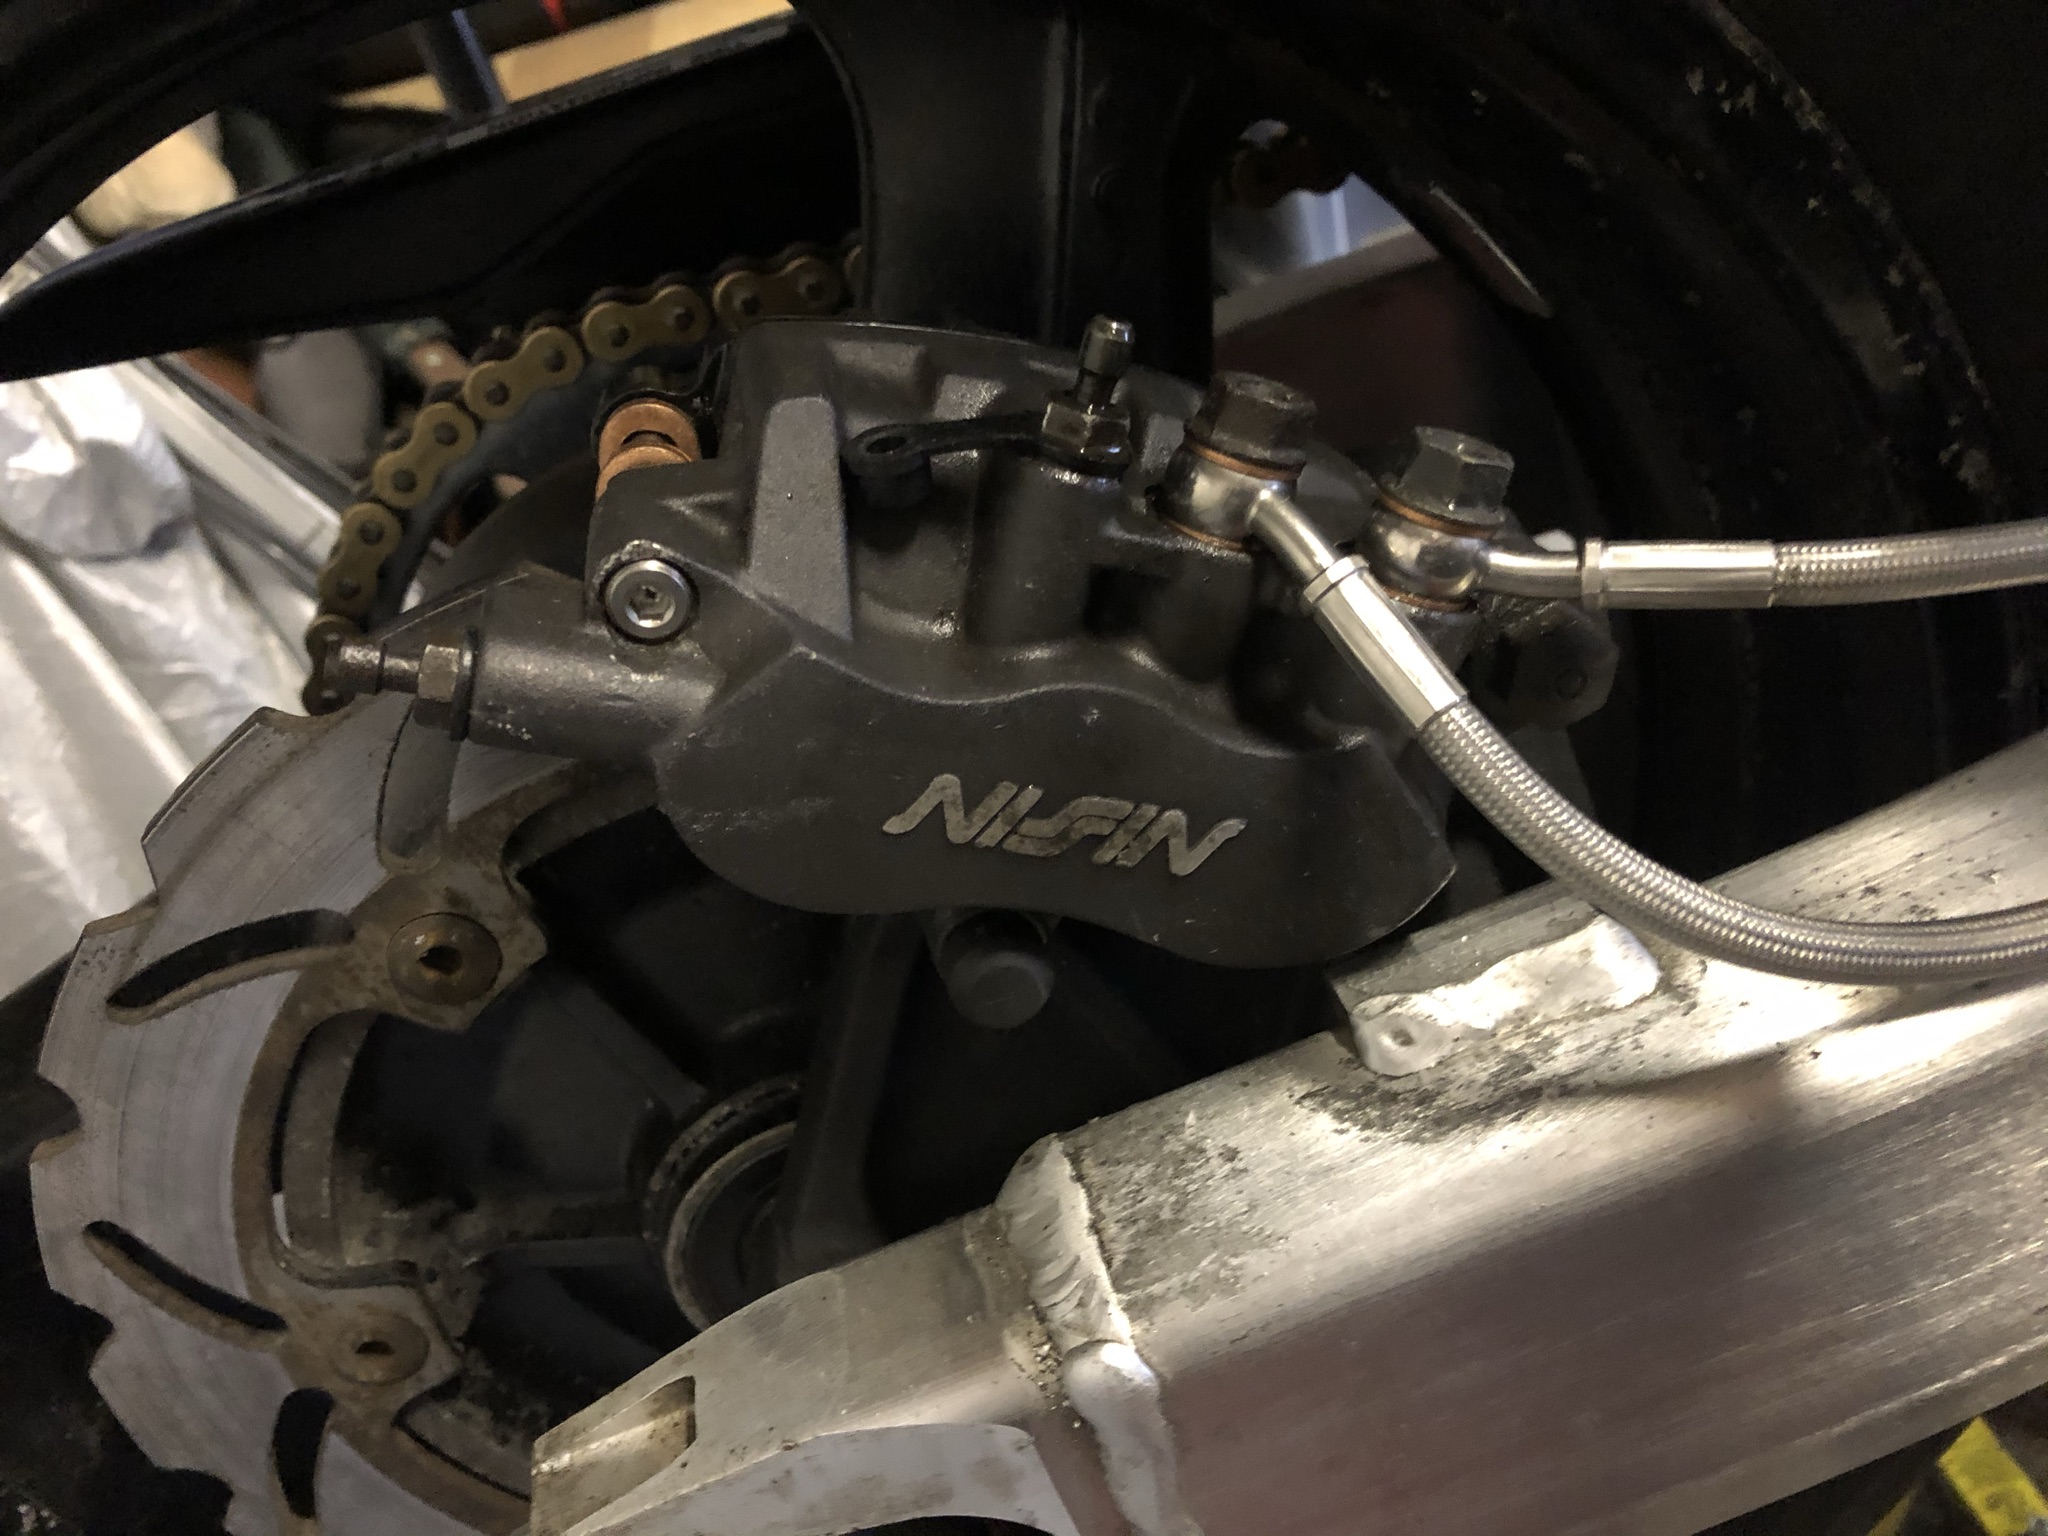
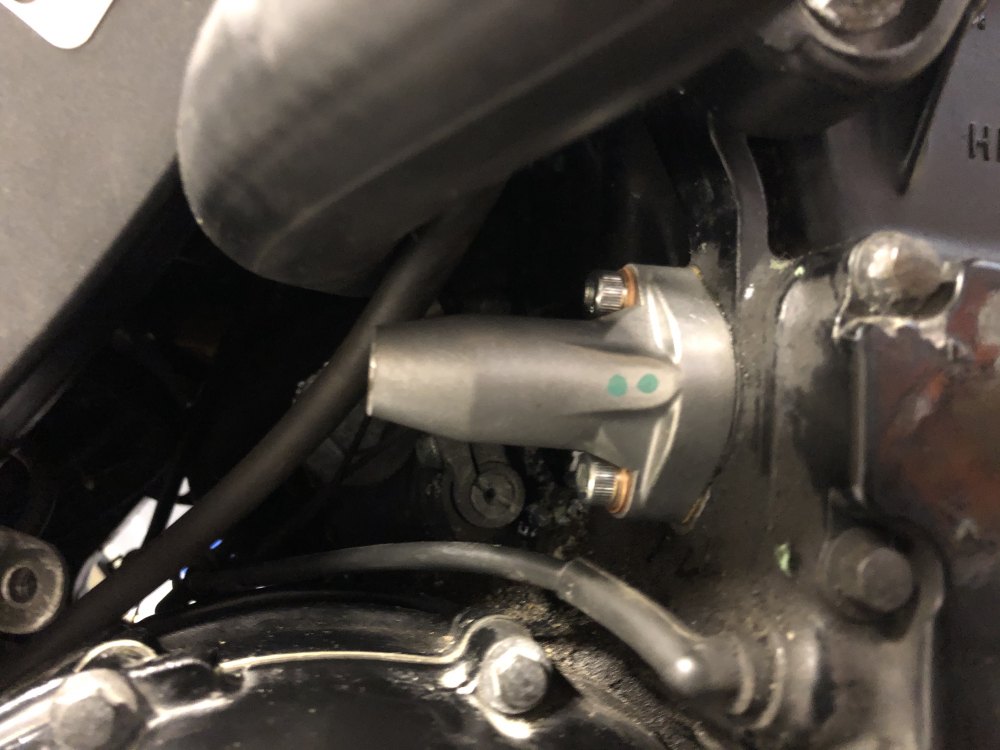
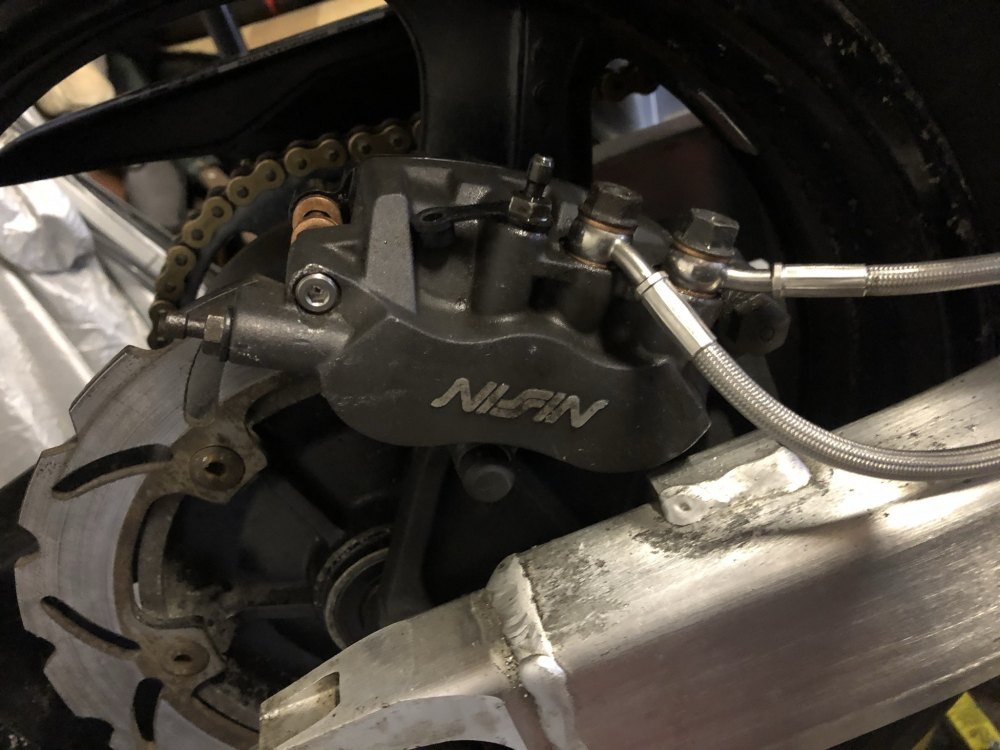
So the full brake bleeding story... Bear in mind the system was completely empty, new brake lines fitted. Much swearing ensued until I invited a friend round to help. Initially I tried somewhat unsuccessfully to bleed the brakes myself following the instructions in the service manual, at this point I nipped out and bought a cheap compressor as I didn't own one but did own a brake bleeder that uses one, long story, anyways. I tried doing it with the compressor with limited success, in the end it was a combination of syringe, pumping and using the compressor that won out. When I/we pumped the pedal / lever we would give it at least 10 pumps before opening the bleed nipple to build up some pressure. First step is to do the rears, basically bleed the centre nipples front and rear one at a time, we did the rear OK and got reasonable pedal, so next we moved to the centres on the front. We tried pushing fluid in through the bleed nipple with the syringe but the valves stopped it somehow. Getting fluid to the right was fine, clear fluid came out, but the left wouldn't bleed properly, I was getting more air than fluid, it turned out that the pipe over the top of the front mudguard had an airlock in it that none of our methods would draw through so we cracked the pipe open at the joint and carefully bled it that way, it took 4 good pumps of the pedal to get all the air out of there but it's in good order now. Next step was to do the outer bleed nipple on the rear, again this is bled by activating the footpedal, it's a linked system but has two completely separate hydraulic circuits. It appears that the rear is activated by a piston that attaches to the left front caliper plate. The fronts were far more straightforward, once again we had to crack open the mudguard pipe to get an airlock out but other than that we simply started with the syringe drawing the air through, used the compressor, and then pumped the lever for good measure. We have good lever pressure but the whole thing needs to be bedded in now. More bleeding fun... the clutch! So I some how caught the clutch lever a few times when moving around the bike, as my slave cylinder was not attached to the bike it pushed the piston right out. I noticed a puddle of fluid under the bike then realised what had happened. I built it back up but having looked at what fluid remained in the reservoir it was obvious a change was needed. Out came the trusty syringe and I drew out all of the dark brown fluid. I cleaned out the reservoir and put some nice new RBF600 in, slowly I drew that through using the syringe and keeping the reservoir topped off until the fluid was clean coming out. Next I pulled a bit more with the compressor, finally a few pumps for good measure. Clutch lever is nice and firm now
-
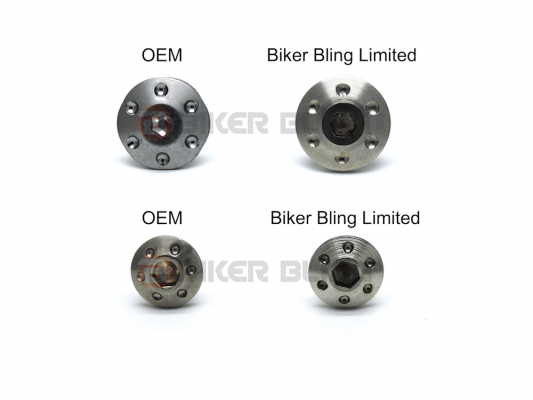
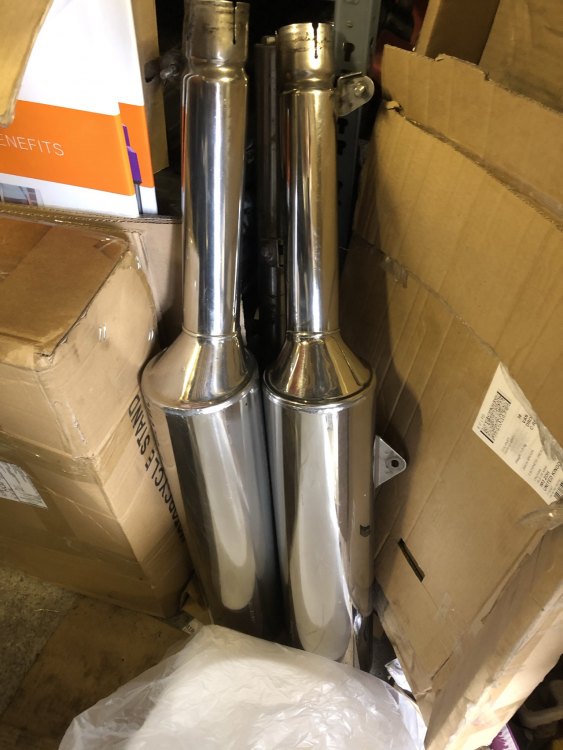
The biker bling site shows a comparative picture of their stainless vs manufacturer original.
-
GB £50 plus postage The tube contains grease, some of the bolts go into stainless nuts and unless grease is used there is a small possibilty they can sieze together
-
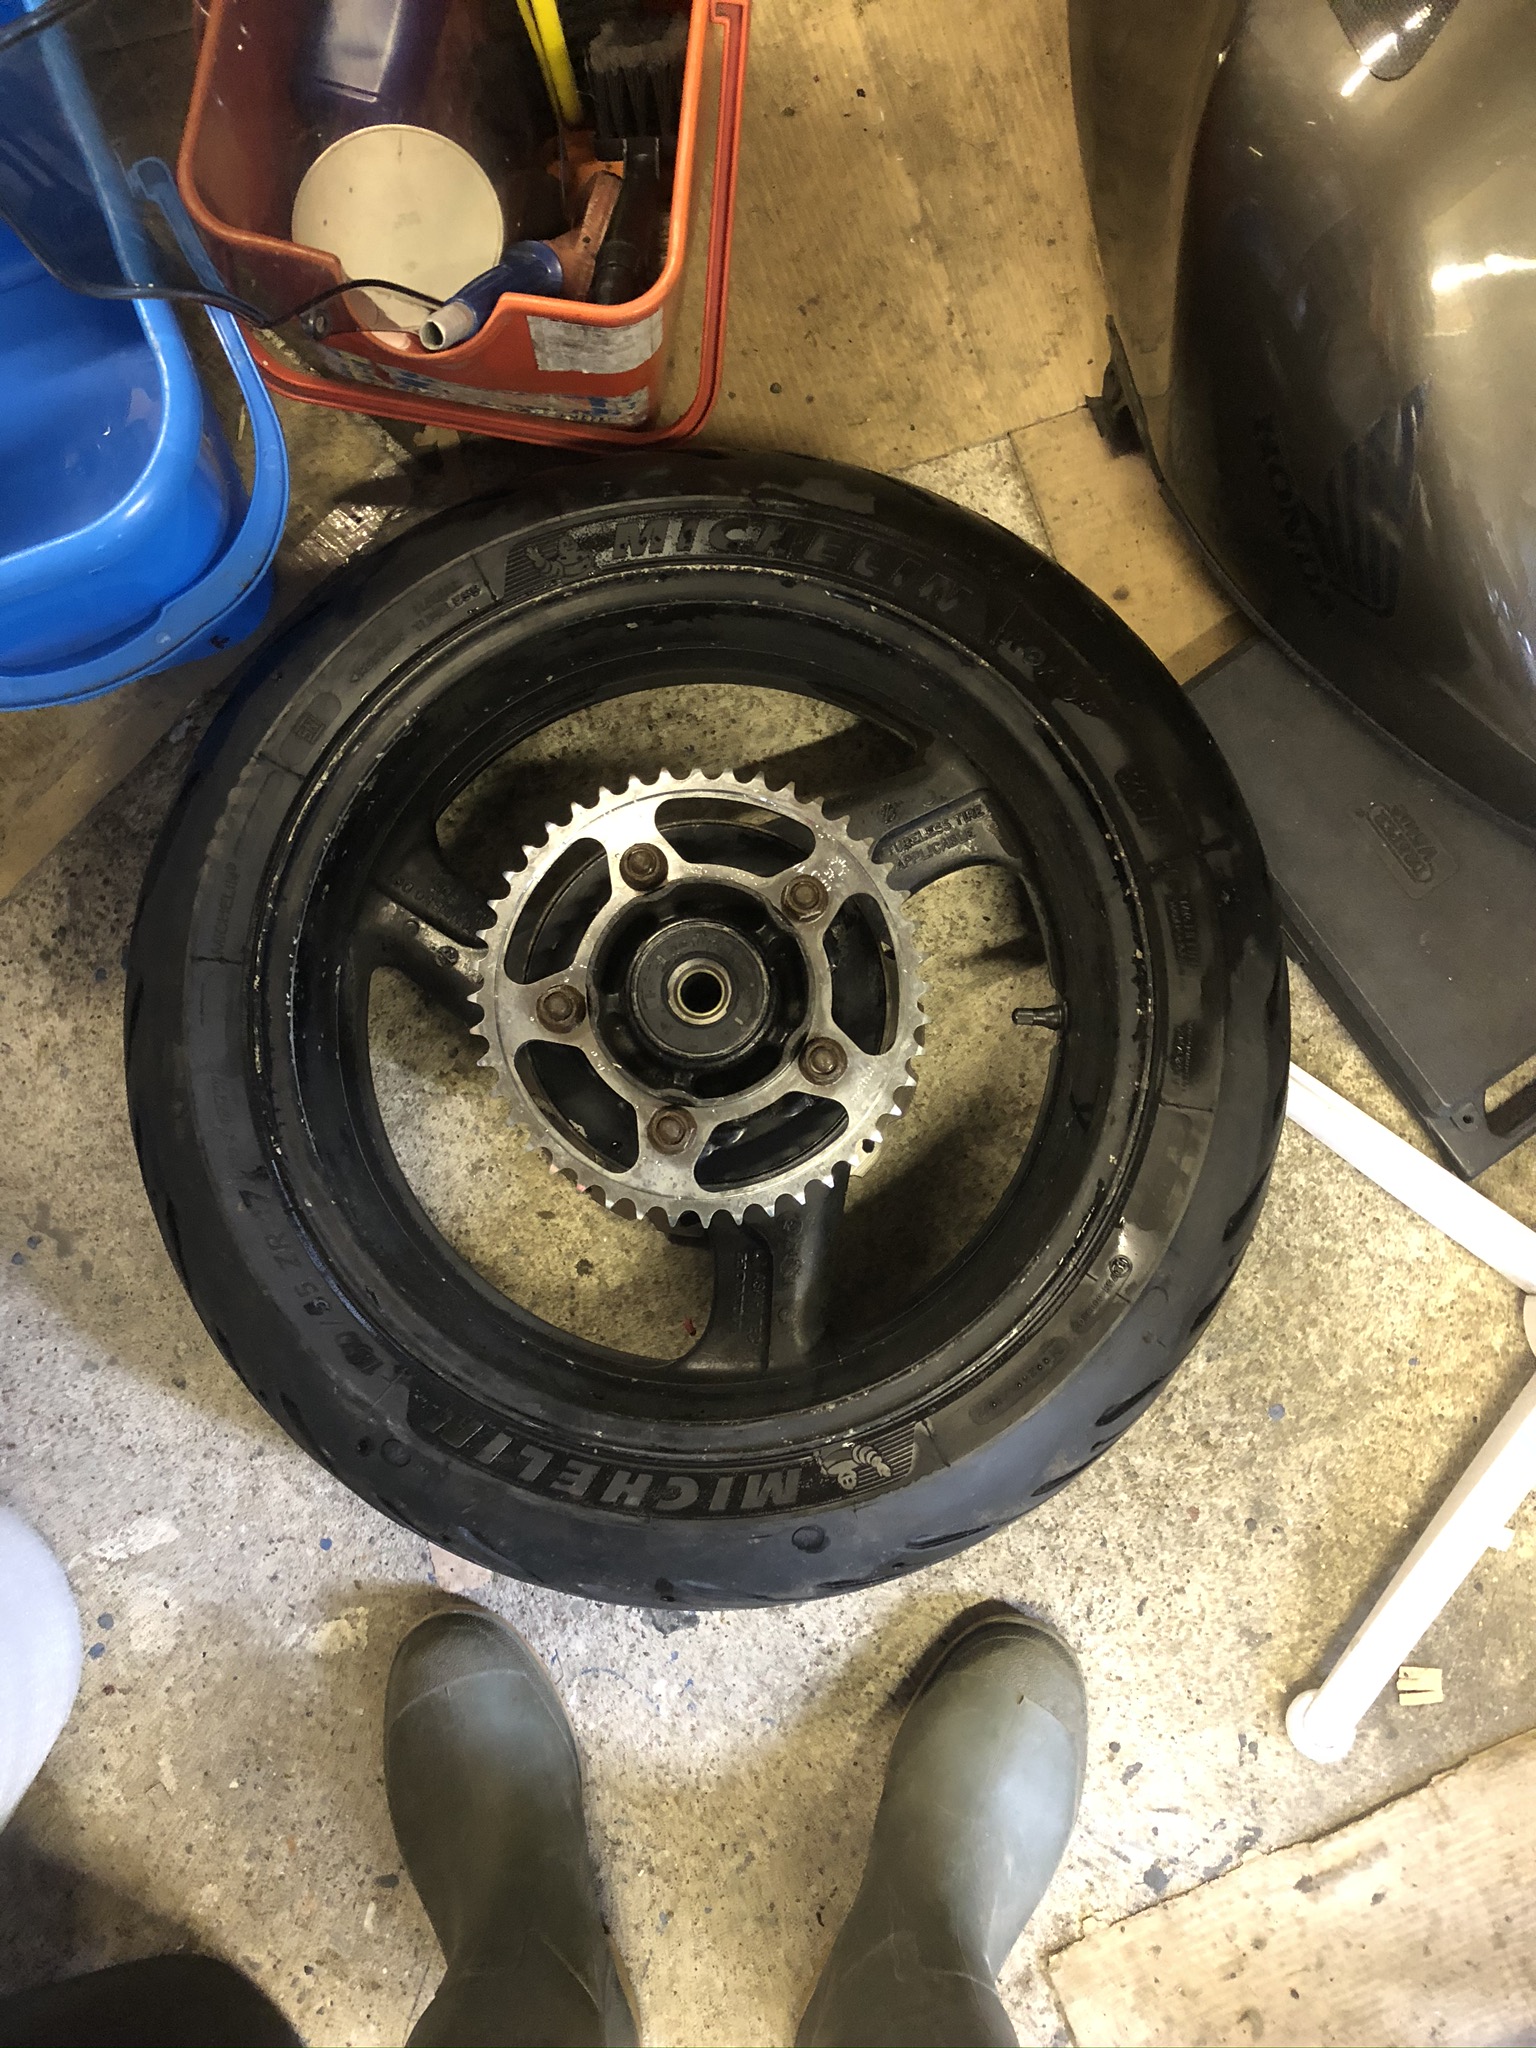
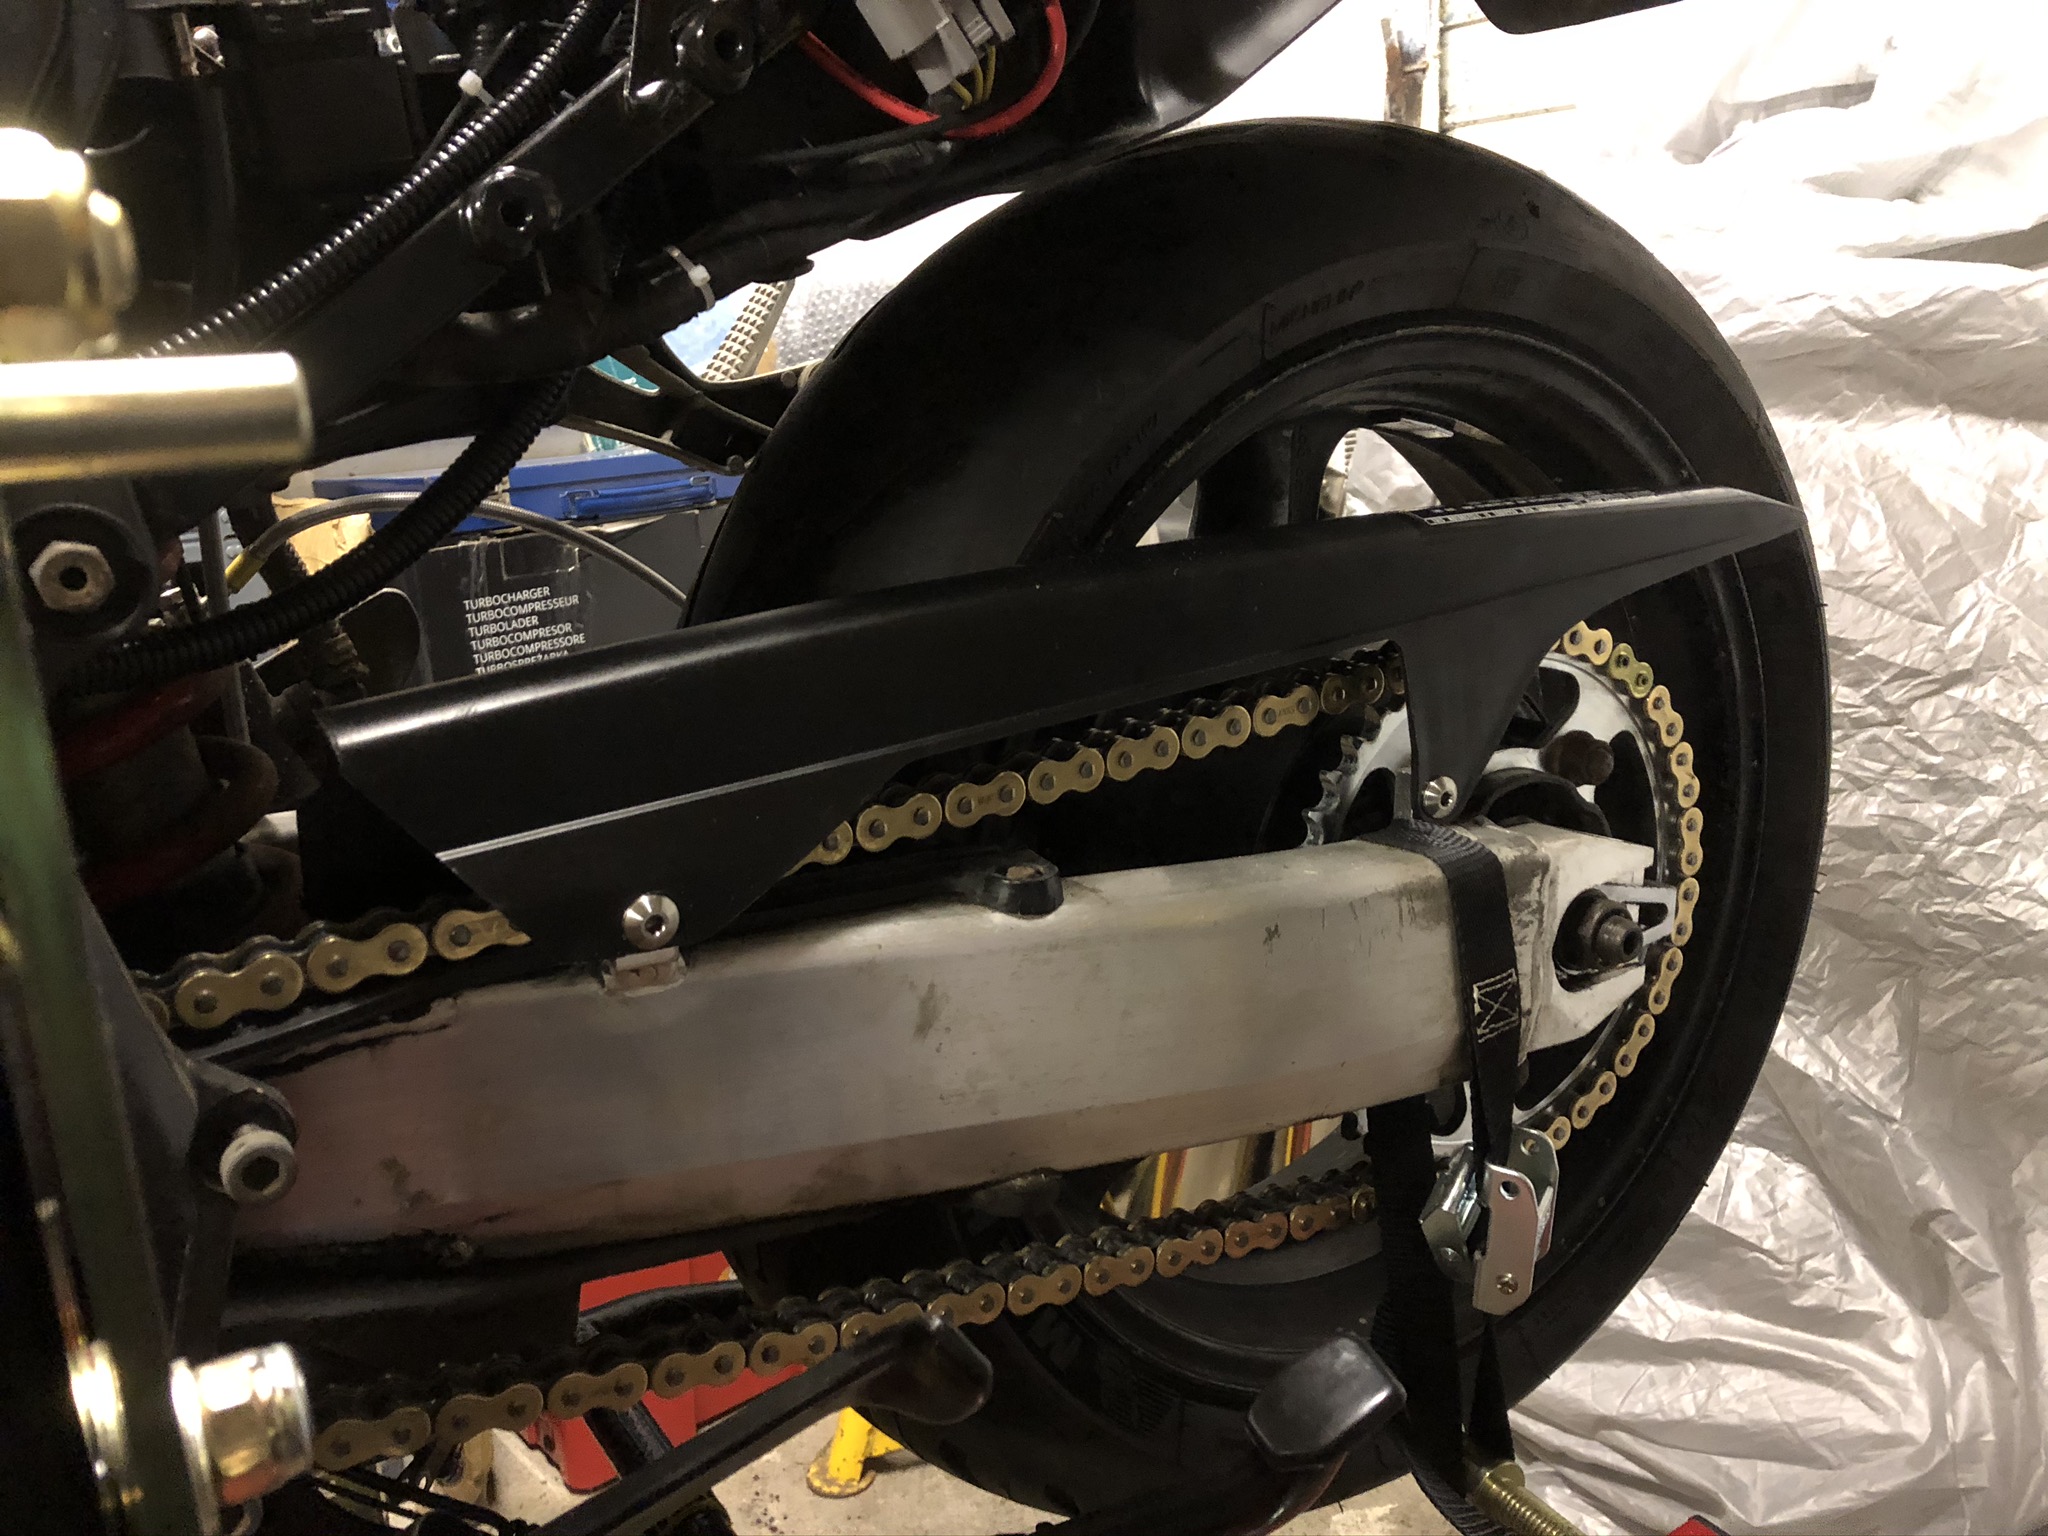
The tensioner is really easy, you set it up so the bottom of the dome is in line with setting 1 and push the rubber washer as close to the dome as you can get it and it will act as a marker, screw the dome out as far as it goes. Loosen the wheel nut then hook the tensioner over the lower part of the chain and line the dome up with the centre of a link. Screw the dome up until the washer touches the bar and that’s your slack set. Now use the alignment adjuster screws to get the chain tight. Once that’s done use the laser alignment tool to align the wheel. Torque wheel nut to 93nm and you’re done. 5 minute job.
-
The company is Tru Tension and they do the chain monkey tensioner and a smart little laser alignment tool. Link below: Chain Monkey / Tensioner it took me about 5 minutes to tension and align my new chain and sprockets. I know what you mean, I put myself under a lot of pressure last week to get things done, worked morning until midnight a few times which is where the mistakes came from I guess. Thank you, once the work is done it has to be tested and the registration moved to the island, a few days really. Hopefully I might get out on it this year, already told my better half she’s not going on it until I get a feel for it since the changes, I suspect it will handle very differently and there should be a bit more power as well now the vacuum system is sealed. A case of learning my way around the bike again.
-
It’s happening this evening hopefully, have a friend coming round to assist. Going to do the clutch as well, the colour of the fluid in there is darker than the fork legs.
-
Thank you, it’s been a learning curve for sure, can’t wait to ride her when she’s finished 😊
-
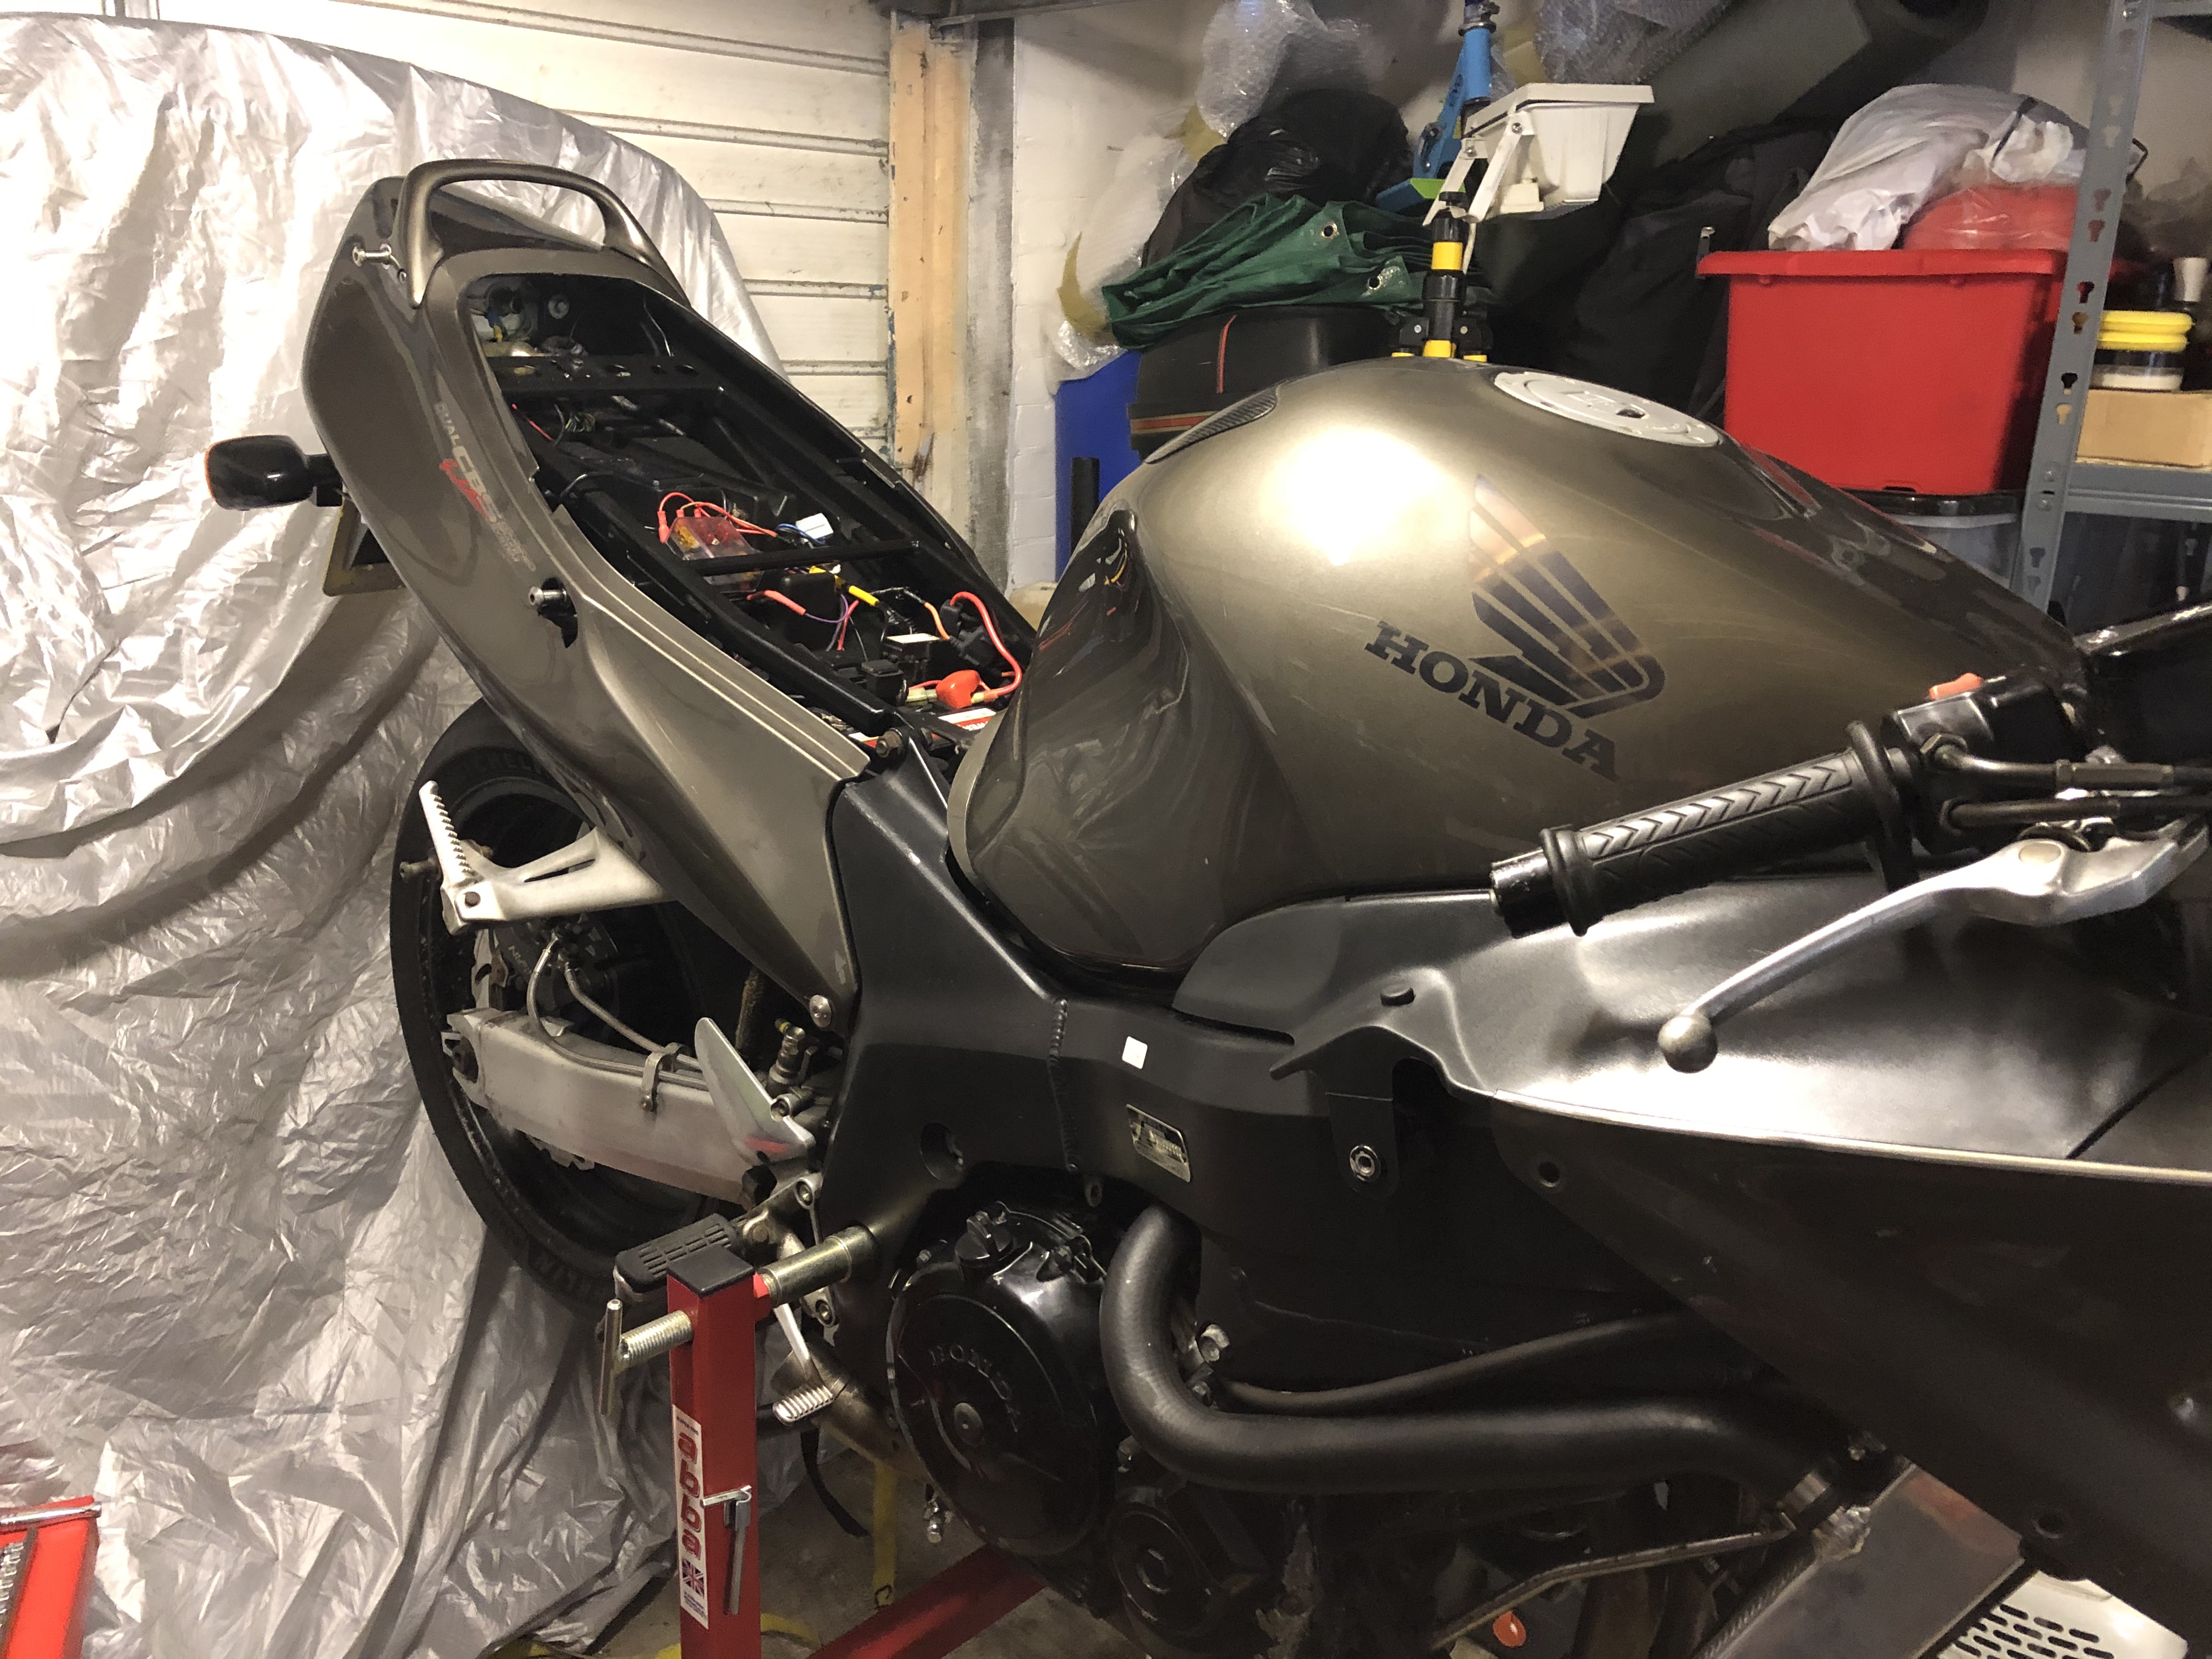
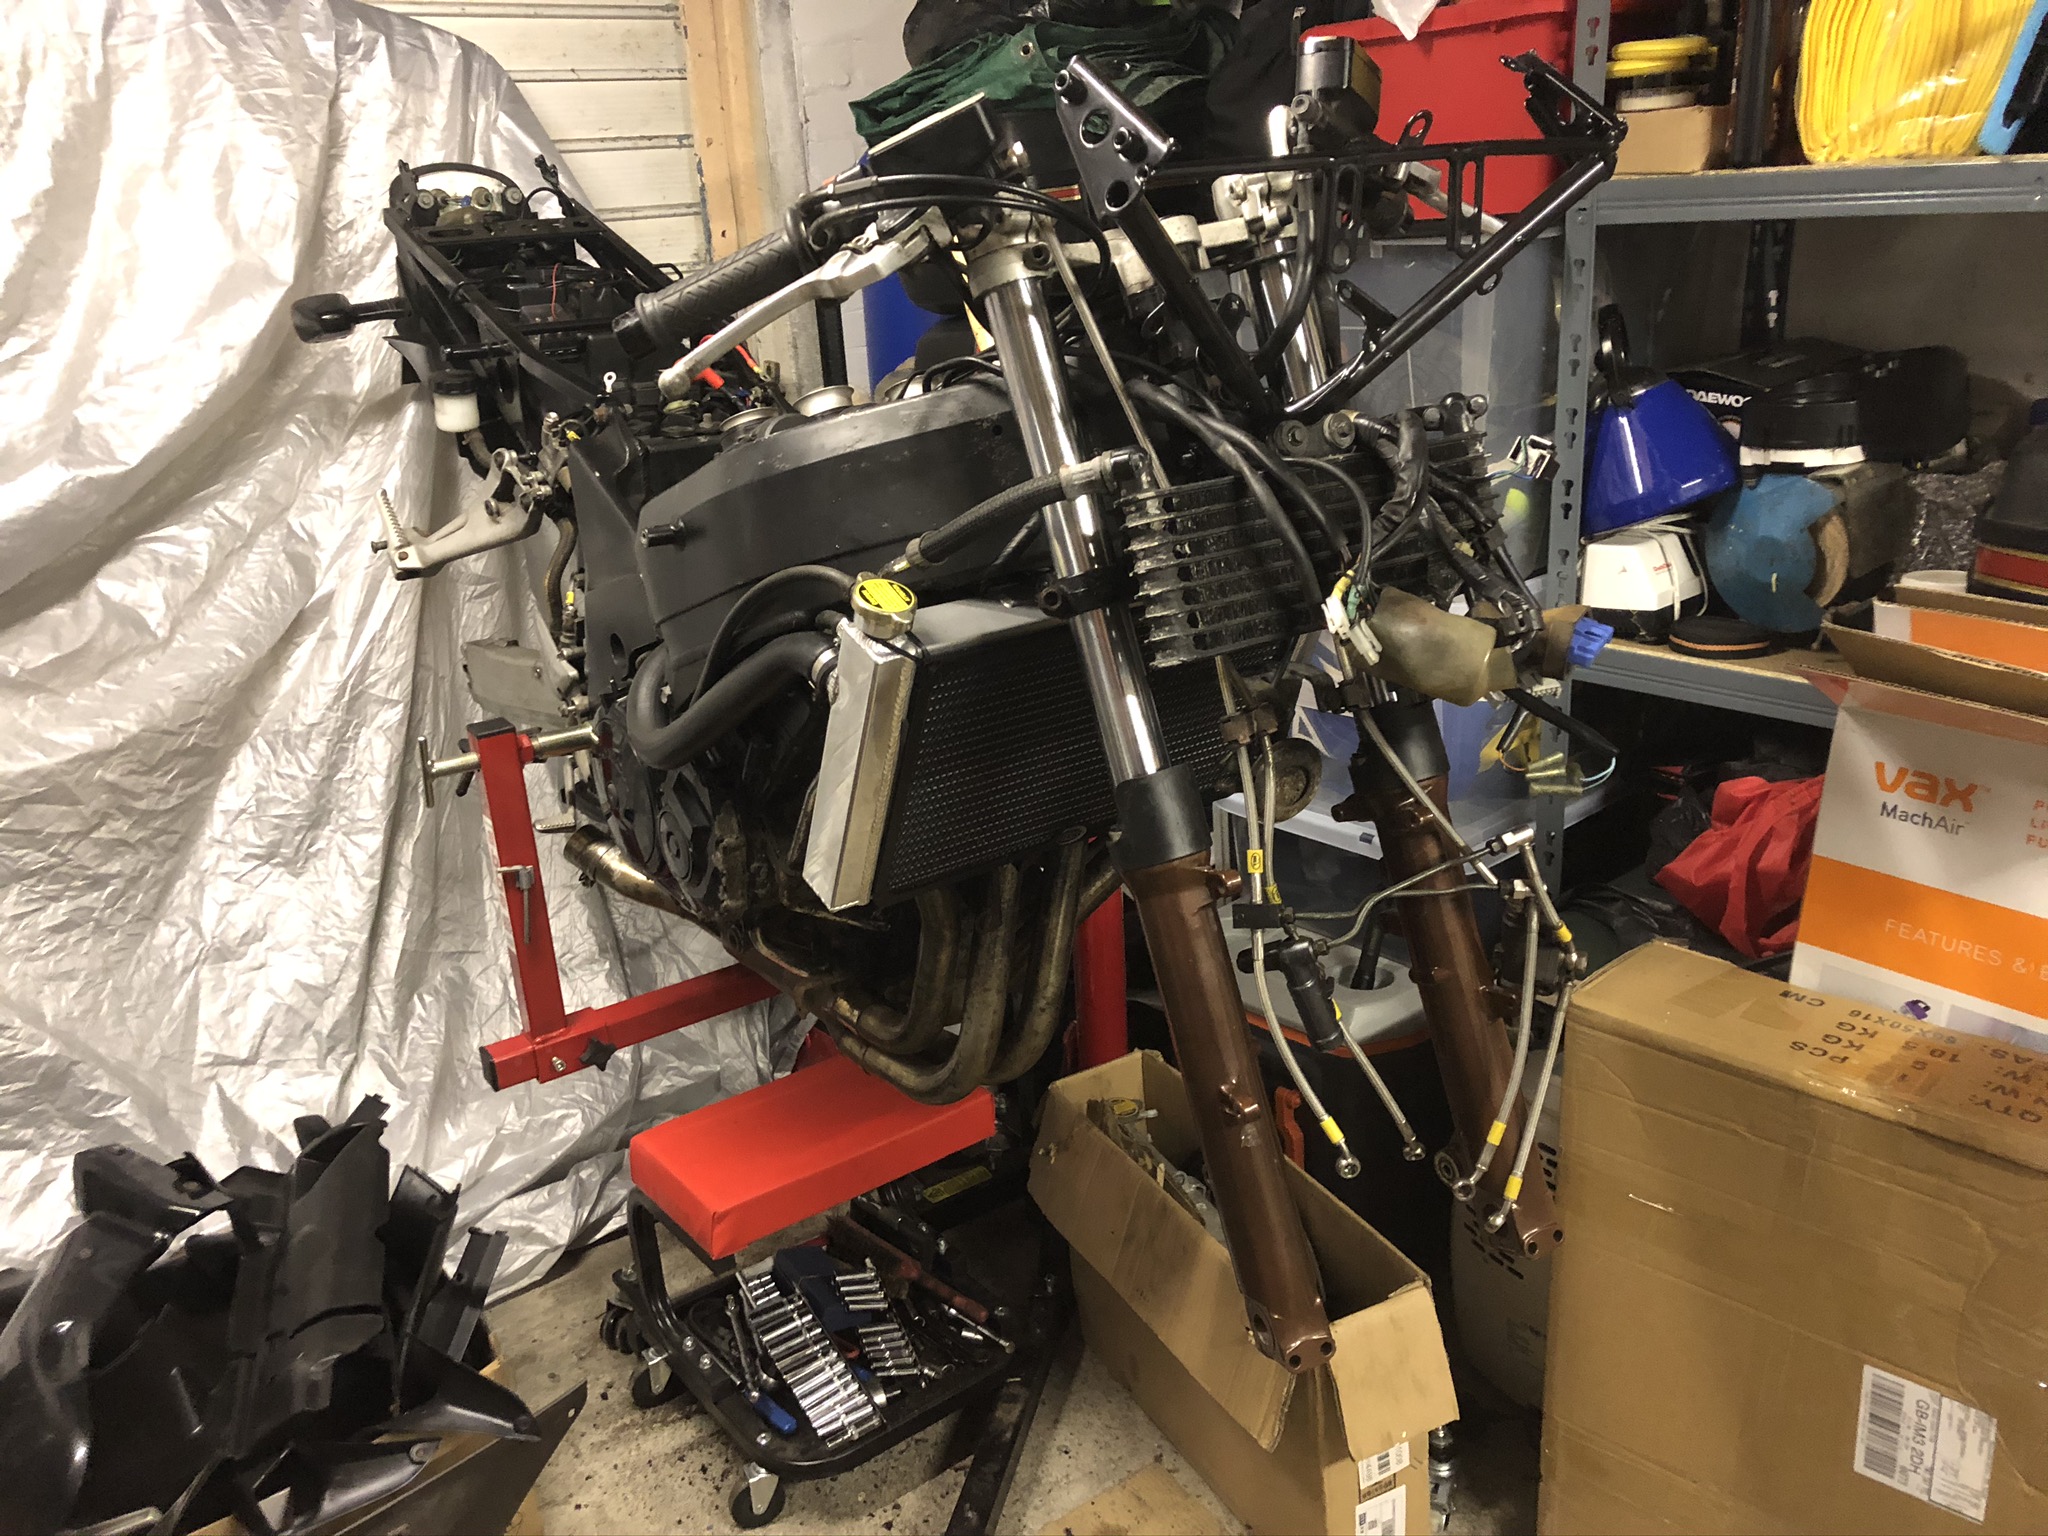
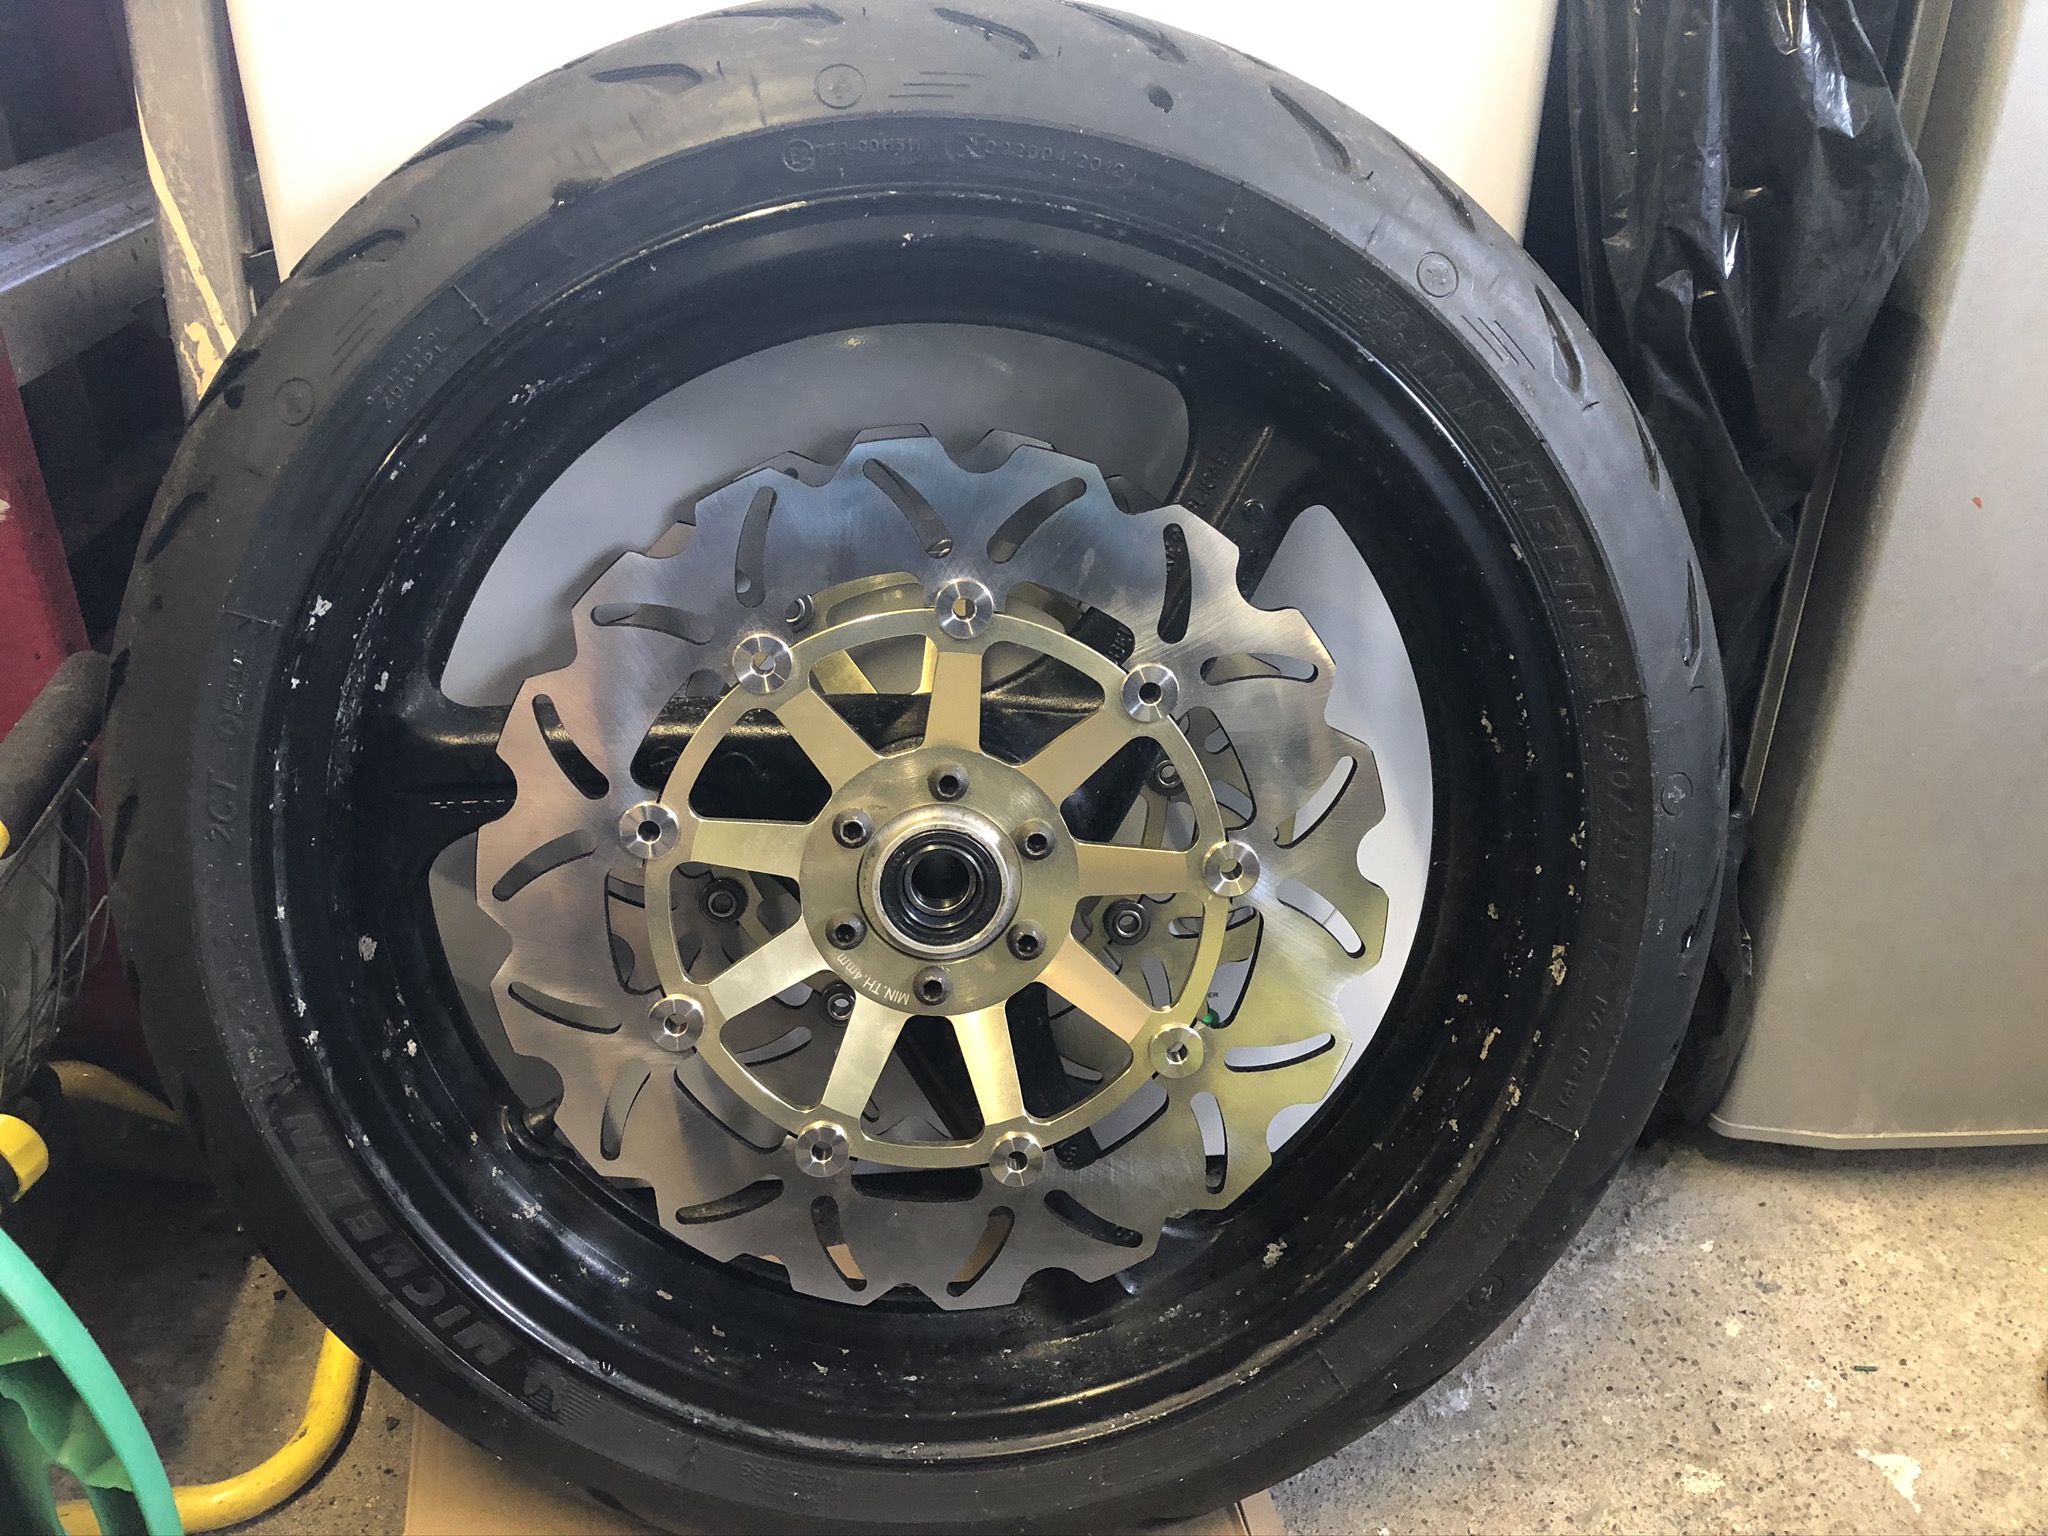
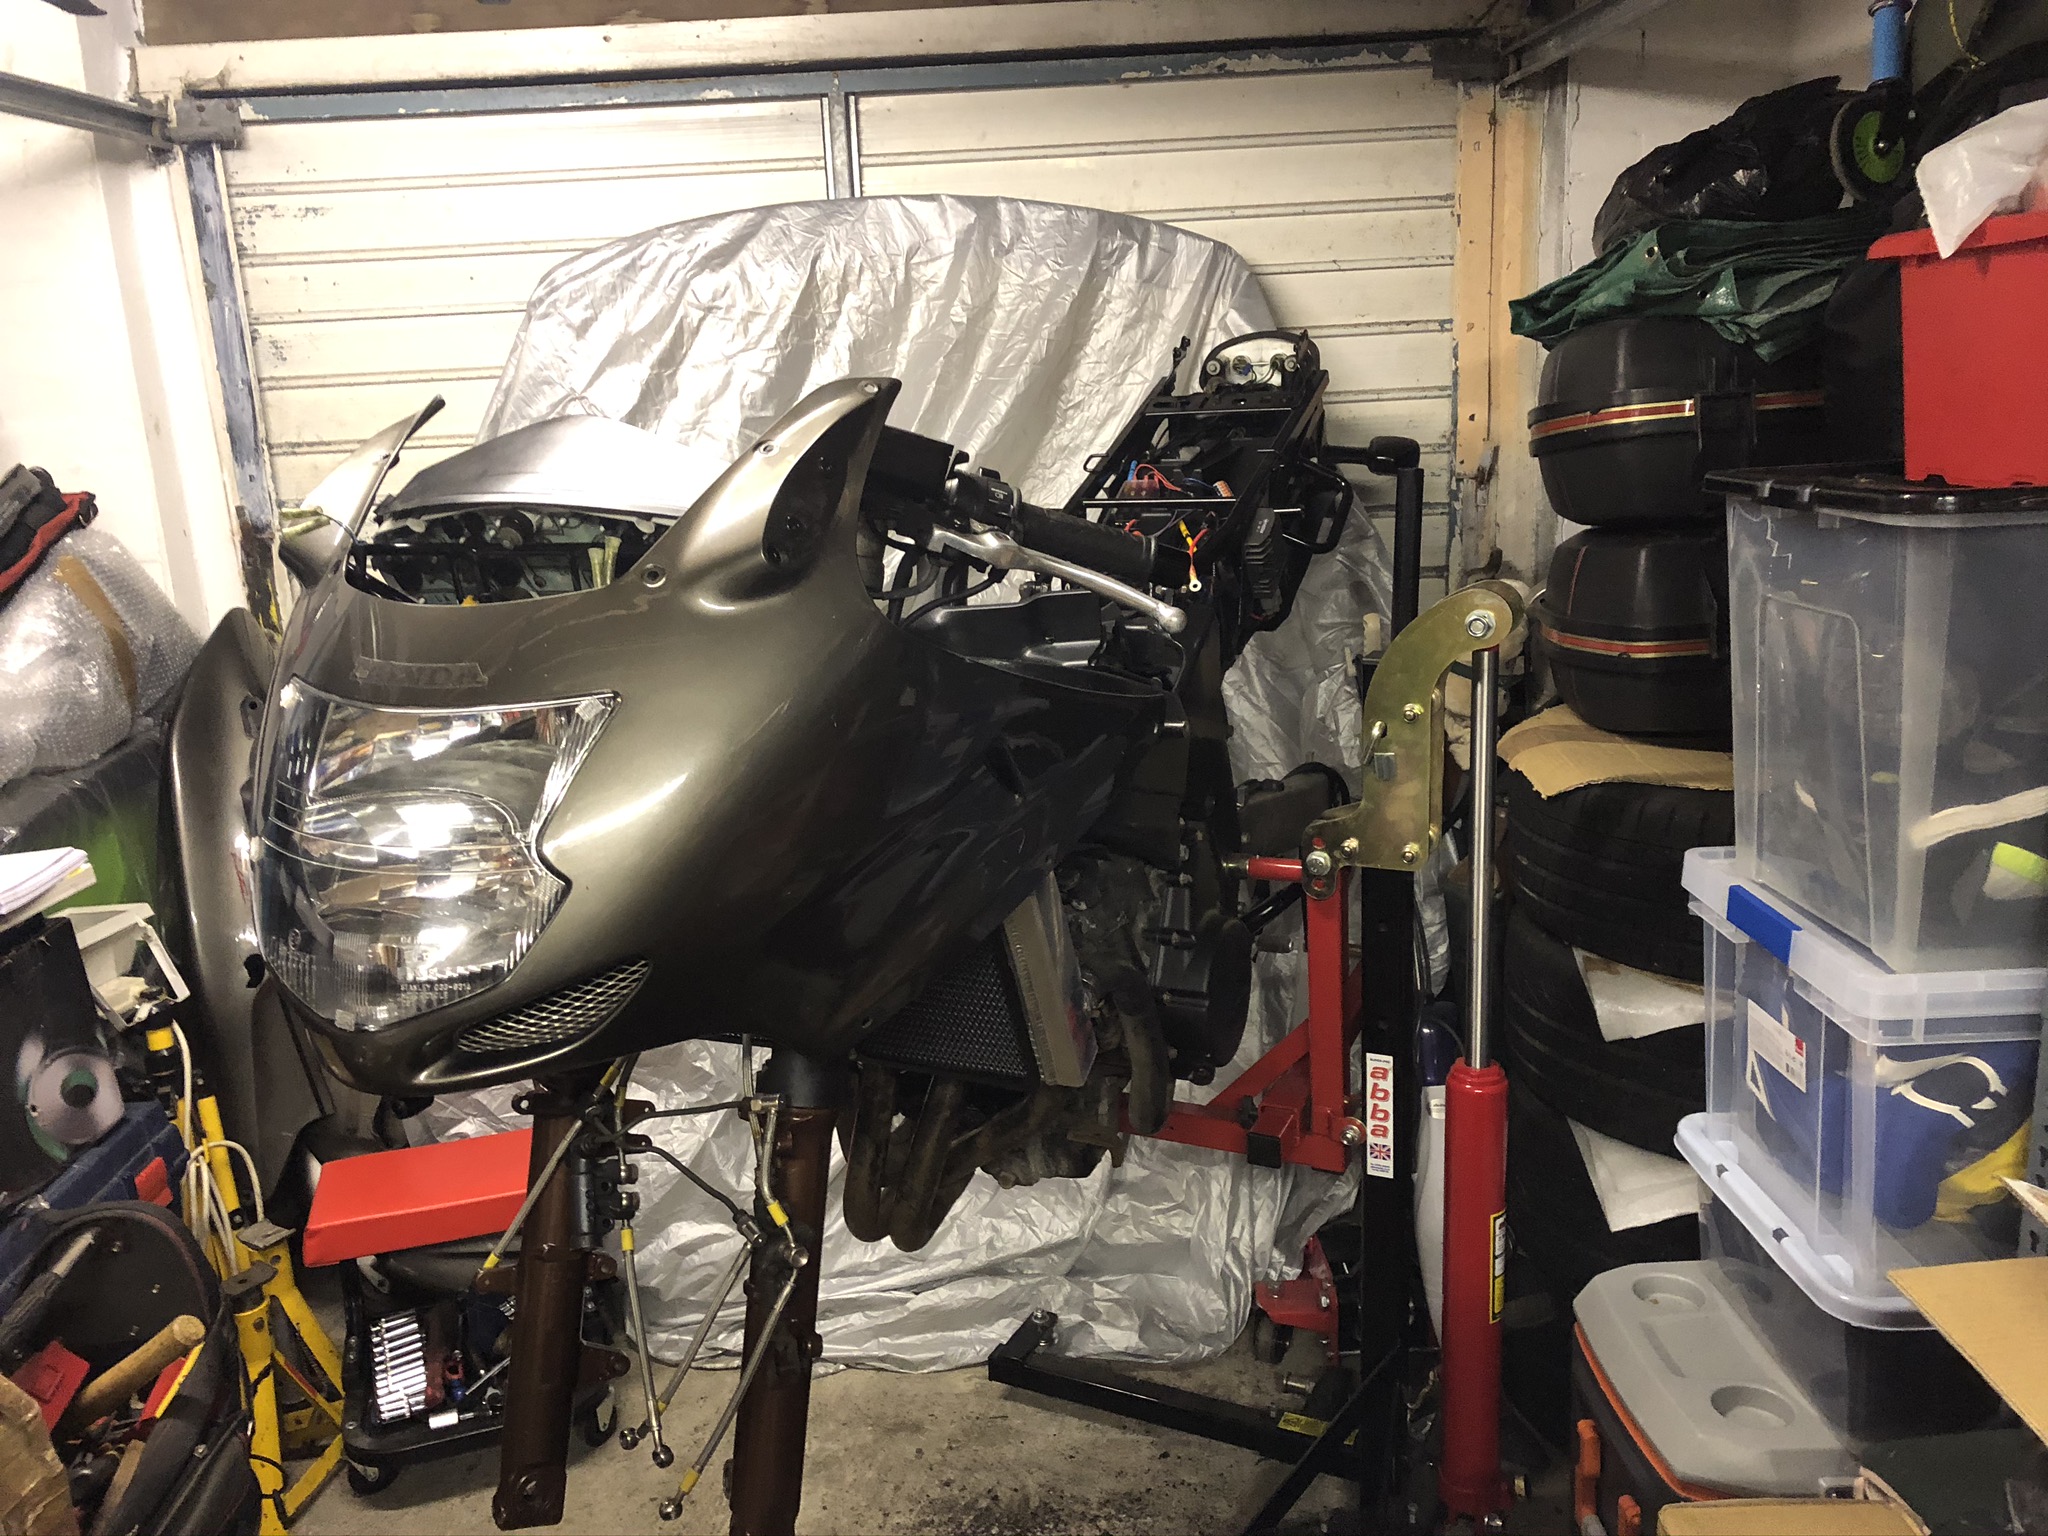
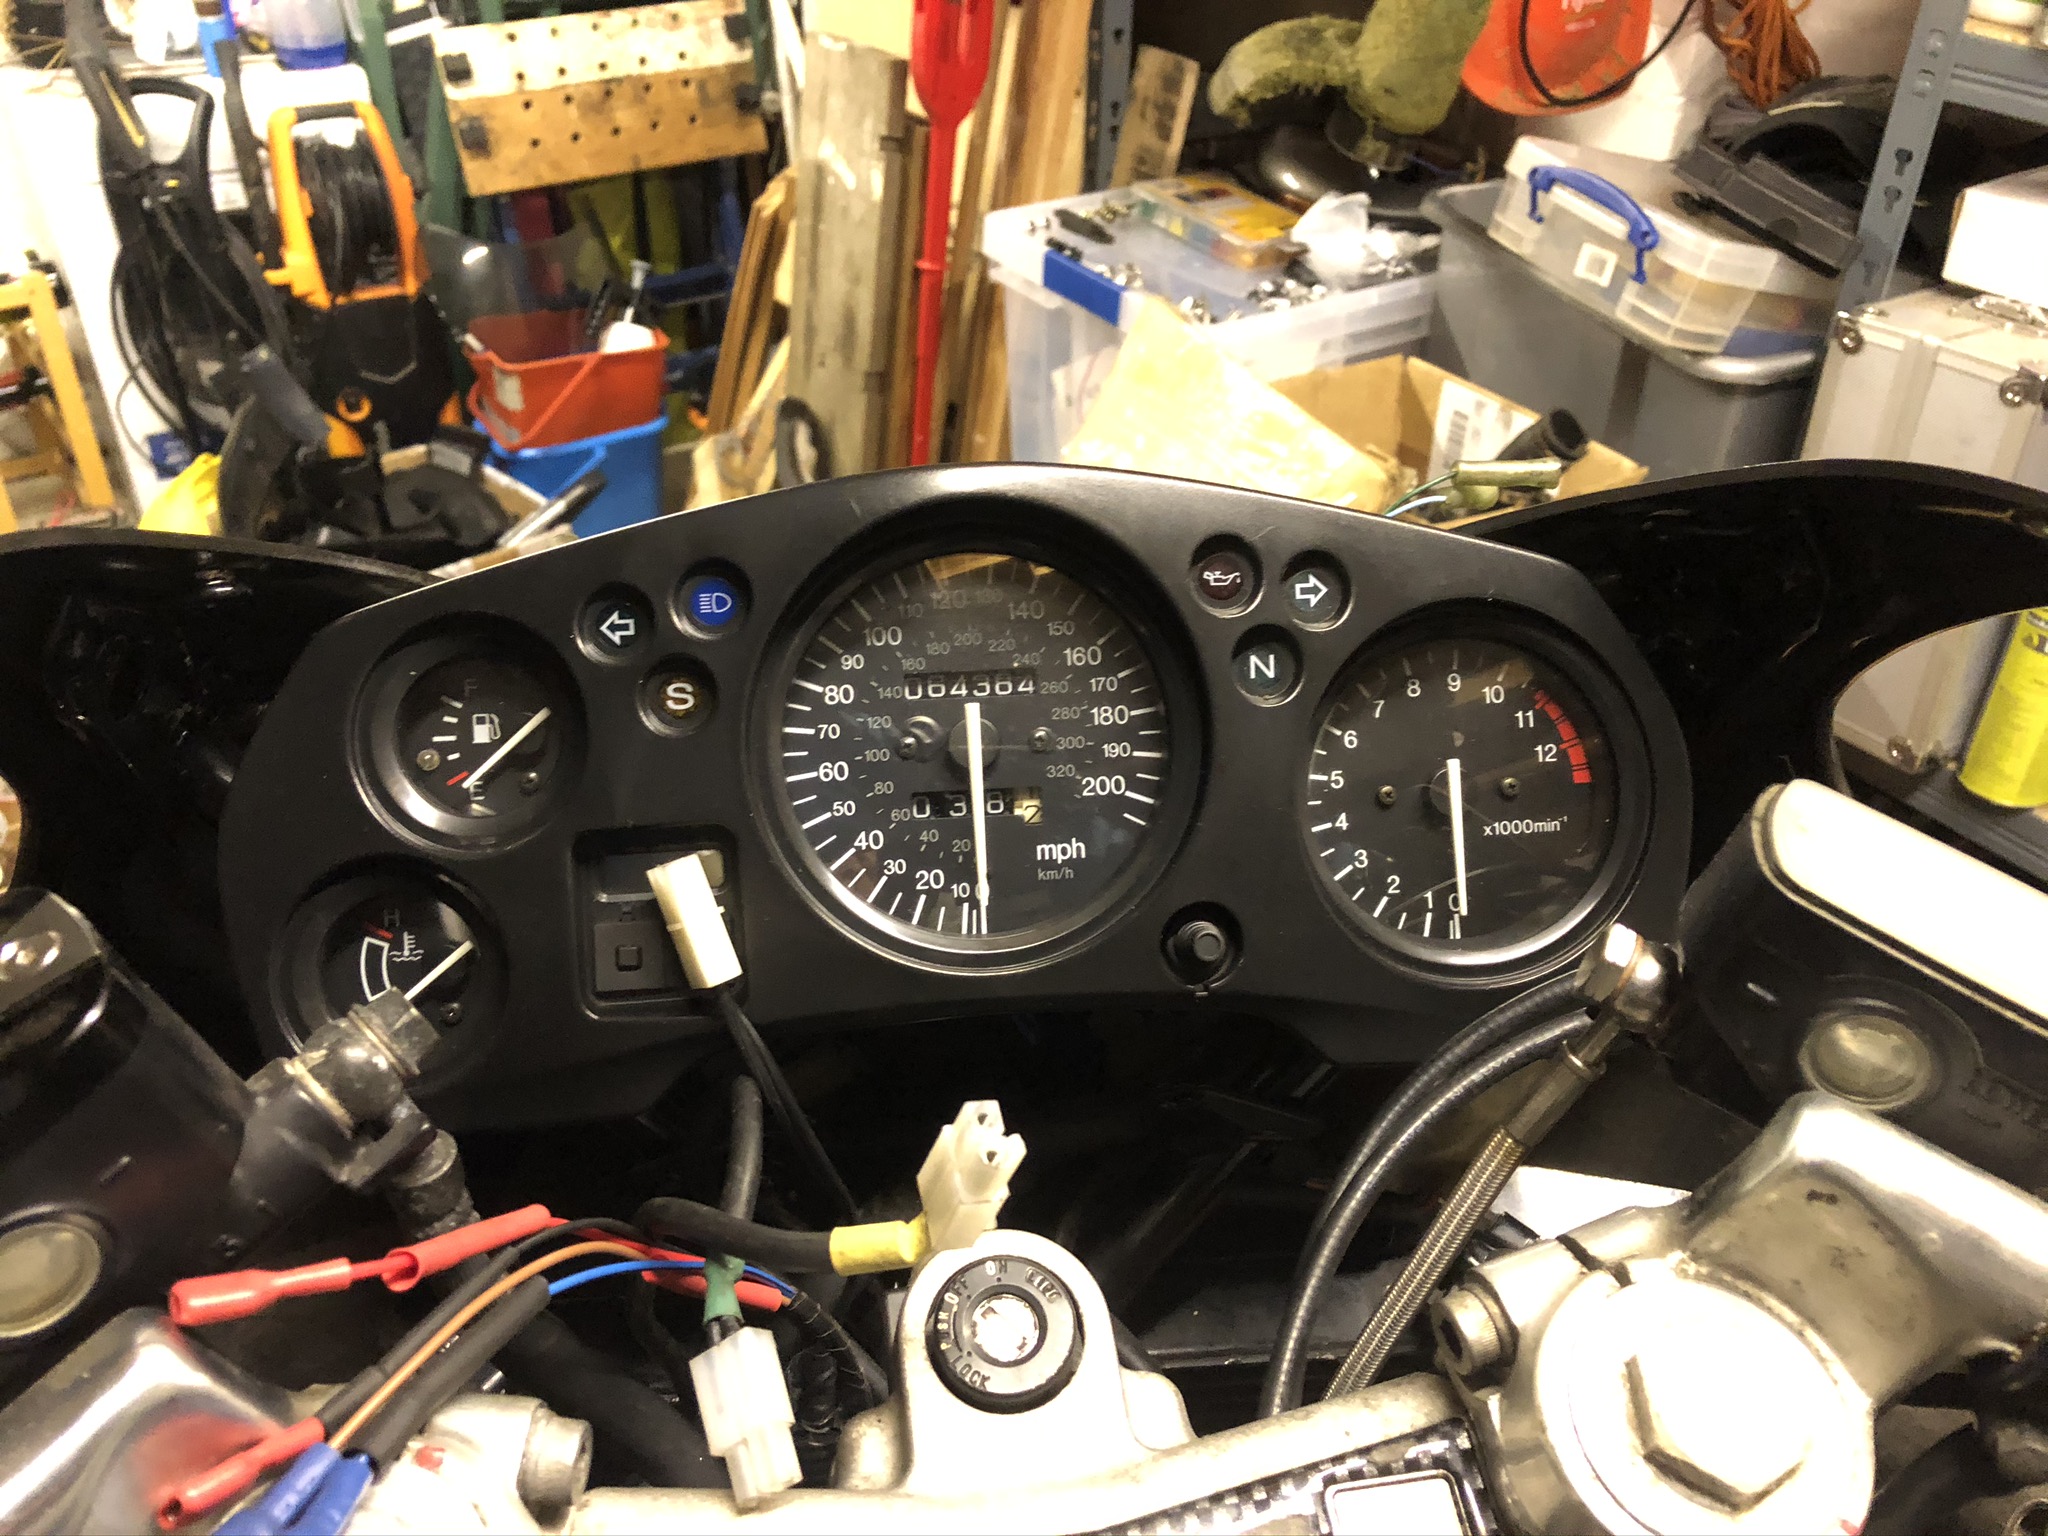
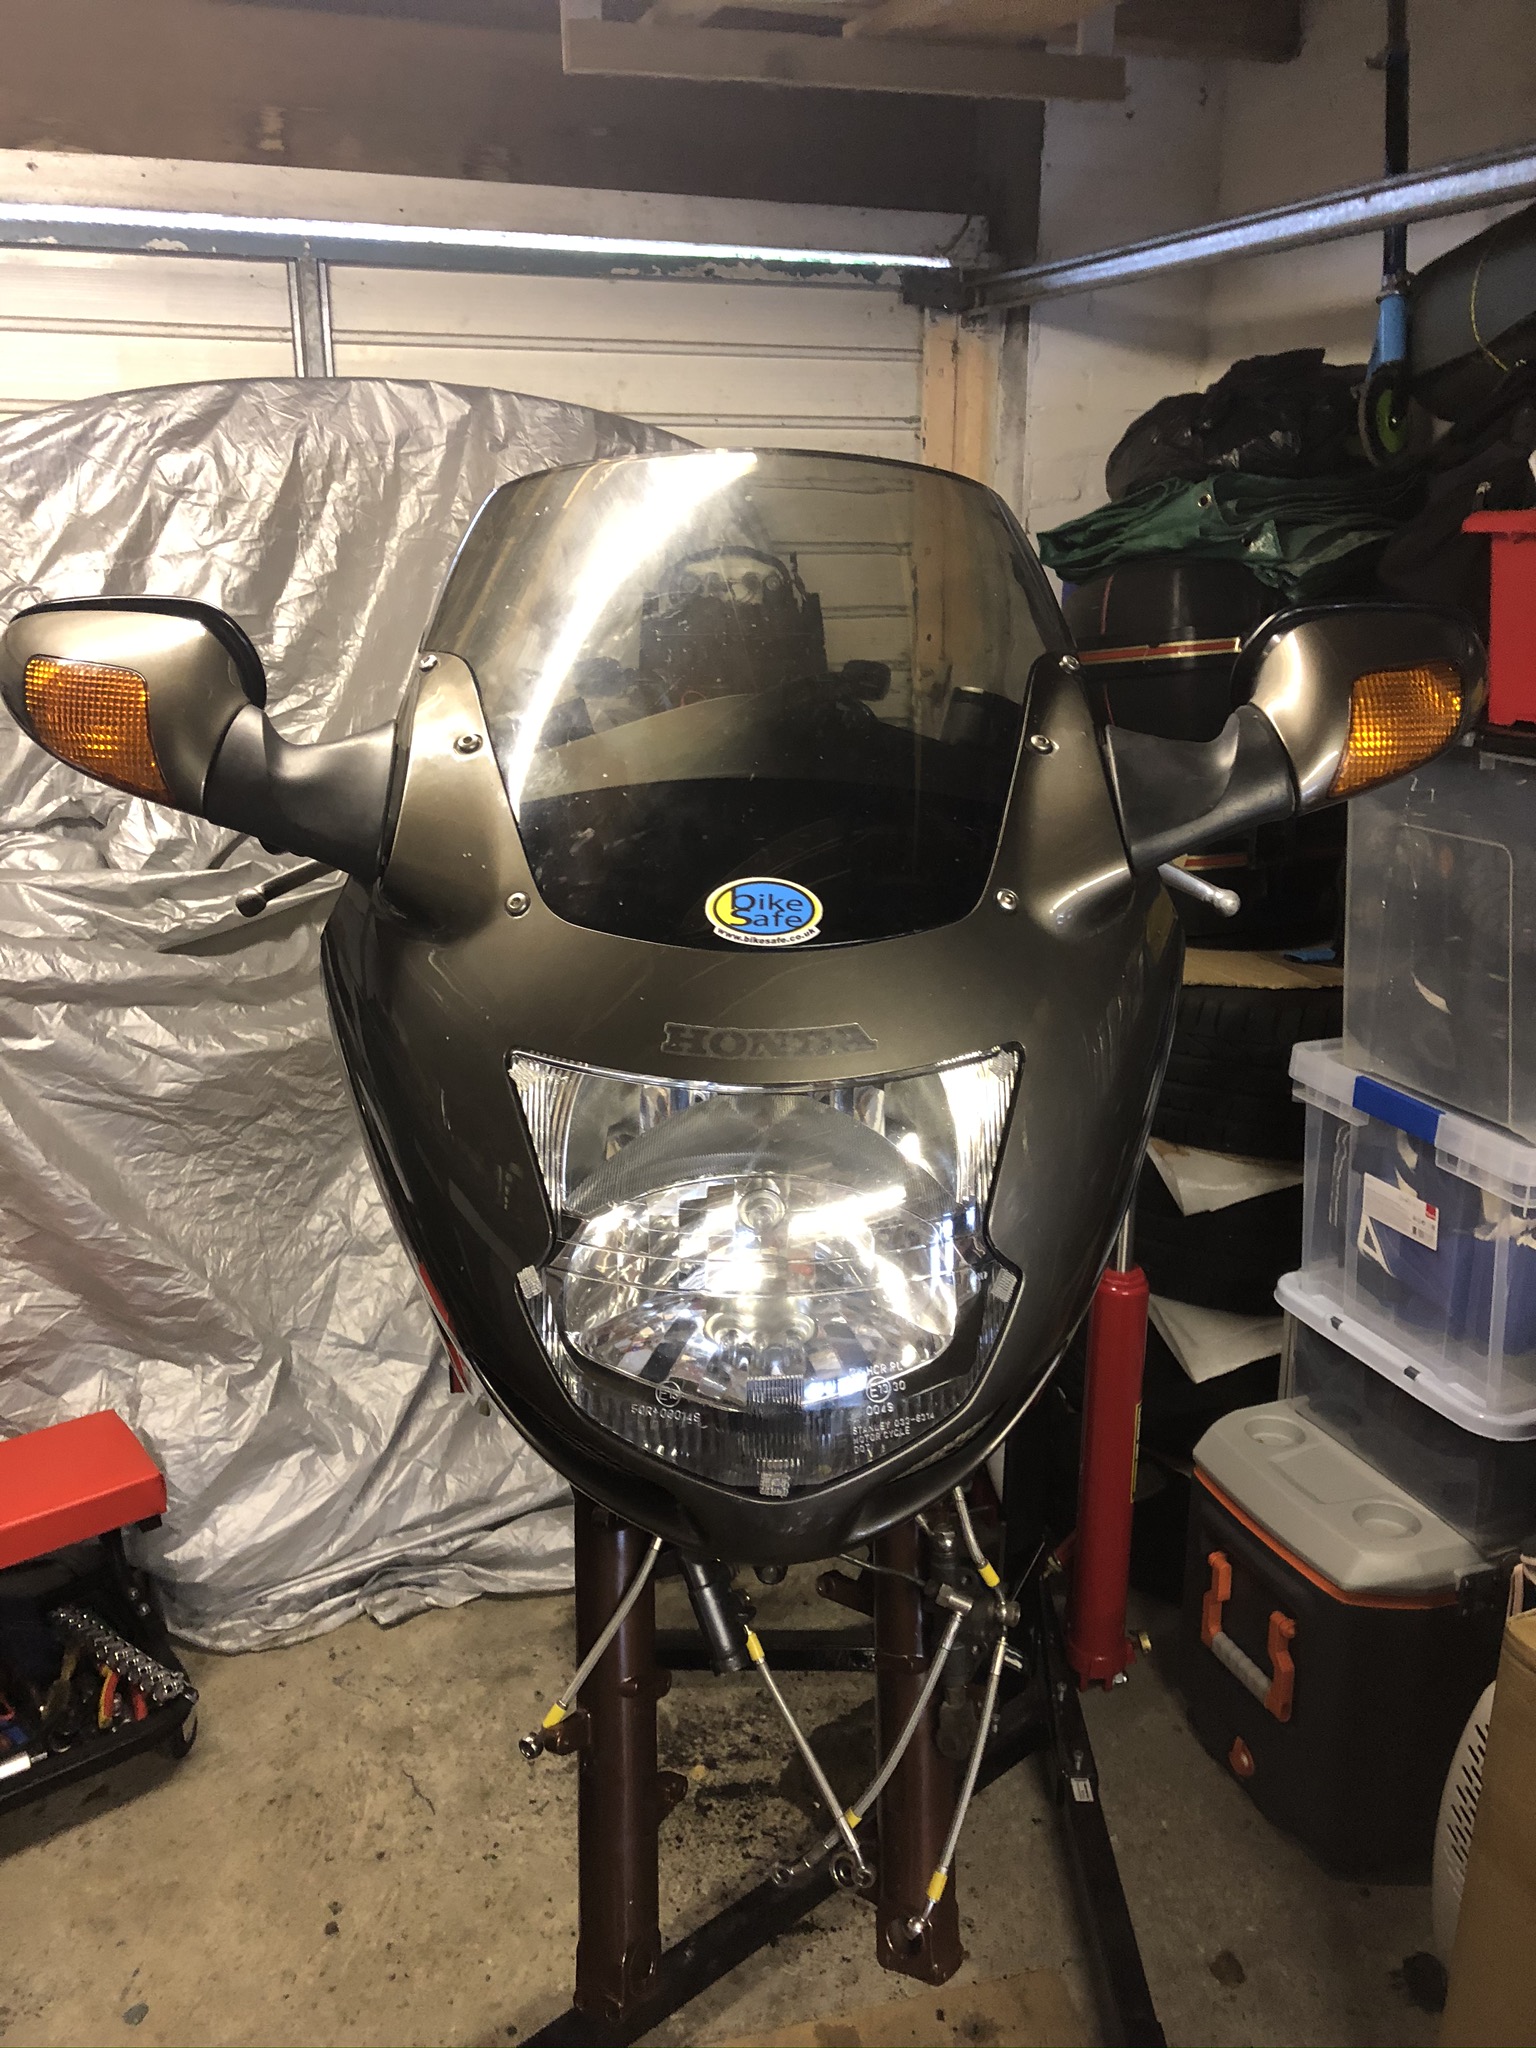
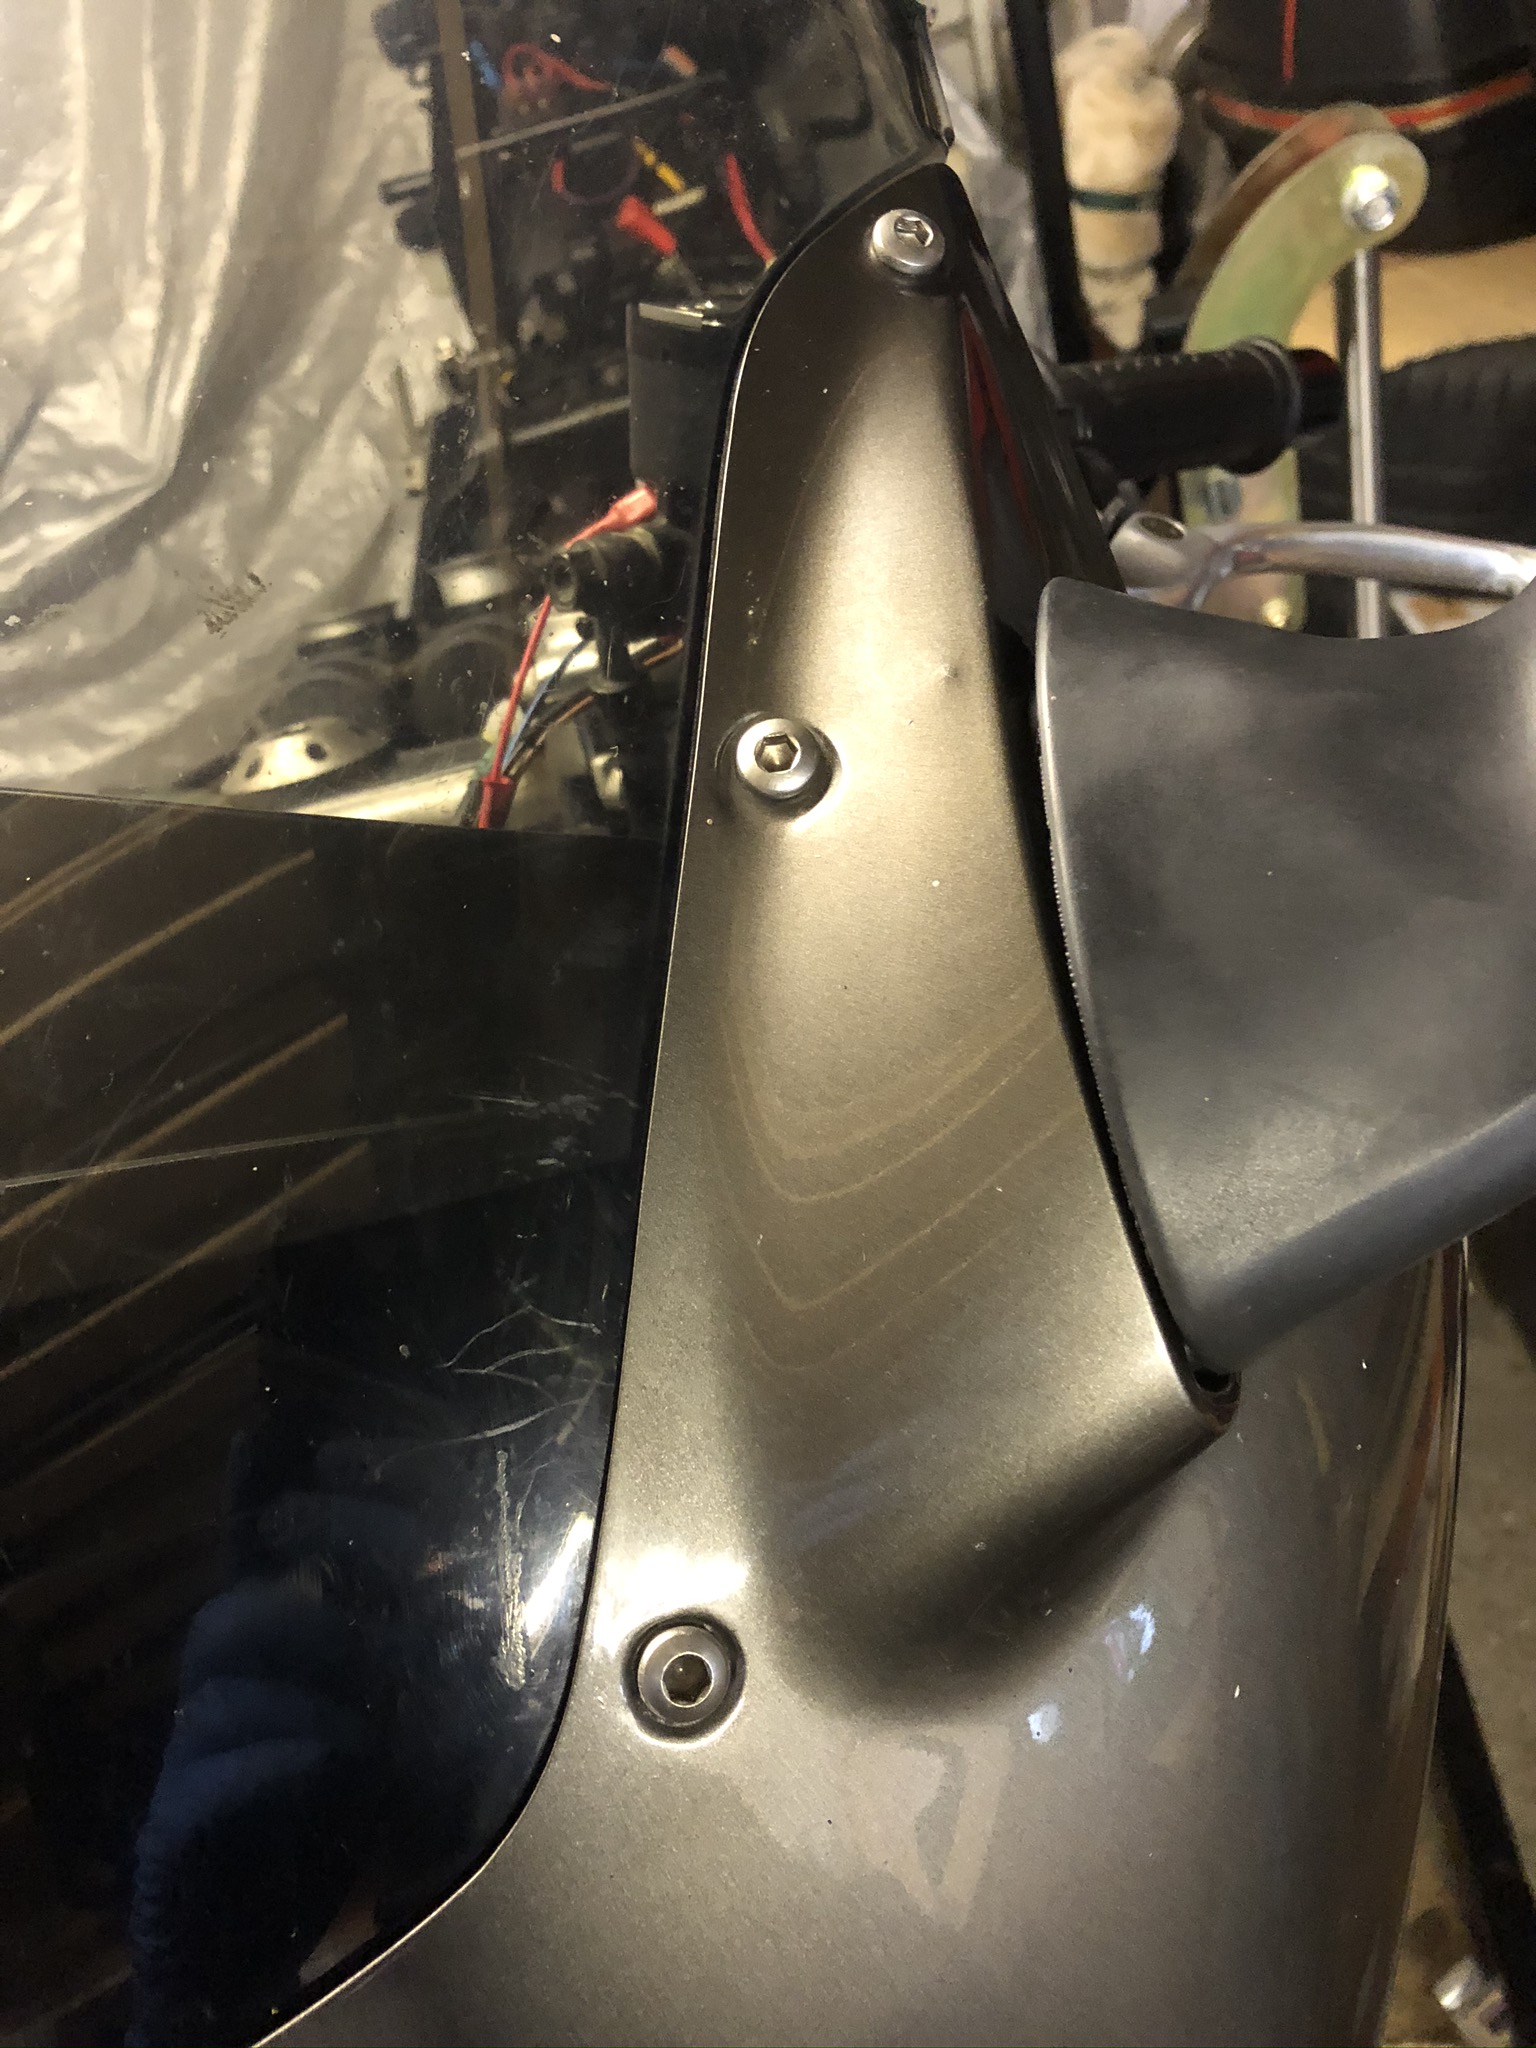
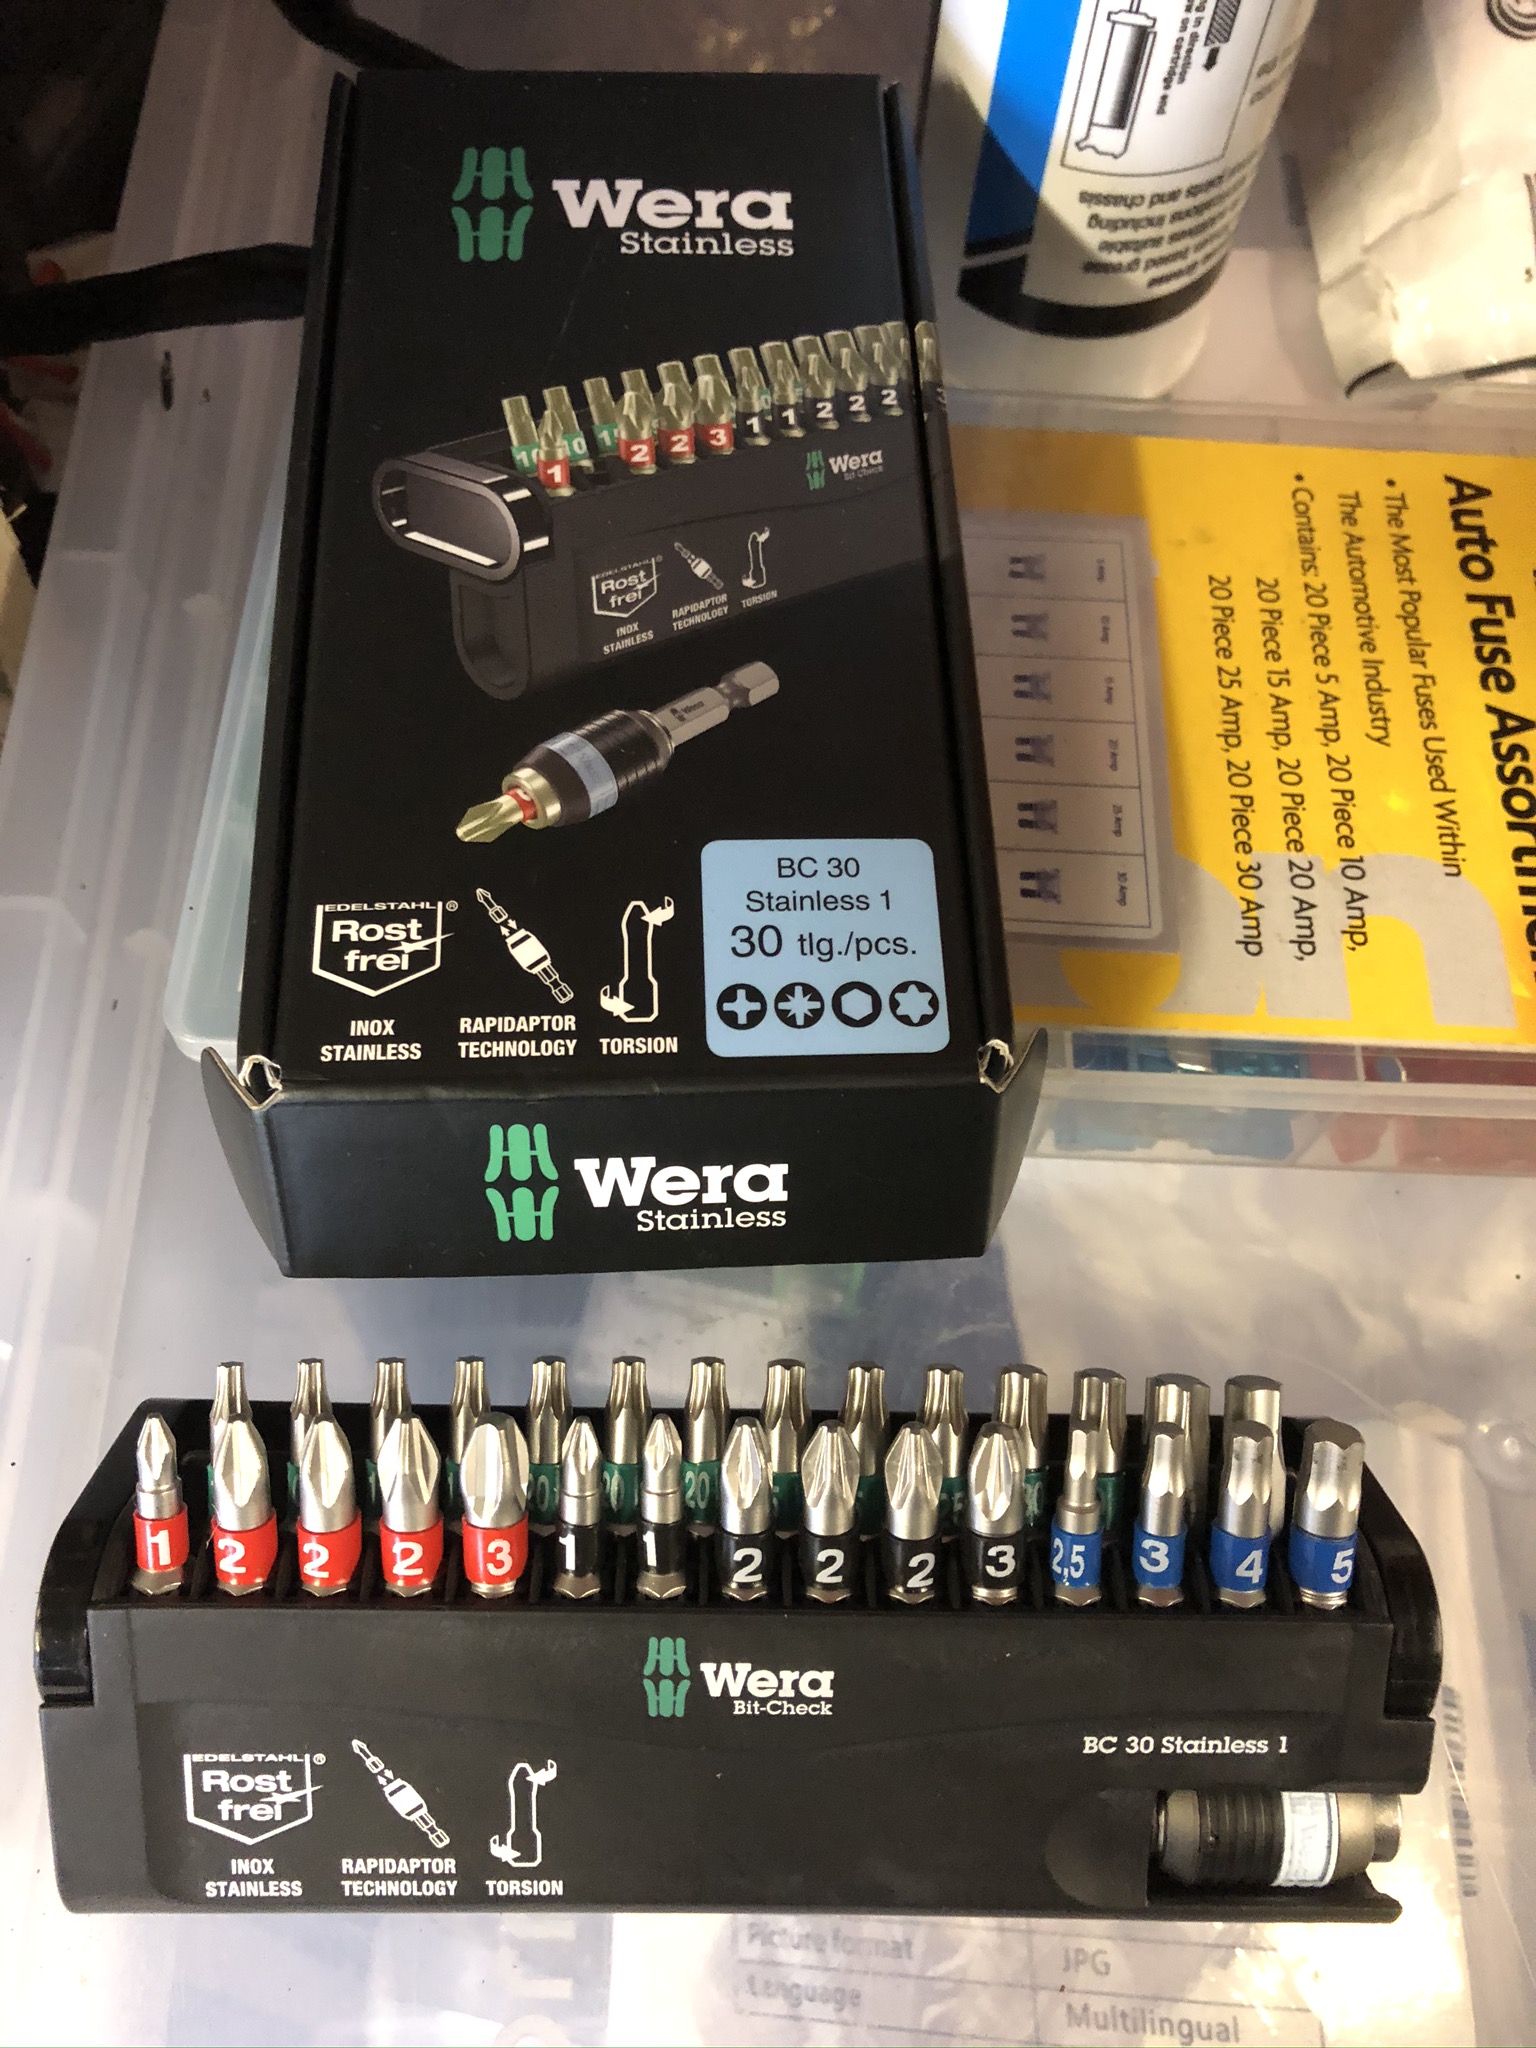
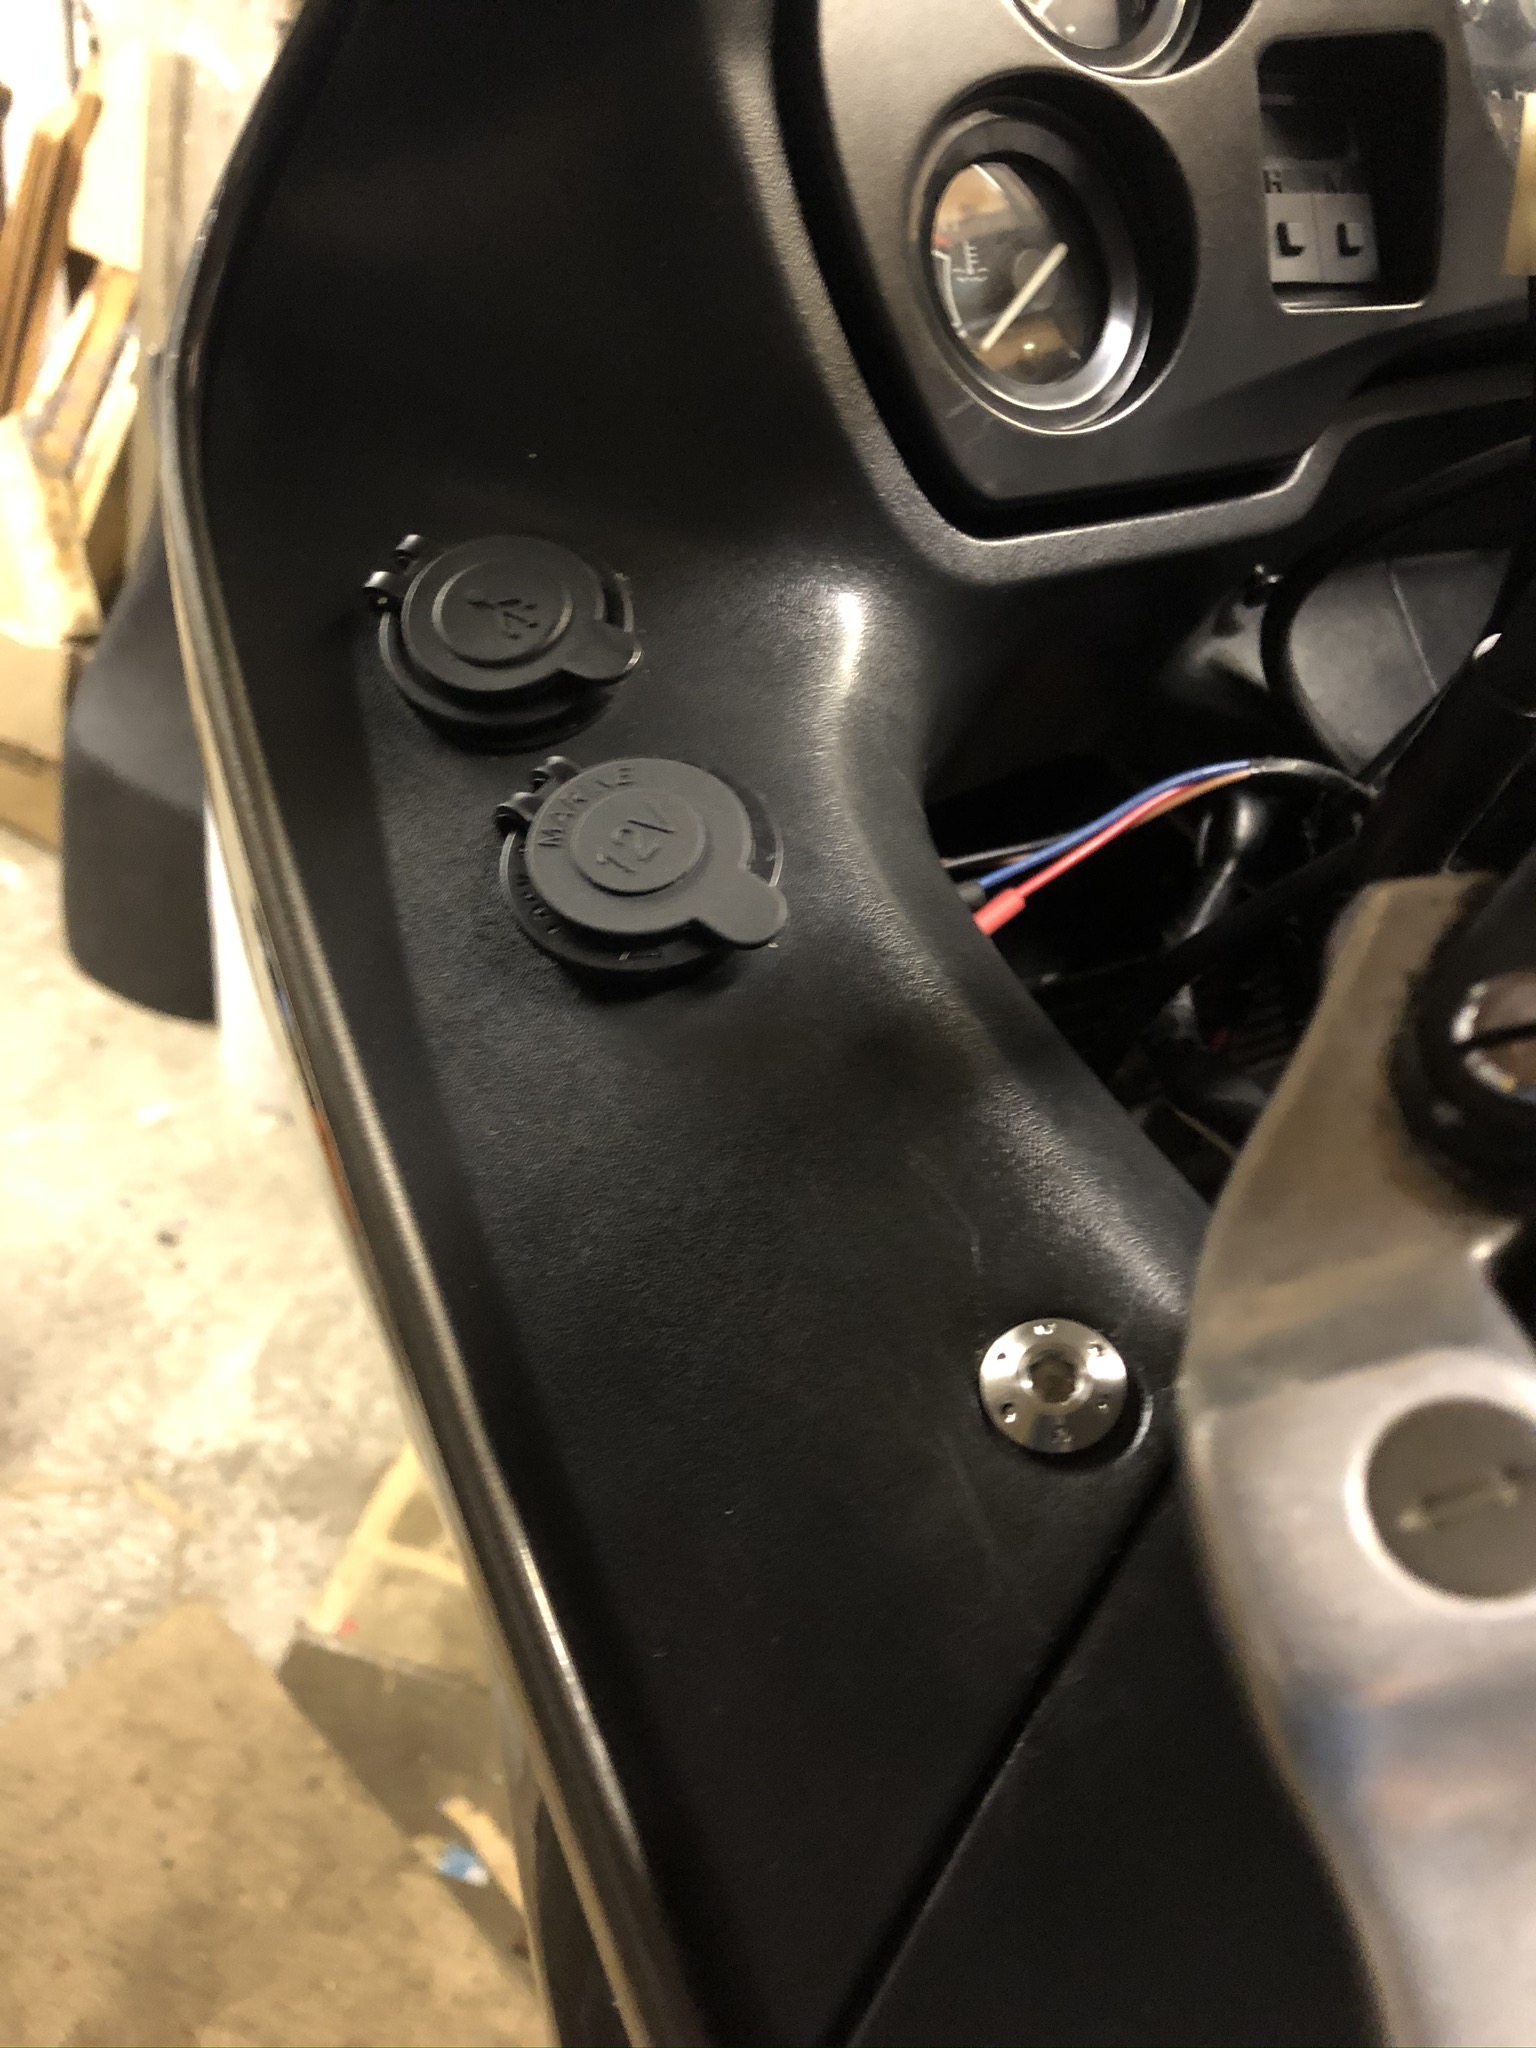
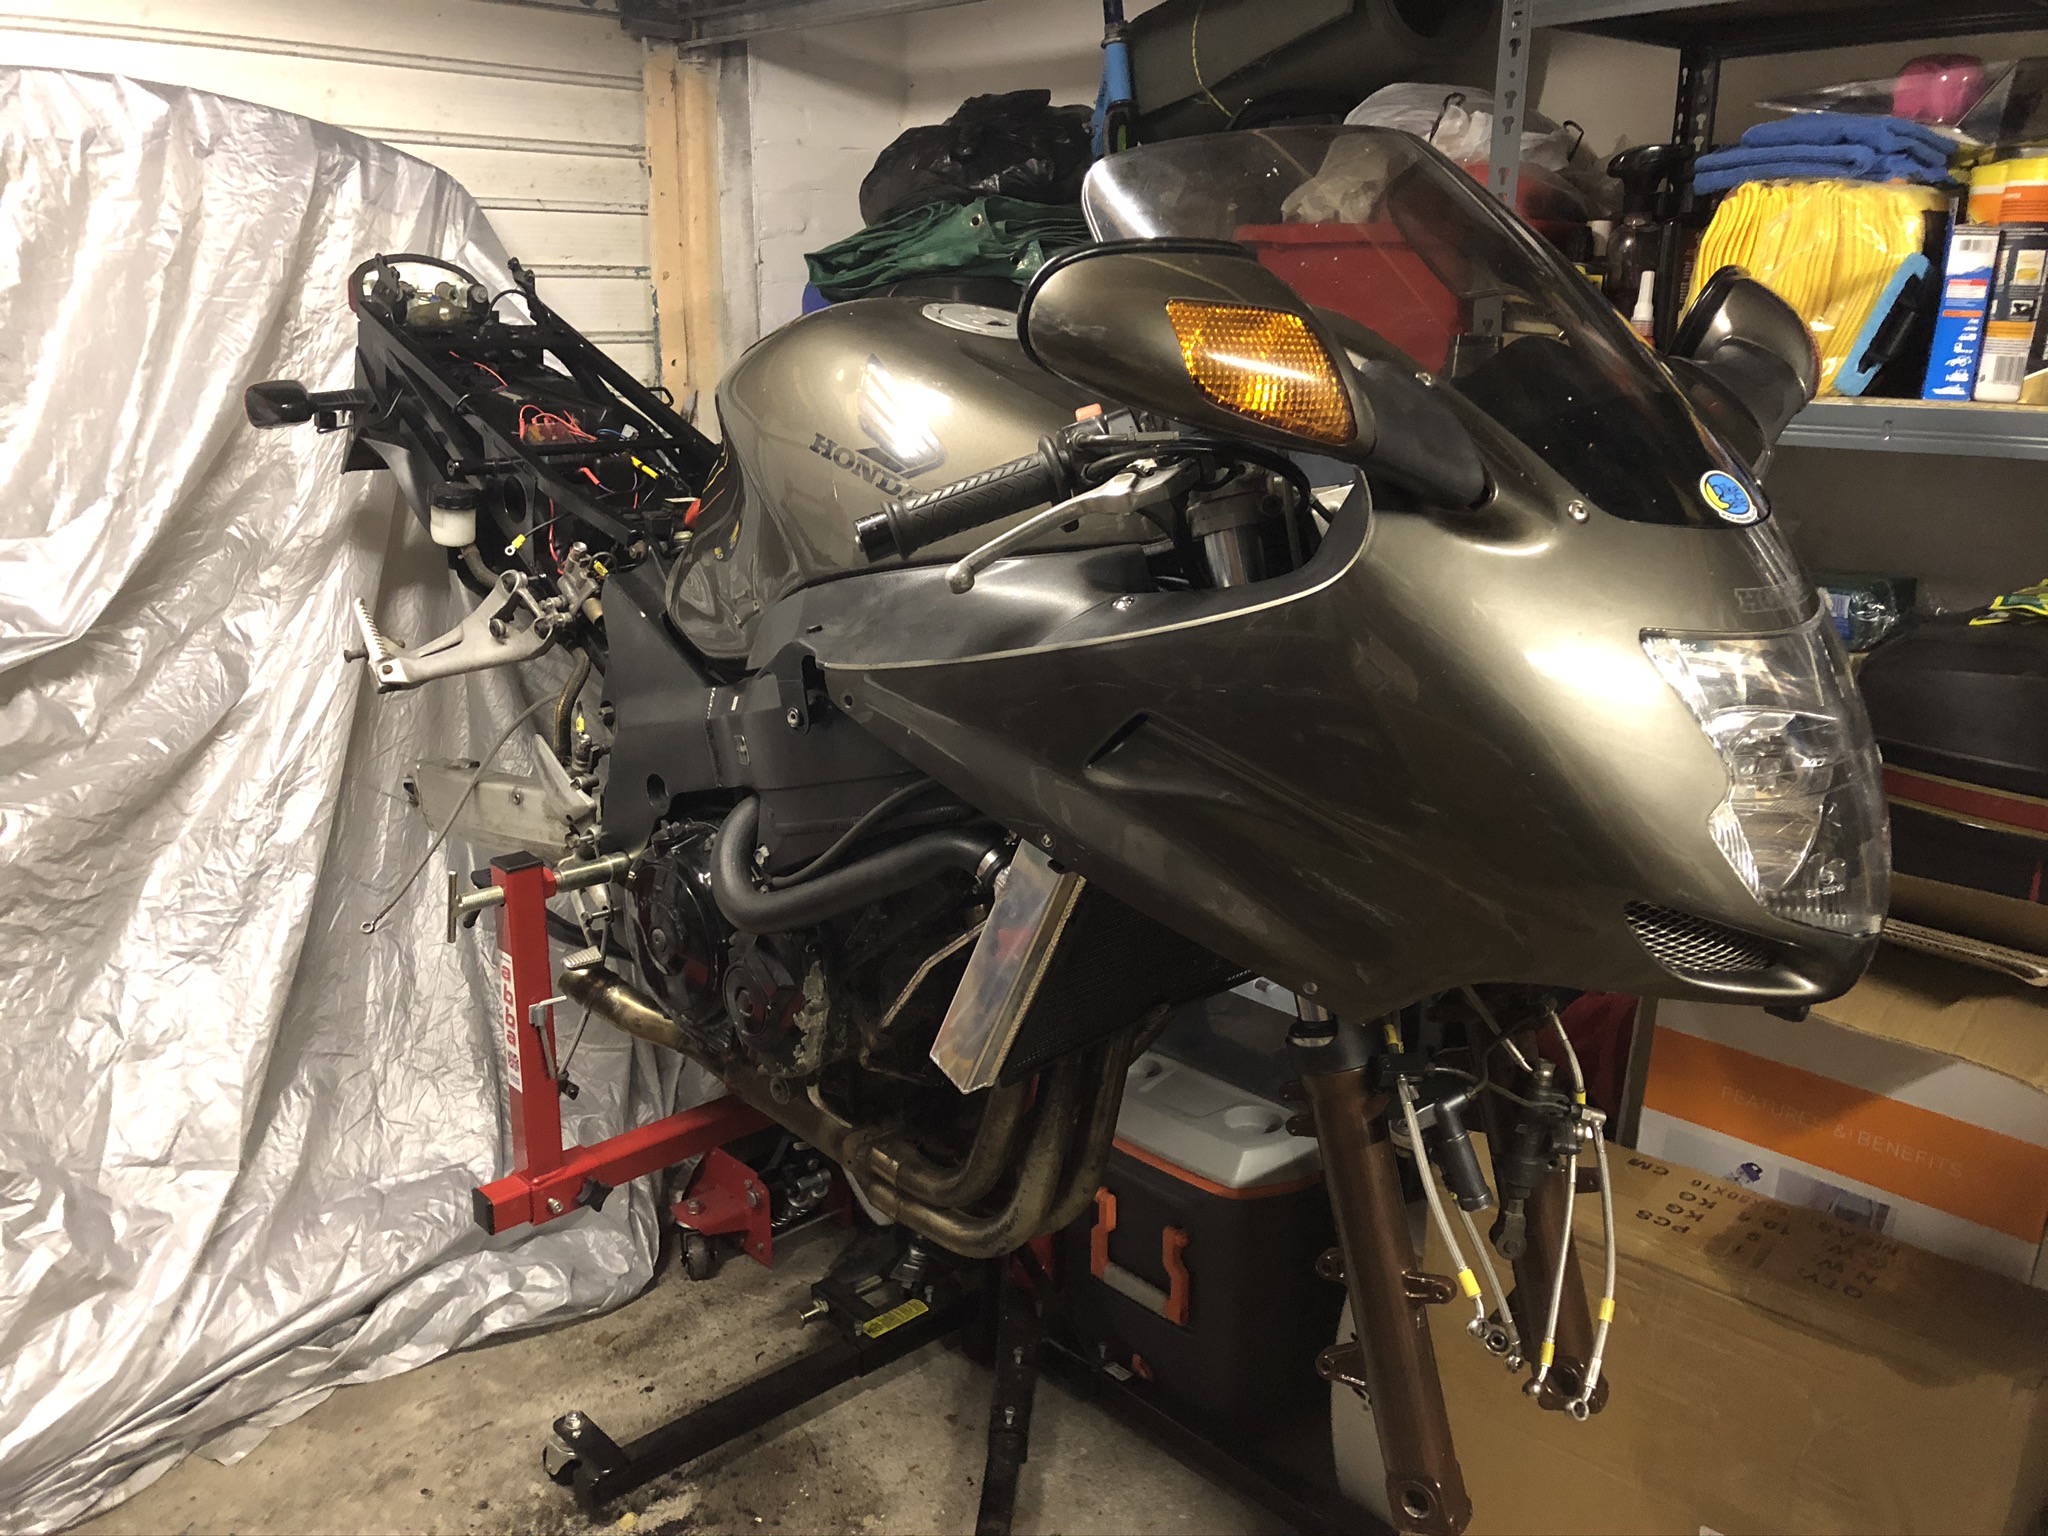
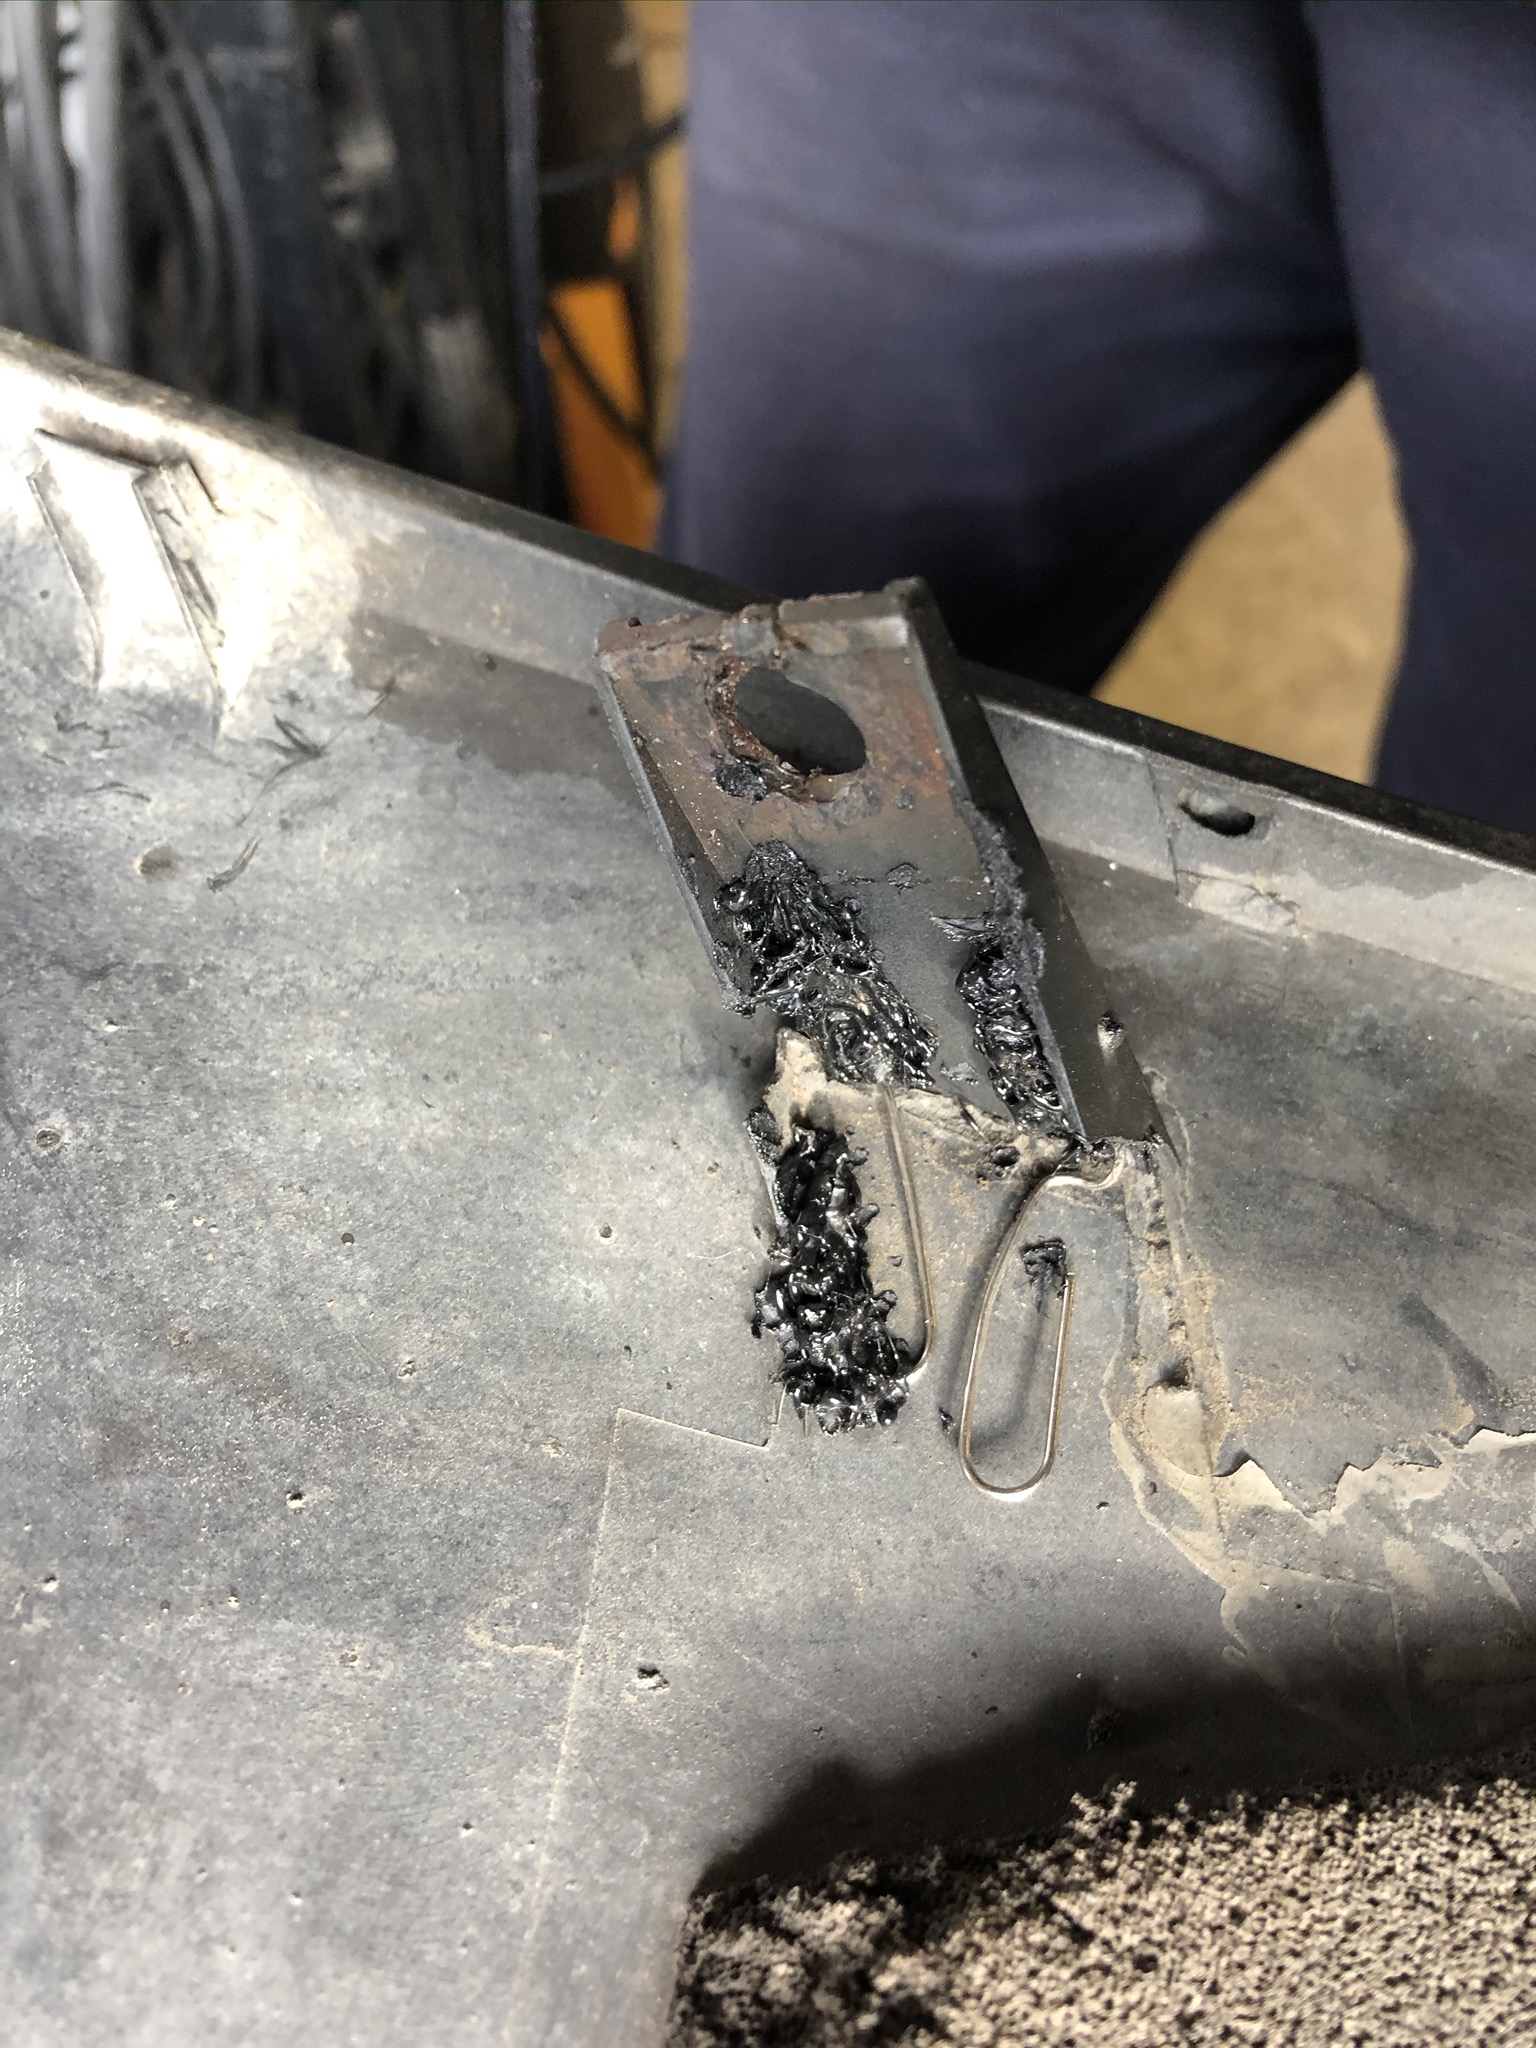
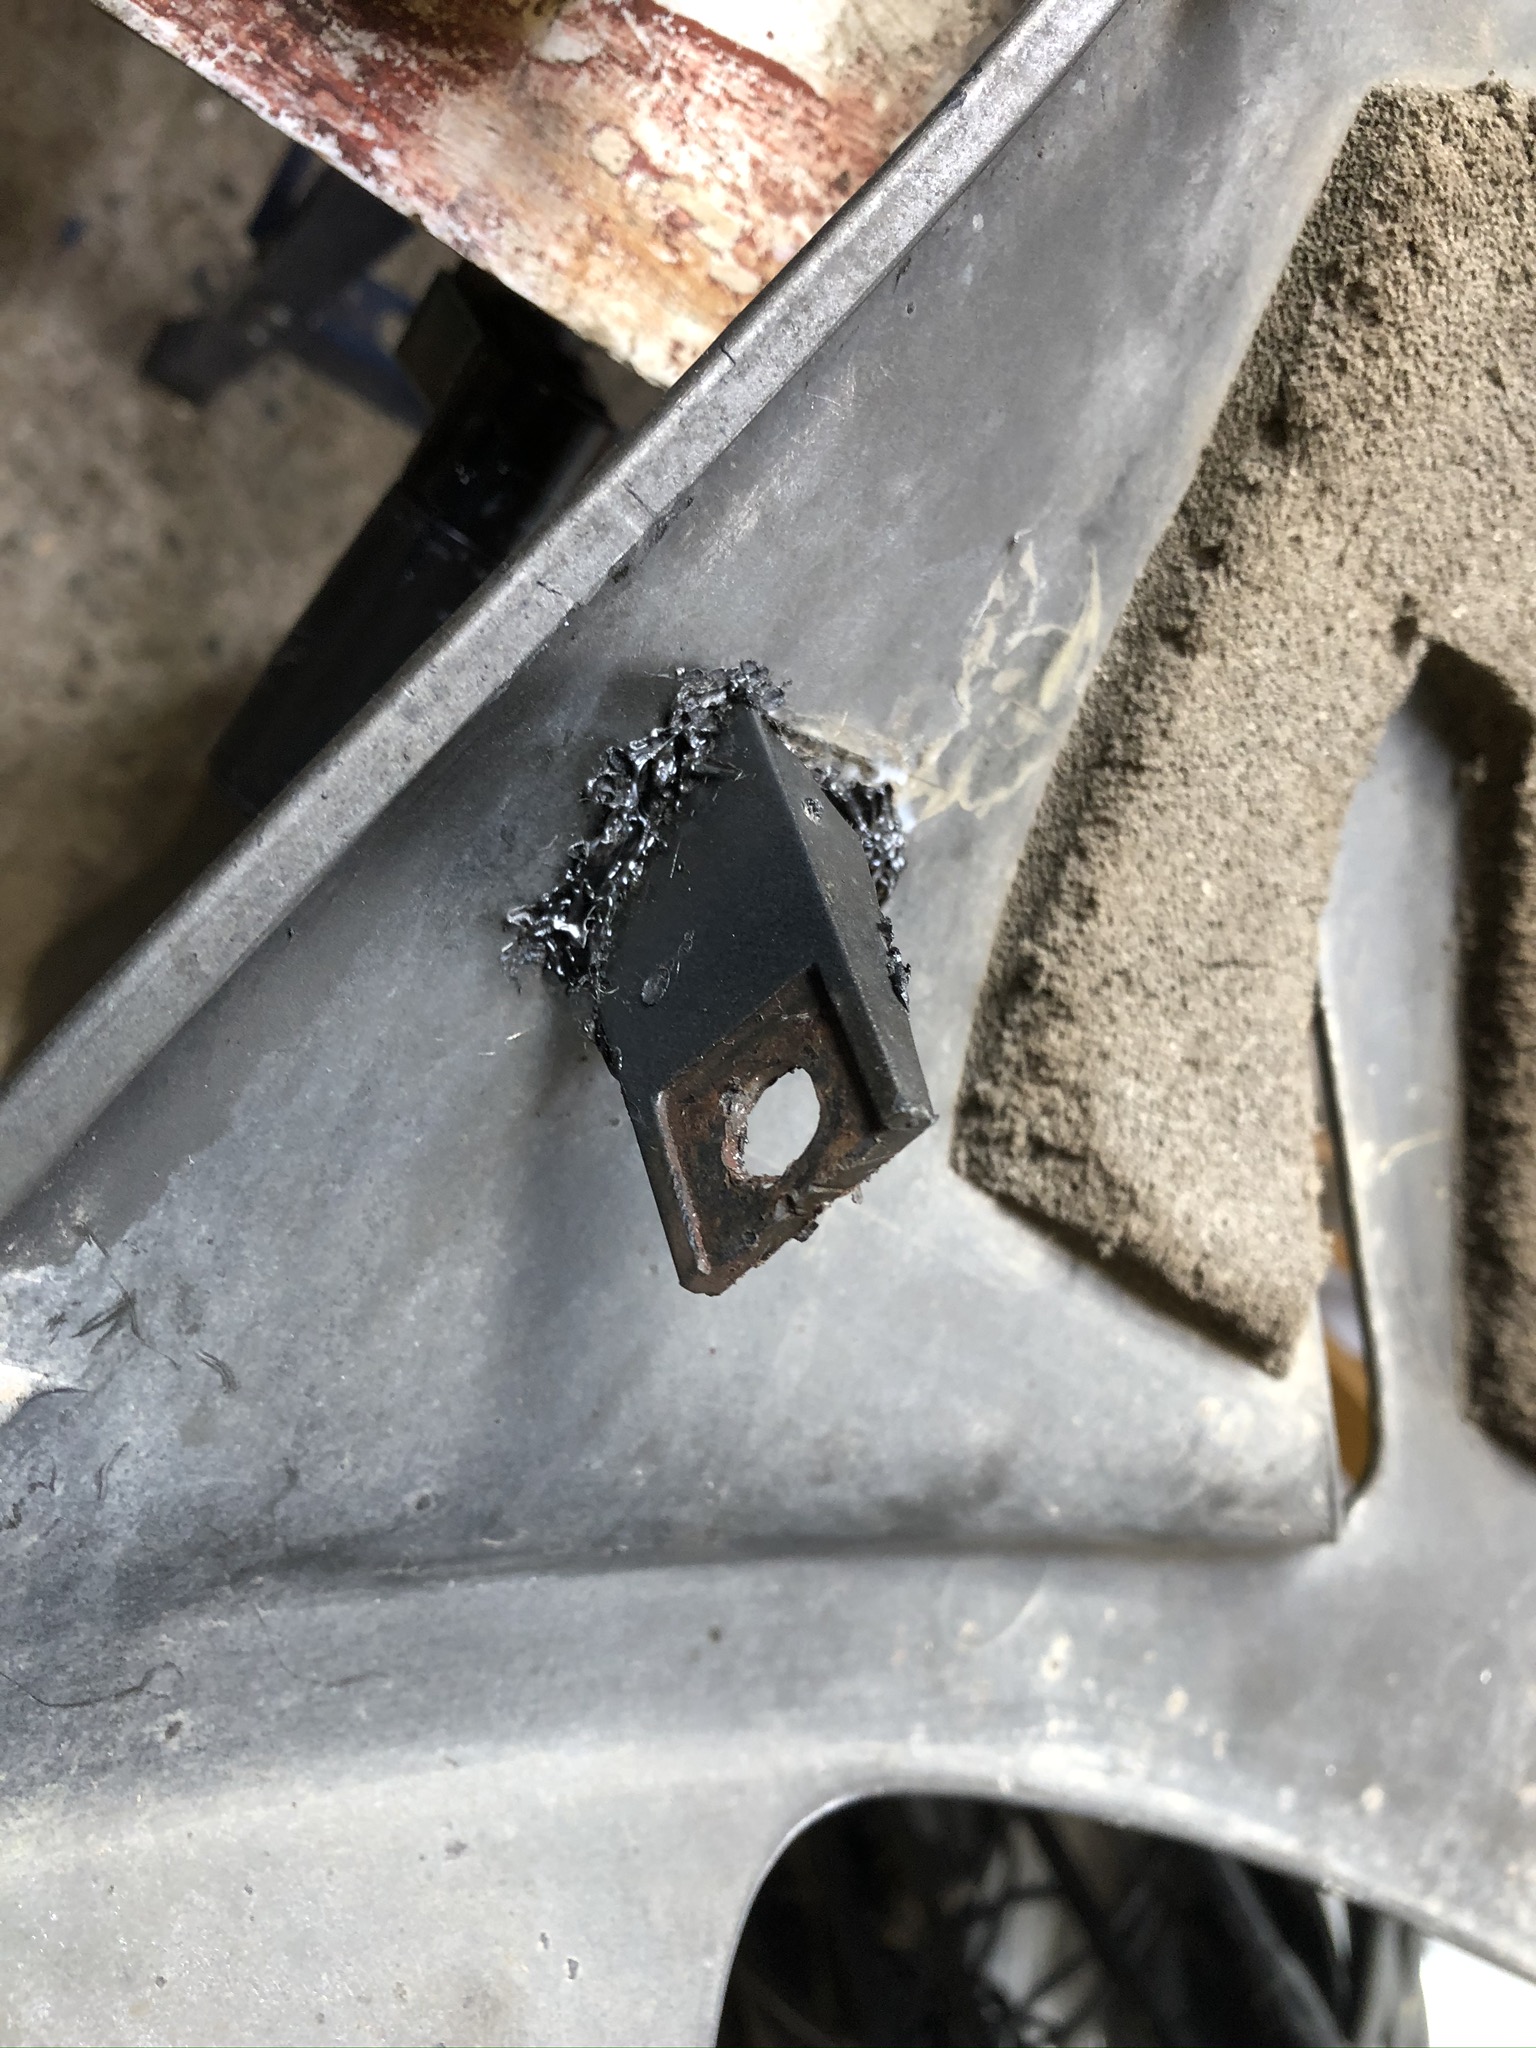
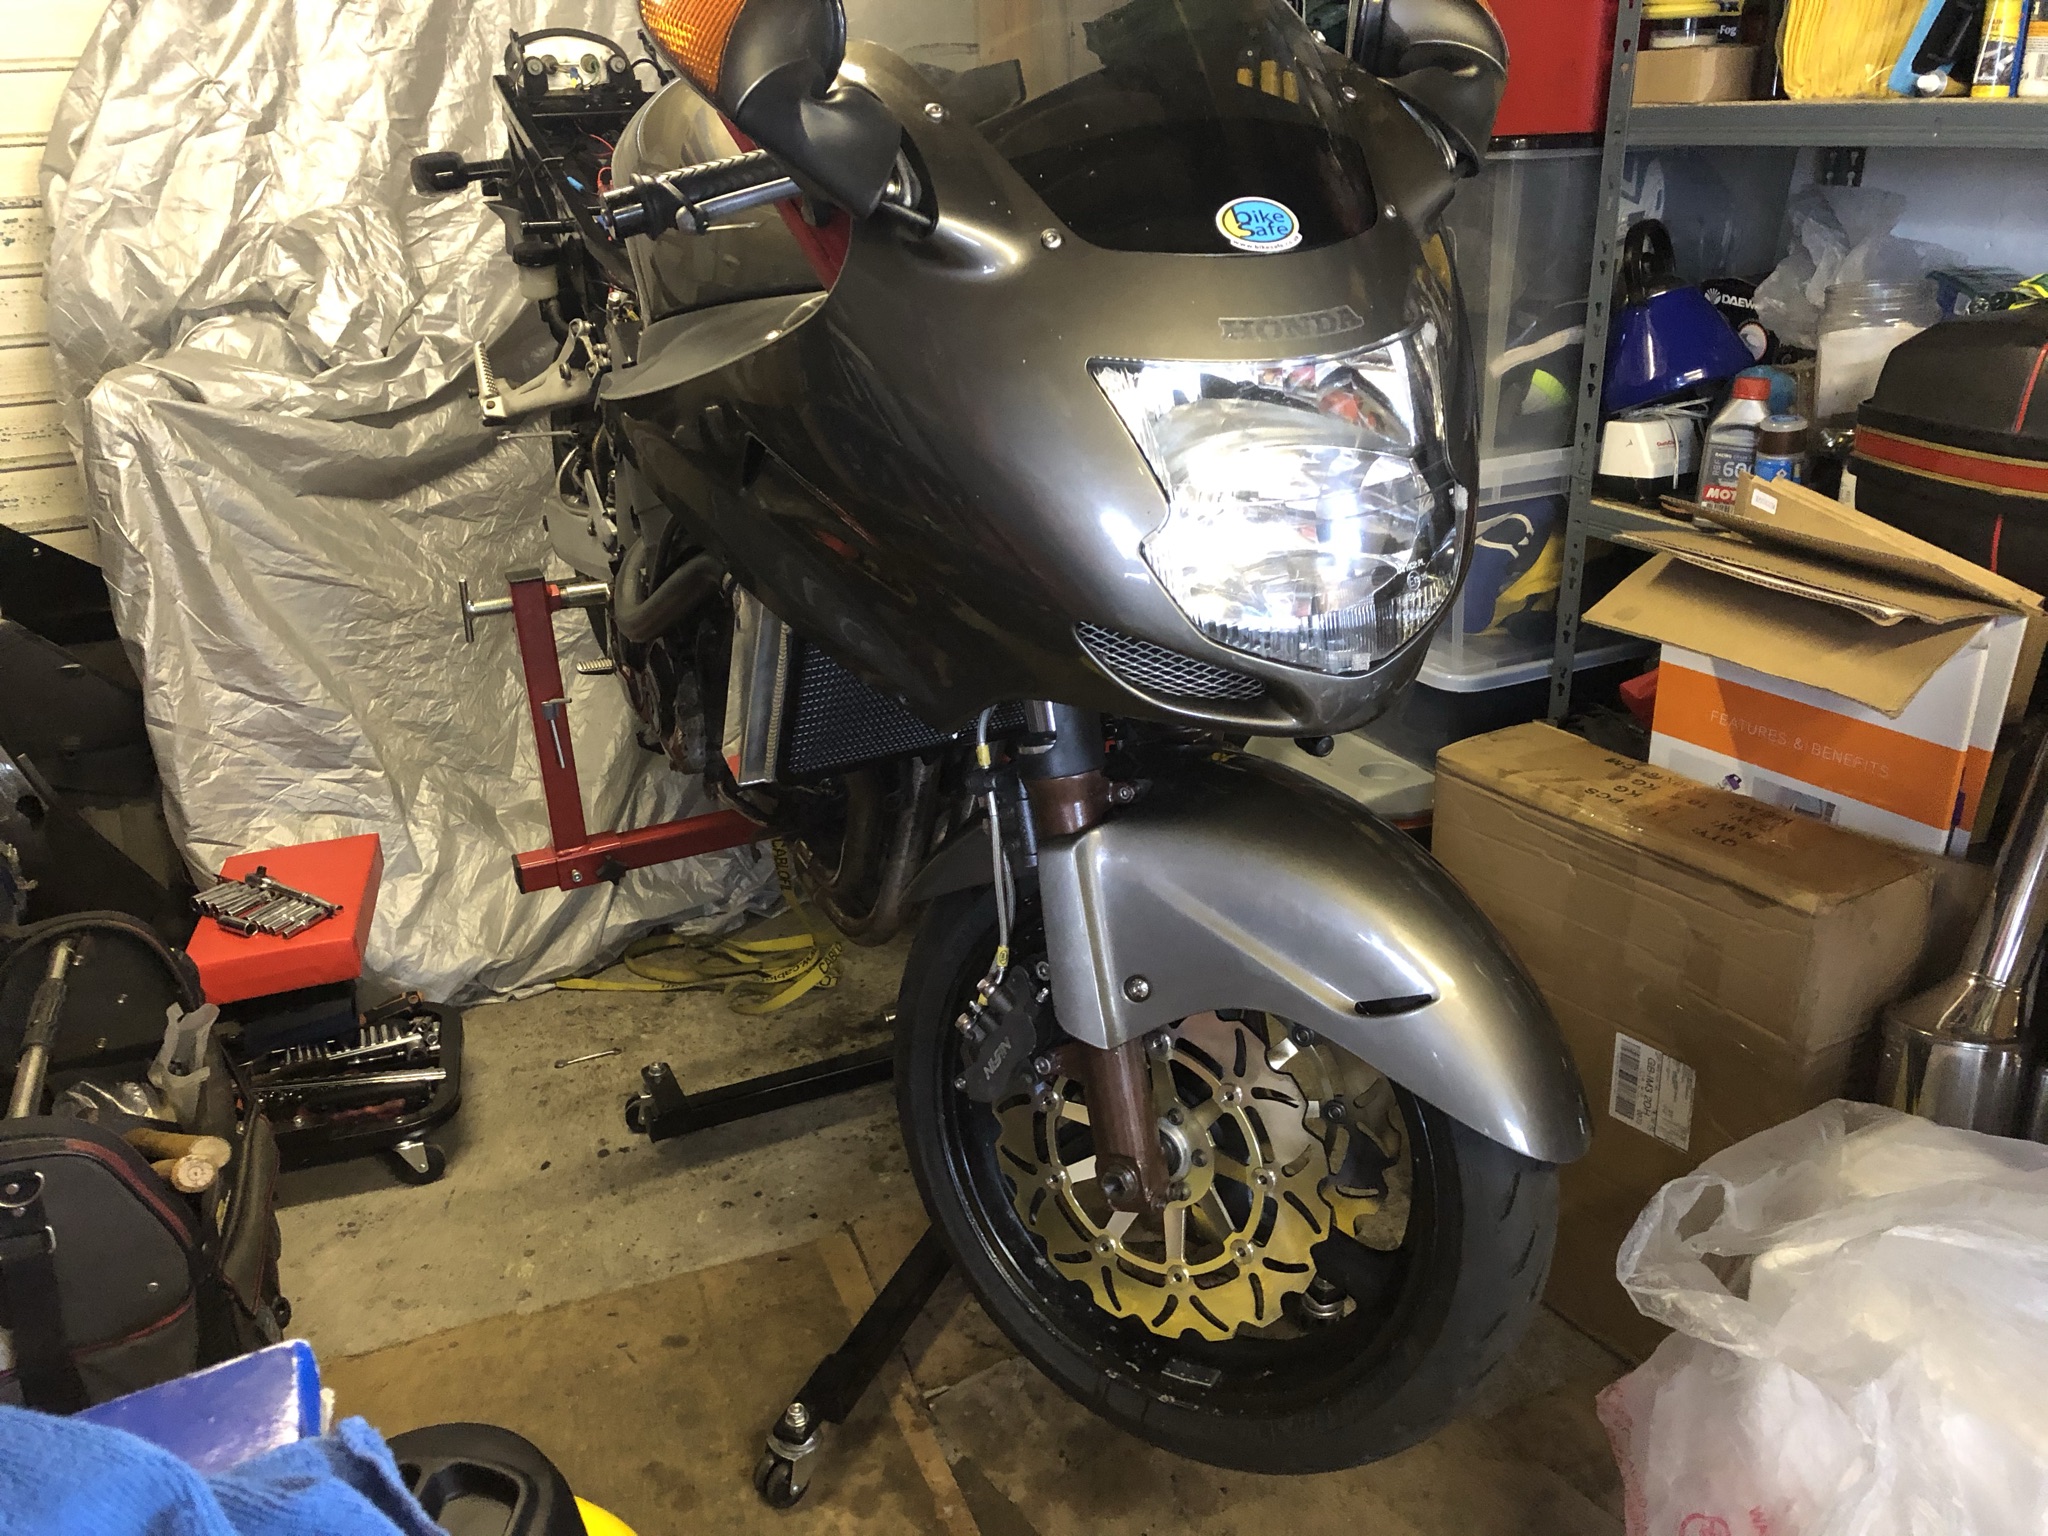
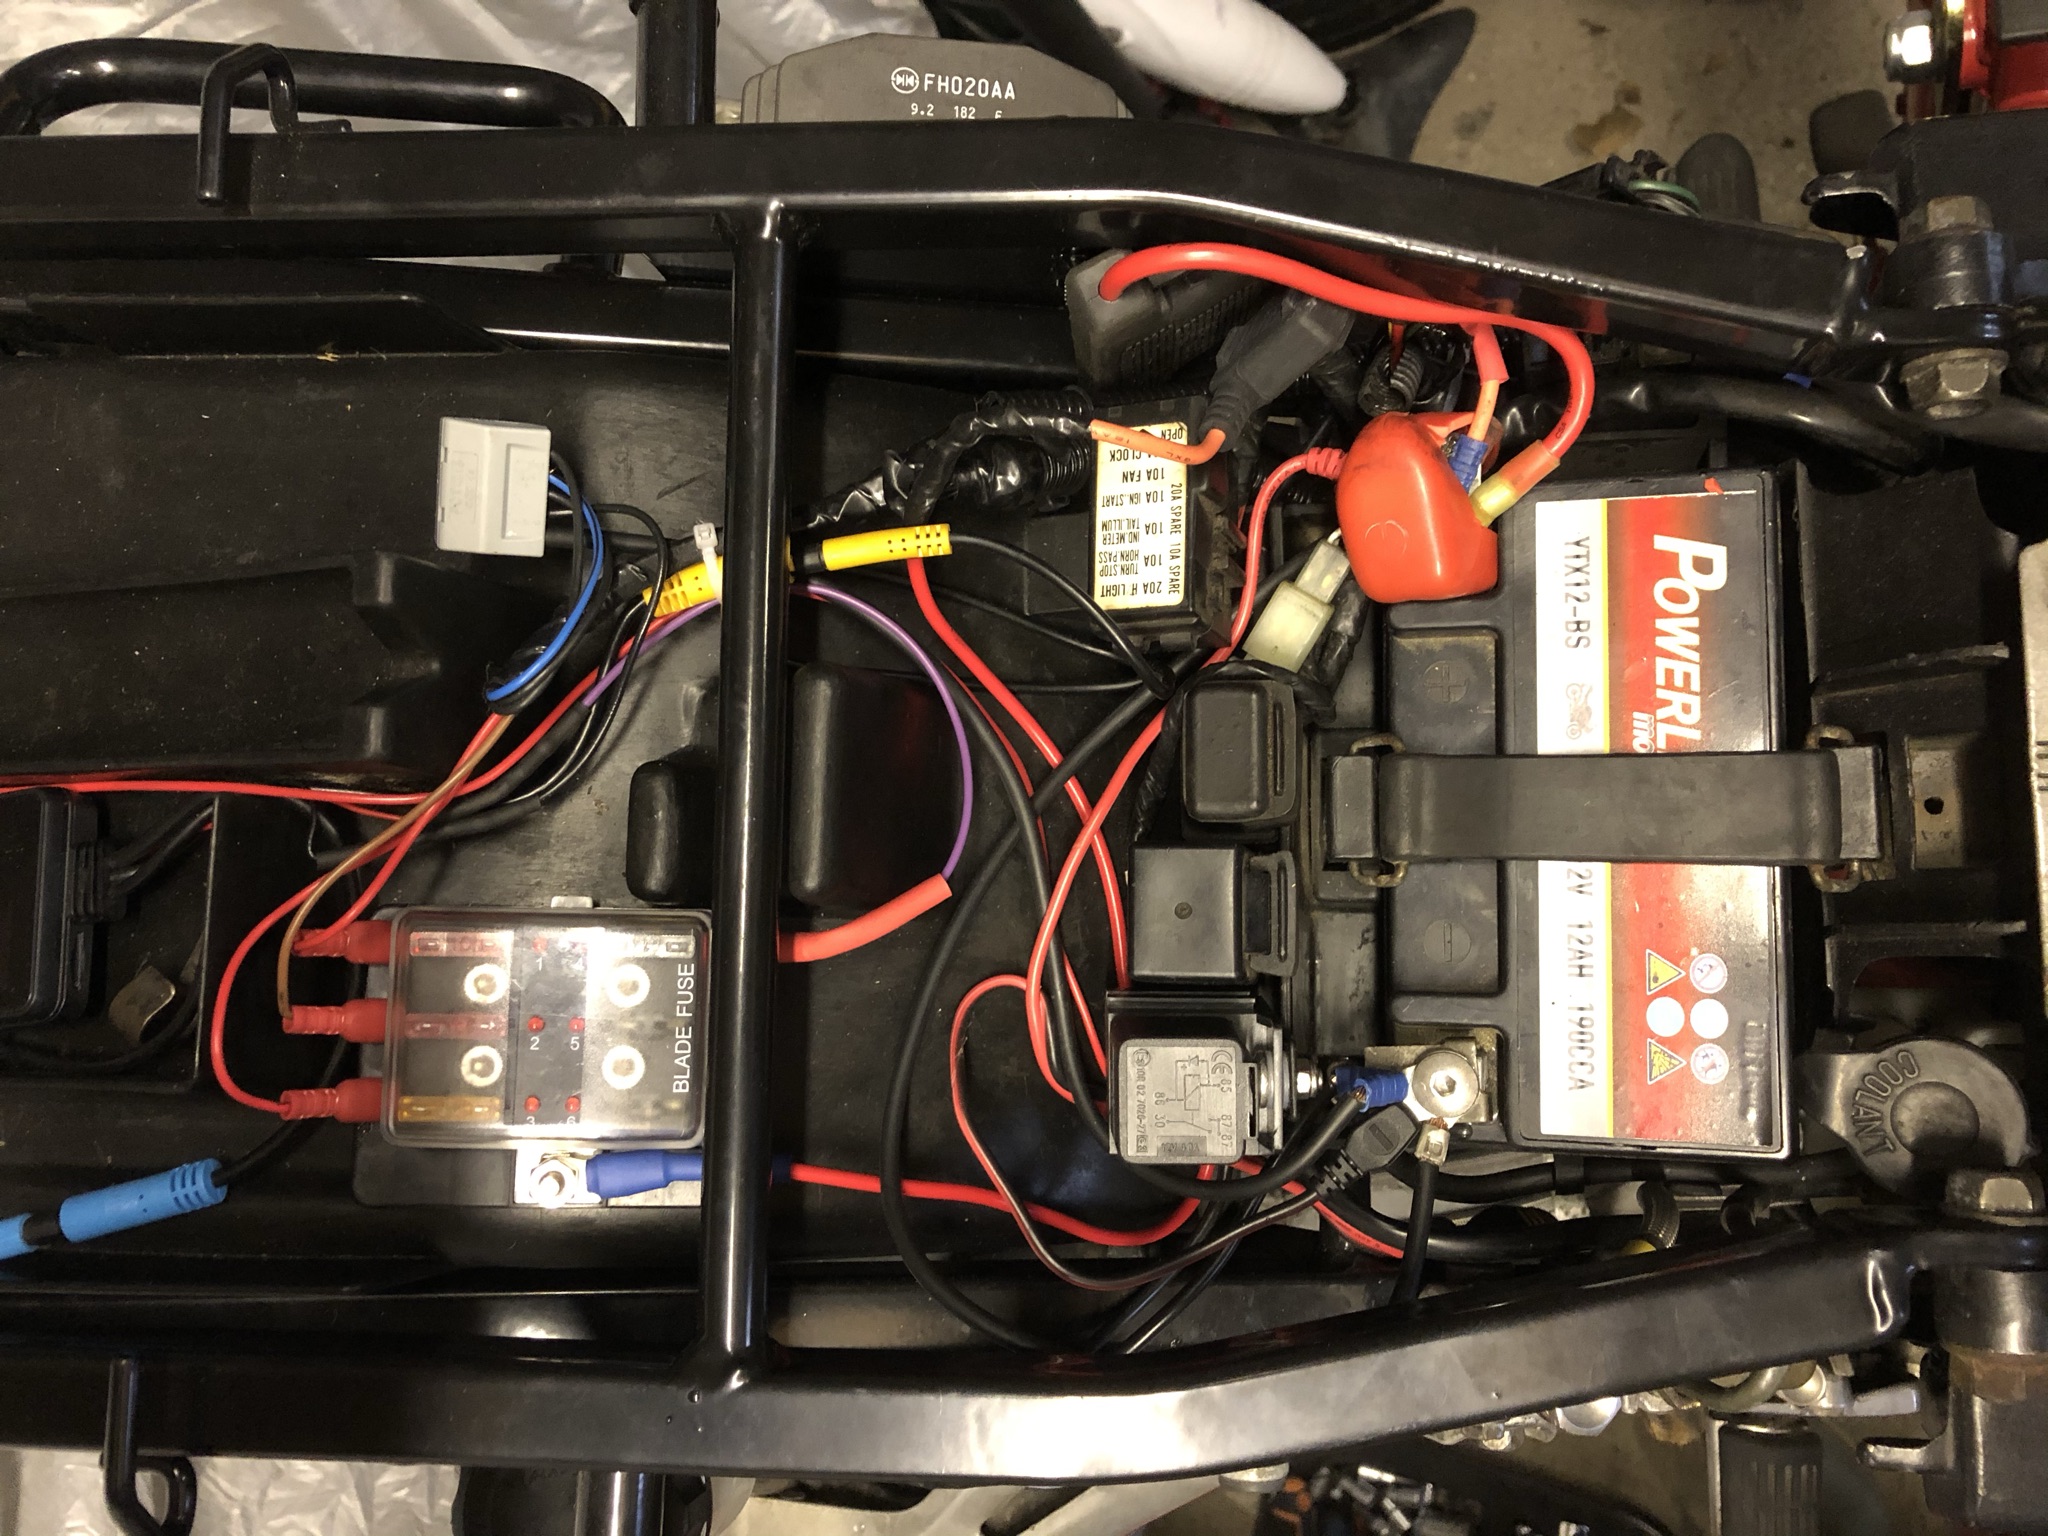
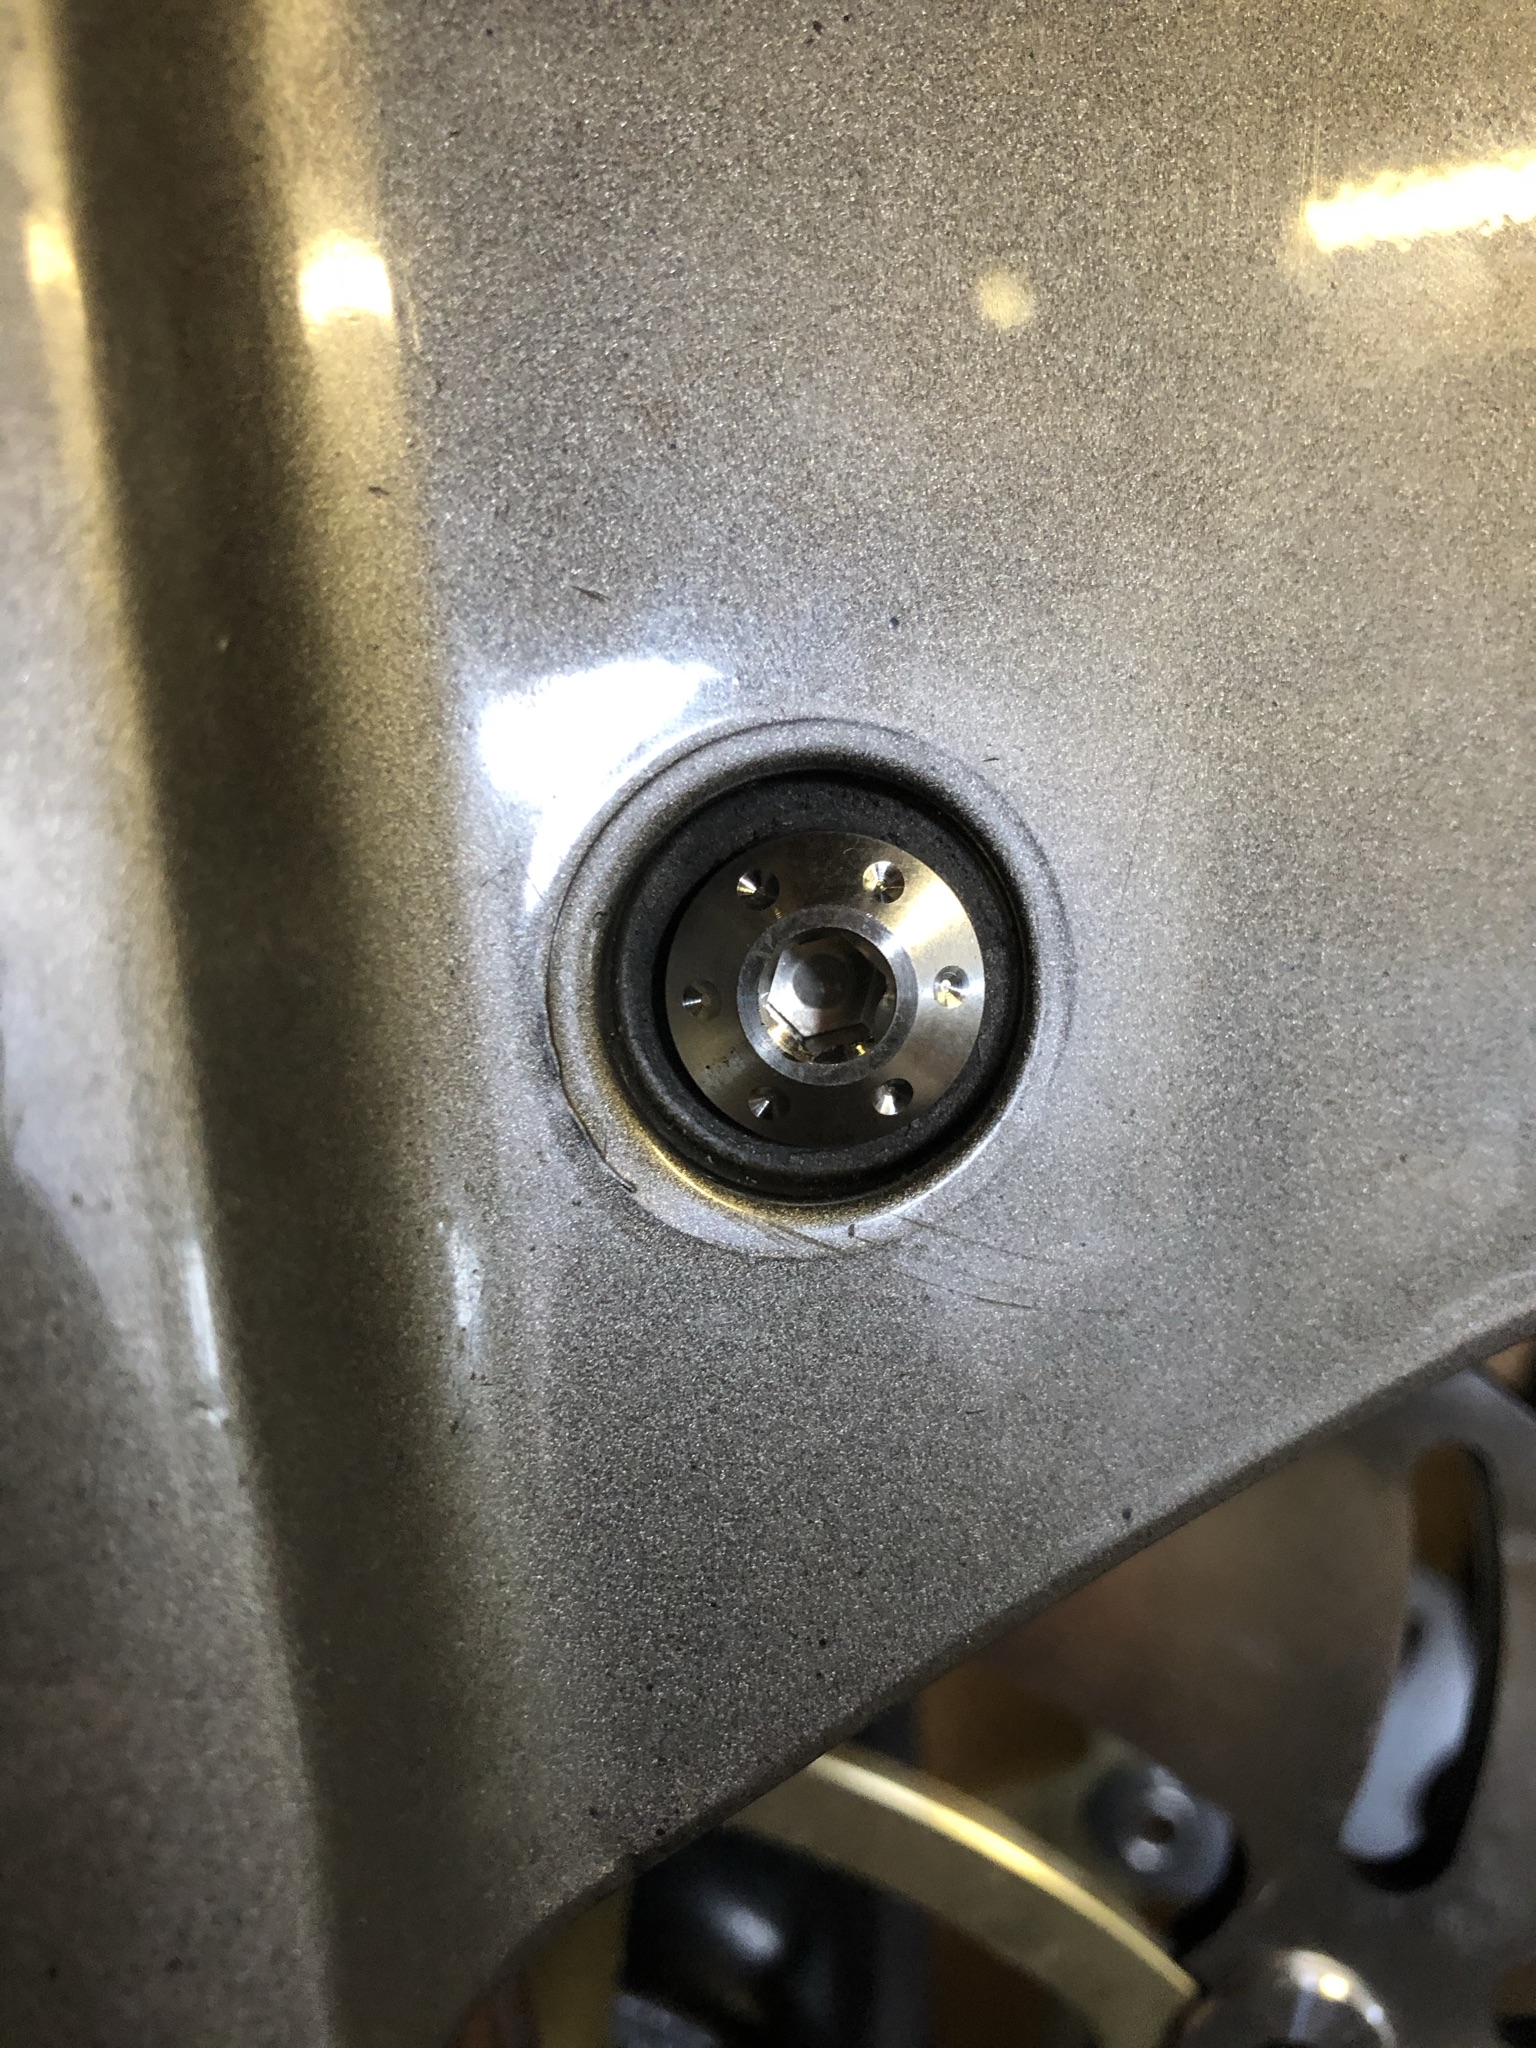
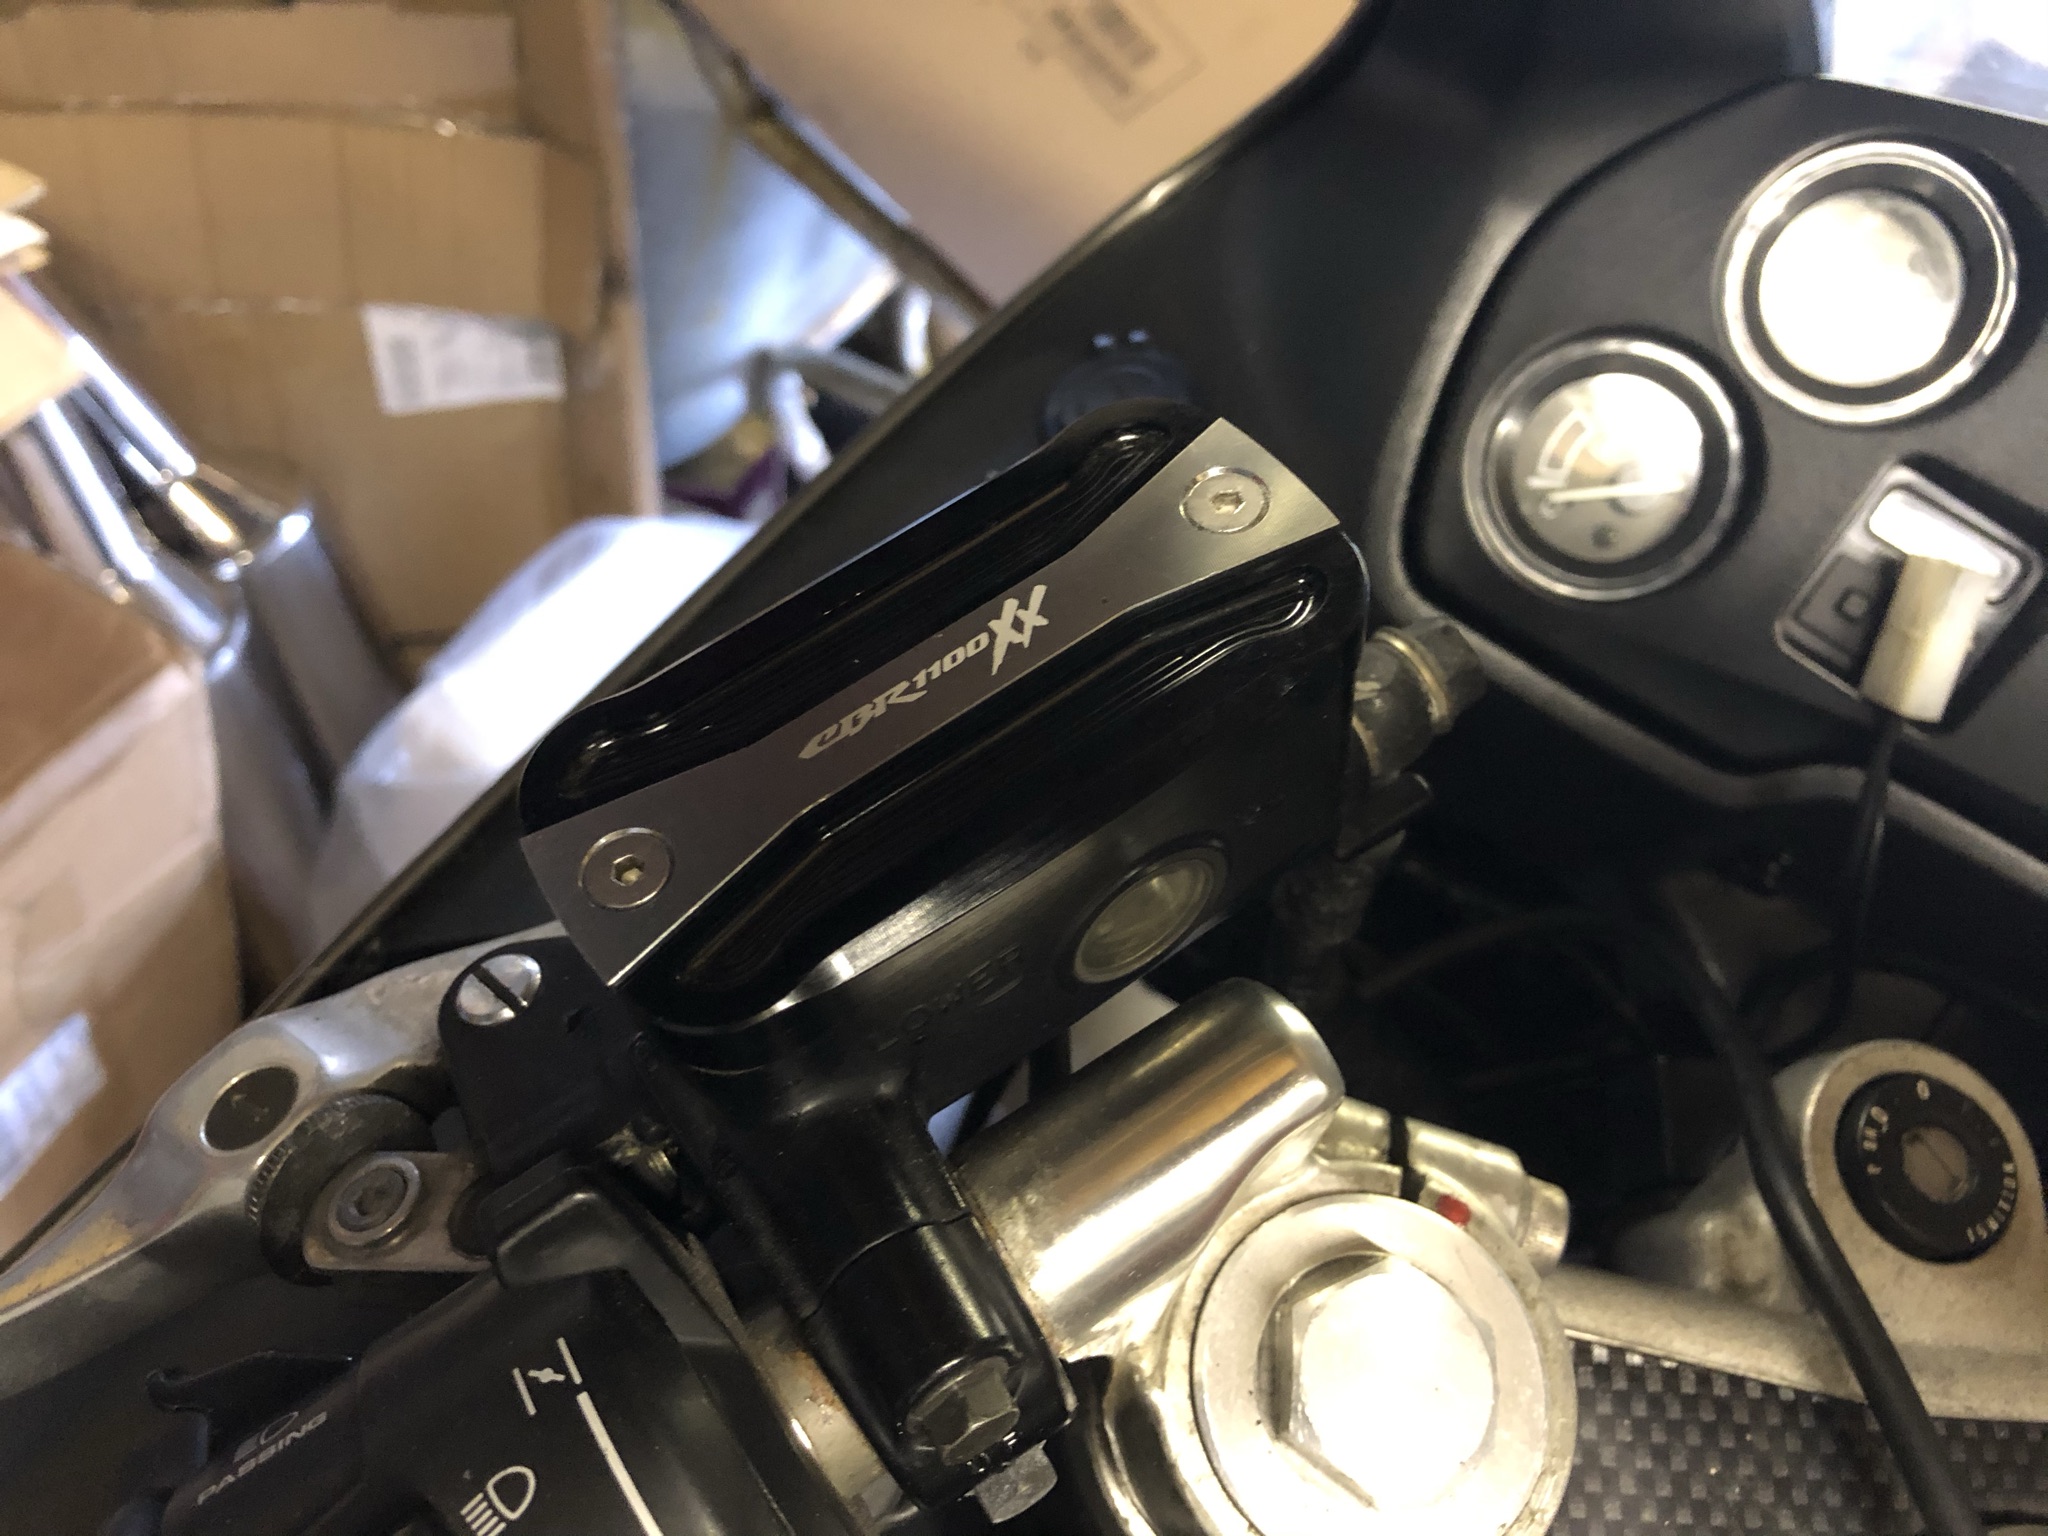
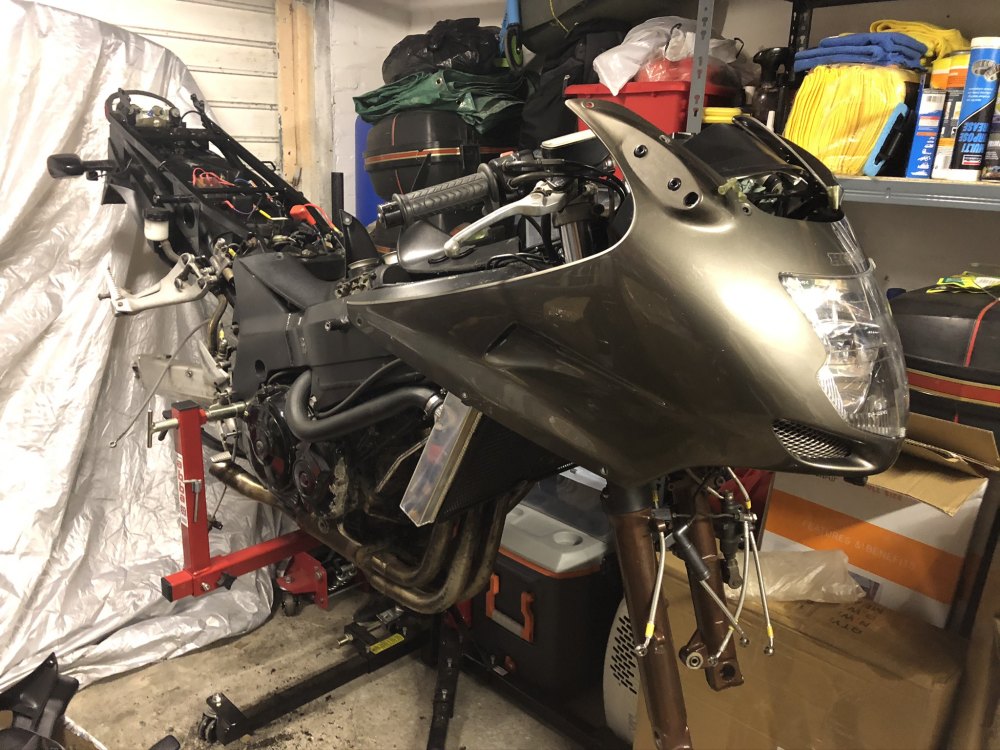
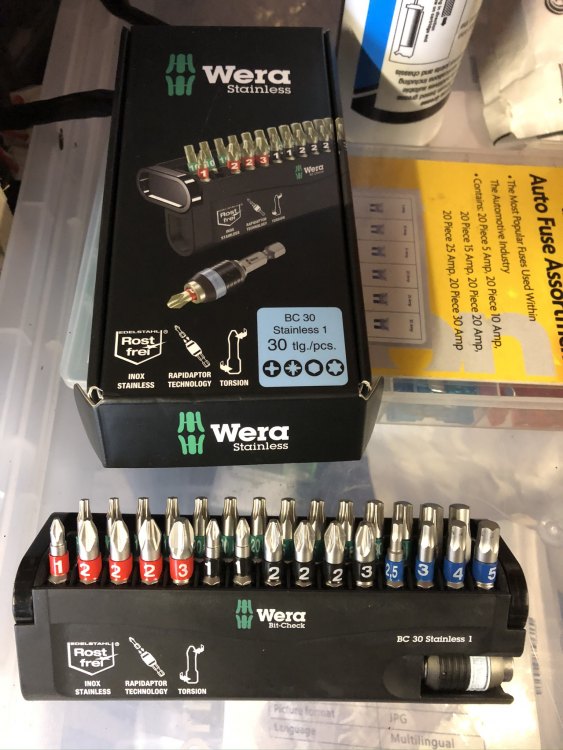
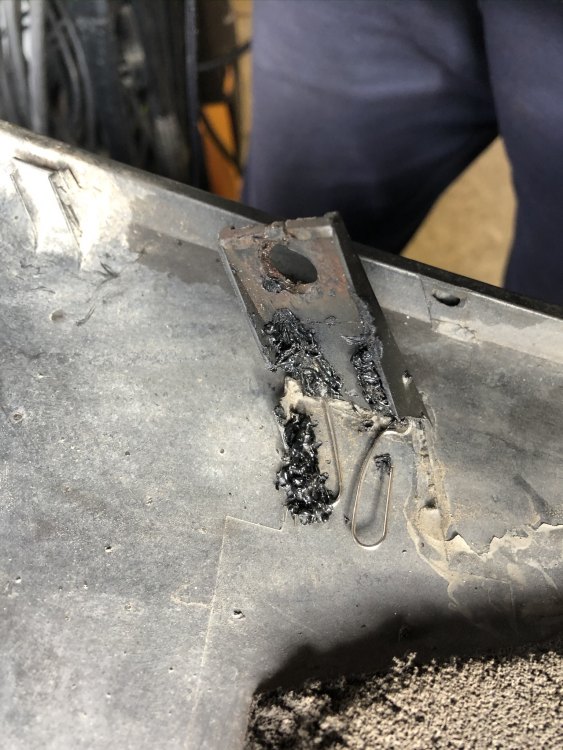
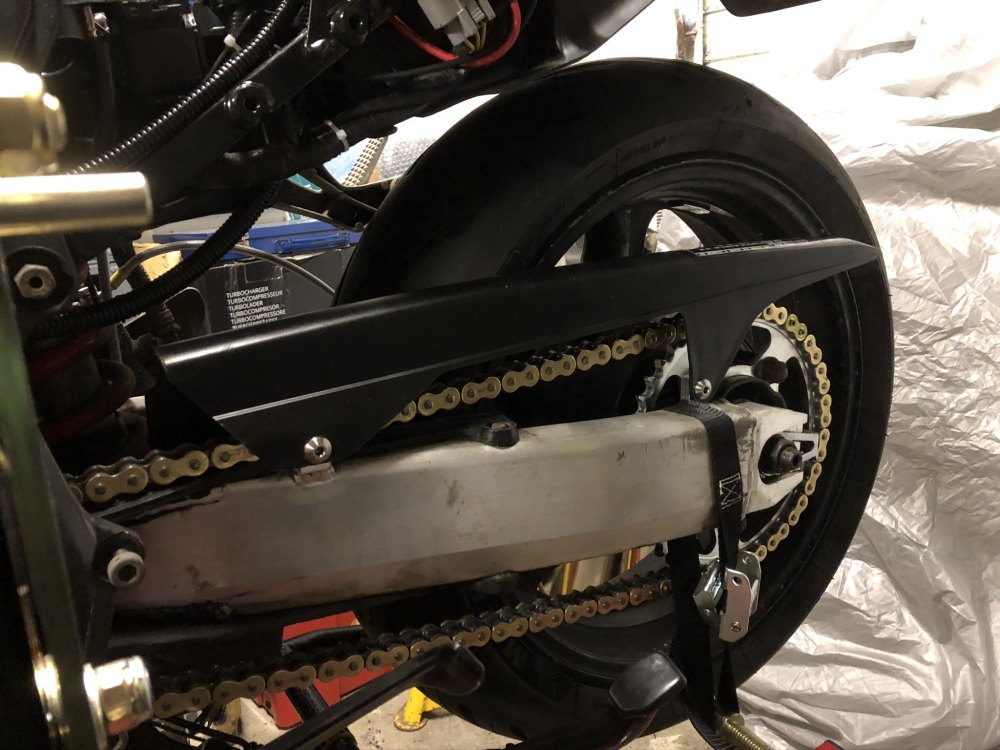
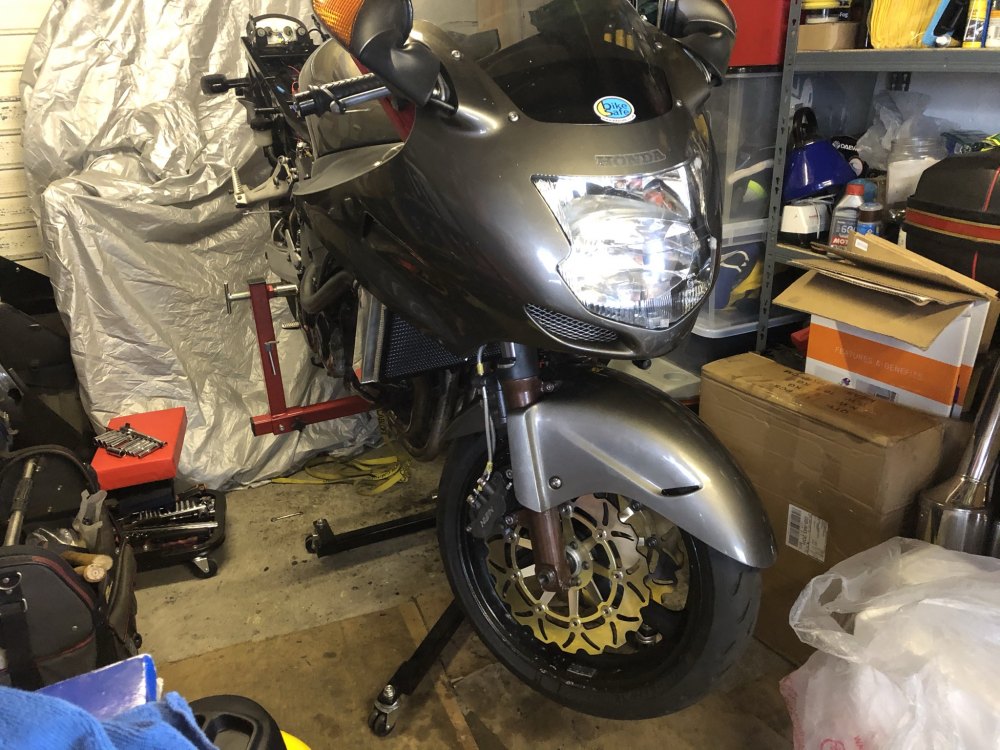
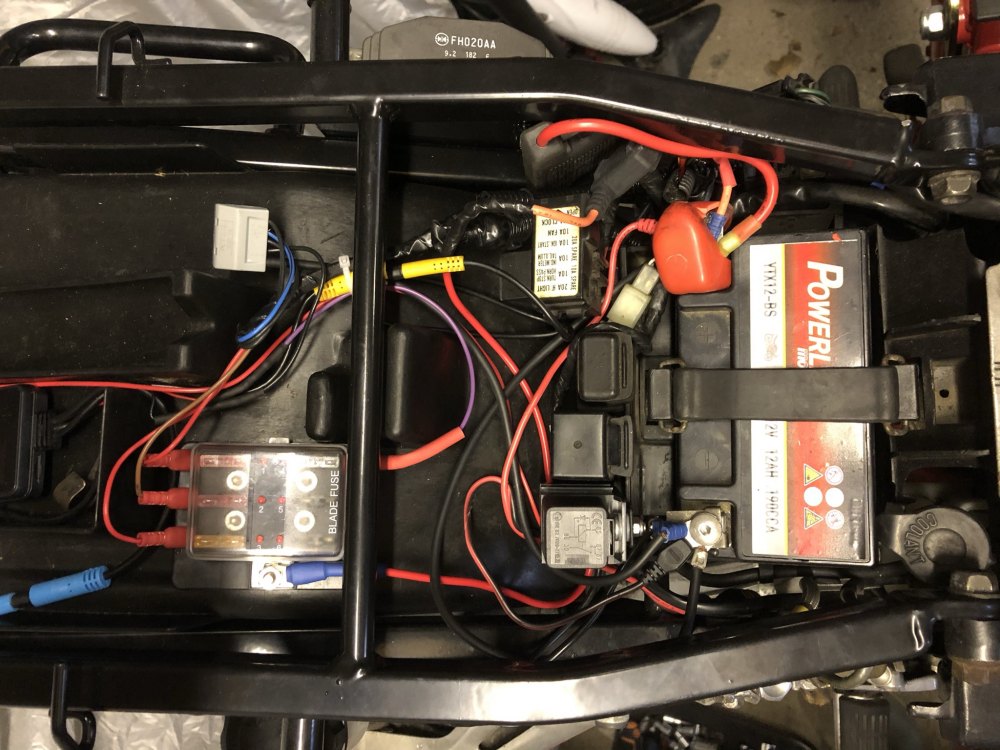
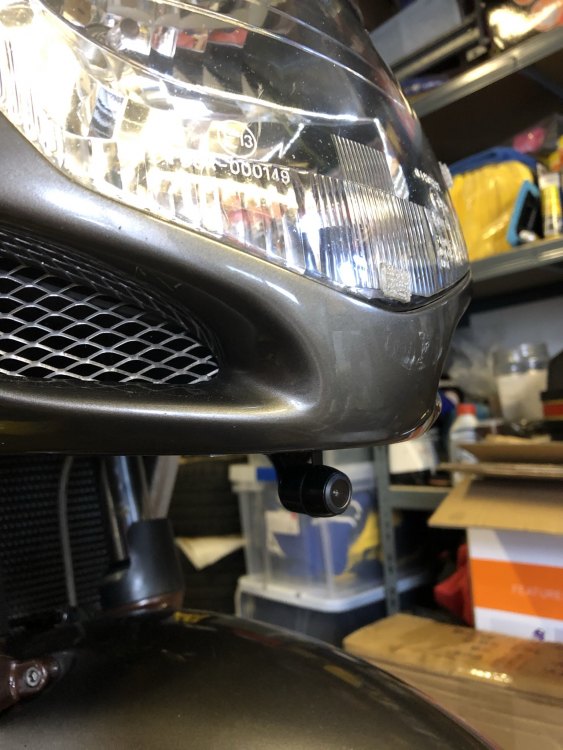
So a full week of playing with the bird has yielded some fairly decent results. Currently all that is left is to bleed the brakes, revisit the petrol tank hoses, mount the cans, change the oil, and fit the Side panels, V-Panel, Rear cowl, and seat. It's been a week of highs and lows, getting to Thursday and finding I was missing 3 slider pins for the caliper mounting plates was not my finest hour but in fairness to Honda they manage to ship them from the UK to the Isle of Man overnight, no mean feat with our postal services and the challenges associated with living on an island in the middle of the Irish sea, had I been a day later I would still be waiting as stormy conditions since early hours of Saturday morning have blocked the boats from sailing, so very little is getting here, and the supermarkets will be low on stock by now. I must say, there have been many times over the last week when I've consciously doubted my own abilities and whether completion of this project would ever happen but I'm cautiously optimistic now that I'm nearly done, my toolkit has grown massively as well . So on Monday we started here... First job was to clean both wheels and fit the new front disks. Then the clocks went on Followed by the upper cowl on to the stay. And the mirrors... All fitted with new stainless steel bolts from Biker Bling And to protect the bolts I also have stainless steel bits. Not cheap, but typical high quality from Wera. Infill panels went in next, those of you who've done this before will notice the glaring error at this point. Yep, they had to come back out so I could fit the airbox 🙄. New Accessories infill fitted, wires have since been wrapped So at this point we're quite a bit further on, airbox and tank are now in place. One of the carb vacuum screws had been removed to fit a scottoiler at some point in the past, when the oiler was removed, the vacuum pipe was left in place and open and it could suck air in, this has now been removed and a new blanking screw fitted. One of the tasks I hadn't looked forward to was plastic welding the side panel to V-panel mounting point. It was completely detached with virtually nothing left on the side panel to mount to. Paperclips enter stage left... I used cable tie offcuts as welding rods, not a pretty job, but very strong now. Rear wheel mounted and aligned, and new chain tensioned. Back to an original chain guard instead of the poorly fitting hugger that was installed, at some point I'll invest in a decent hugger. Chain monkey laser alignment tool and tensioner, absolutely brilliant. The wires still need a little tidying but the new relay and fusebox are in and connected, I've fused the line to the accessory fusebox at 30A (Fusebox rated at 40A), currently using 26A of fuses in total, I could reduce the USB sockets fuse to 5A which would leave me 9A of capacity for future use, cameras are on a 1A fuse. 4 of the 6 ways are currently in use so there is space for some low power future additions if required, a rear accessory port comes to mind for passenger use. A few extra battery connections were required, (Reg Rec / CTek Port / Relay) so I have fitted slightly longer screws to the battery terminals and they sit fine. Cameras have been set up and located. Front and rear brakelines done, calipers fitted and awaiting bleeding. Fancy clutch fluid reservoir cover, have the same for the brakes. Cans are polished and awaiting fitment. Far from perfect but way better than when they started. So a fair bit of progress this last week, a few hiccups, having to tear stuff down and rebuild because I forgot to fit other parts first, but in general I'm happy with where I've got to. Very close to completion now, it's been a long road to get here but I'm happy with where I am. This build has been a huge learning experience for me, cars I'm comfortable with, bikes I've done very little with until now and this has been rather a baptism by fire, for a job that started off as just changing the front disks it's mushroomed somewhat, but overall I'm pleased that I did this. The last bit for now, the Abba Skylift has been tremendous, it wasn't cheap by any means but I couldn't realistically have done this rebuild without it. The box to the right of the bike in the above picture is the Abba front wheel chock, that's another new toy for me to play with . The only other work I feel is needed is the bodywork restoration, this will come in time, for now I'll be happy to have a bike with everything else sorted. Mechanically I think she's sound now, I'm going to do the CCT as a precaution, and possibly next year replace the clutch.


-
Thank you for the explanation, makes a lot more sense to me now
-
Hi all, I’ve read through this and I’m not understanding why a series regulator would be better than a mosfet here? My understanding is that Mosfets run cooler than original, I guess the series runs cooler again? I swapped my R/R for a shindengen FH020AA mosfet and my carbie stator for the electro sport fi stator. The idea being that the extra power will help run accessories I’m adding to the bike without overloading the stator. Am I now to understand that the mosfet will run hot like the oem unit just not quite as hot? i also have a VFR750FL that has had reg rec issues in the past and I’m aiming to get both bikes into a decent place with the charging circuit.
-
I can put it in wheelie and stoppie positions so hopefully shouldn’t be an issue. Have a large syringe to inject fluid in from the bleed valves so the system won’t be completely empty when doing it. Hopefully will be simpler than I’m expecting. Brakes are a little way down the list yet though, many other things to sort out first 👍
-
Those look cool, but for slightly more than that I can get my originals sorted Thanks though
-
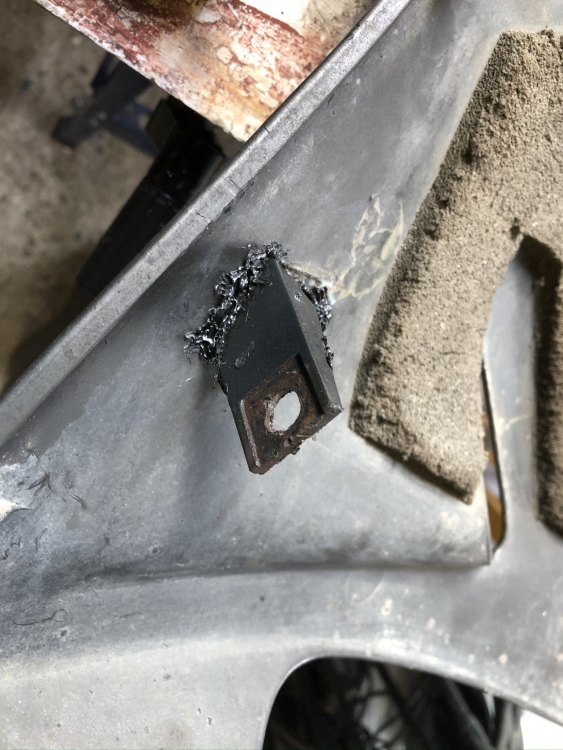
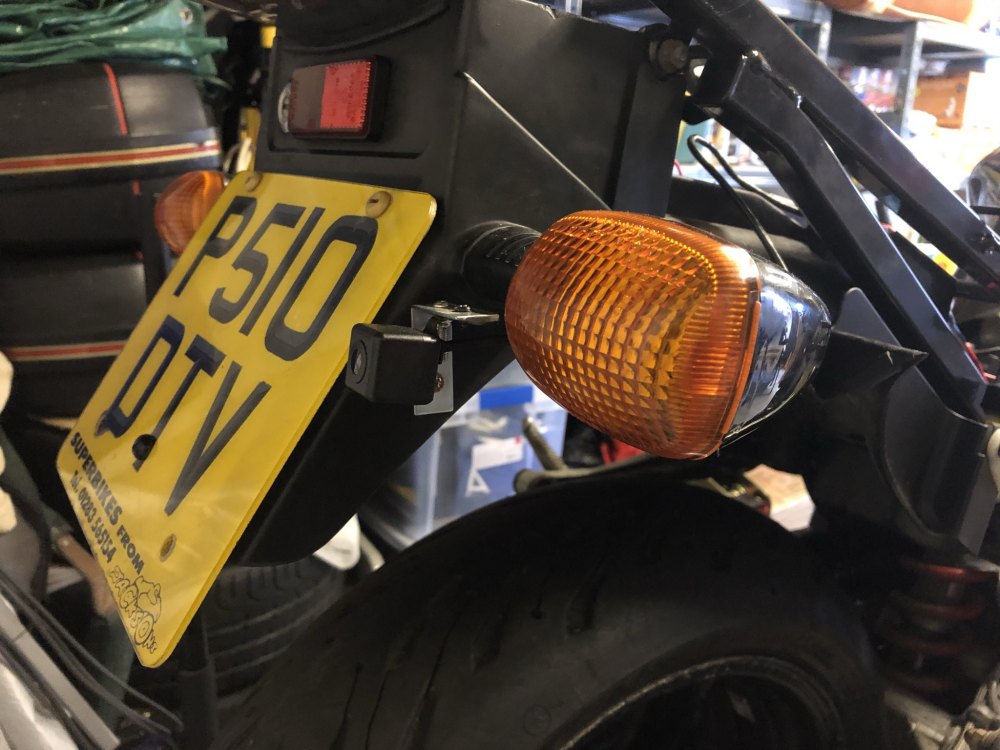
Indeed I am, I want to retain the original panels where possible so have some bits of plastic welding to do, unfortunately I feel the front mudguard and rear cowl are probably beyond rescue as there are bits of plastic missing on the rear cowl and the mudguard fixings have turned in their recess and damaged the seats beyond repair.